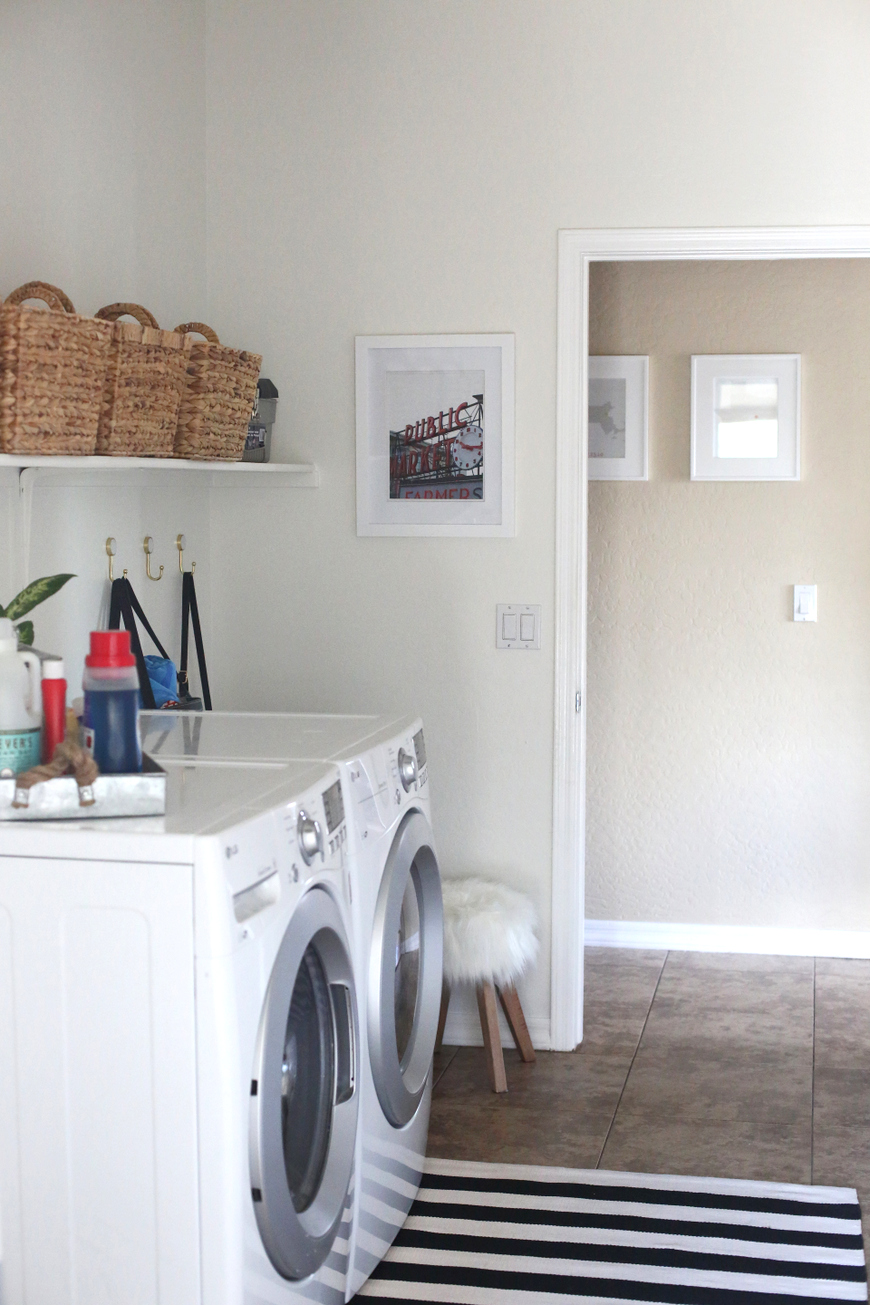
Toward the end of the year, Bart asked me what house projects were next up on my priority list.
When I told him that the laundry room was in the top two, I think he was pretty surprised, since it’s such a minor part of the house.
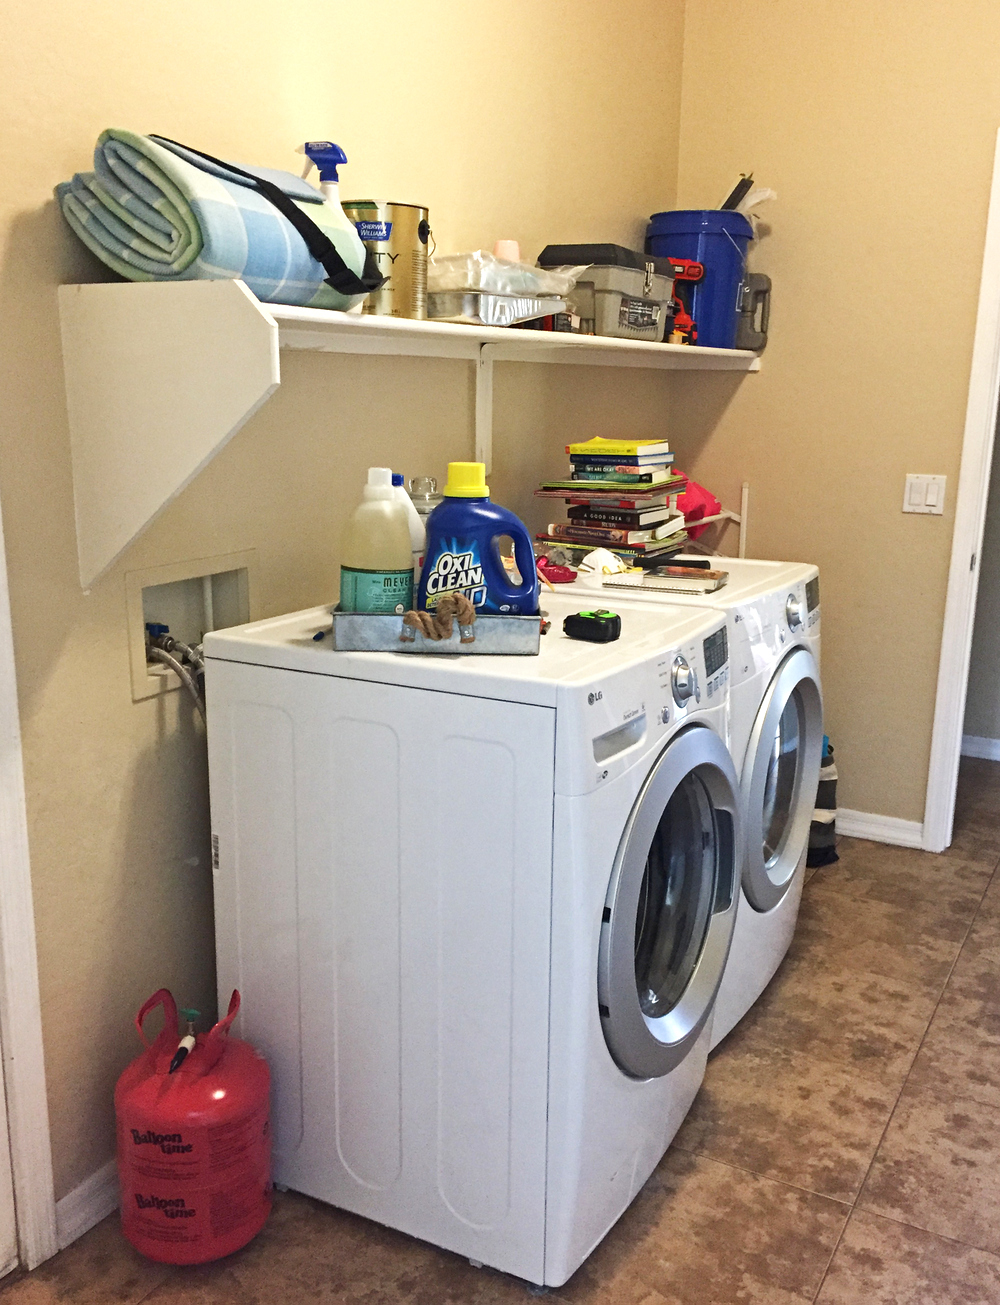
But our laundry room goes into the garage and also opens into my office, which means I walk through it dozens of times a day, and I was getting a little tired of it being a dark little brown cave with a mismatched collection of tools, picnic supplies, and laundry items on the shelf.
(That helium tank? Was from a Say Hi Society event in AUGUST and we finally properly recycled when we painted in January. That right there tells you what a pit of despair this room was).
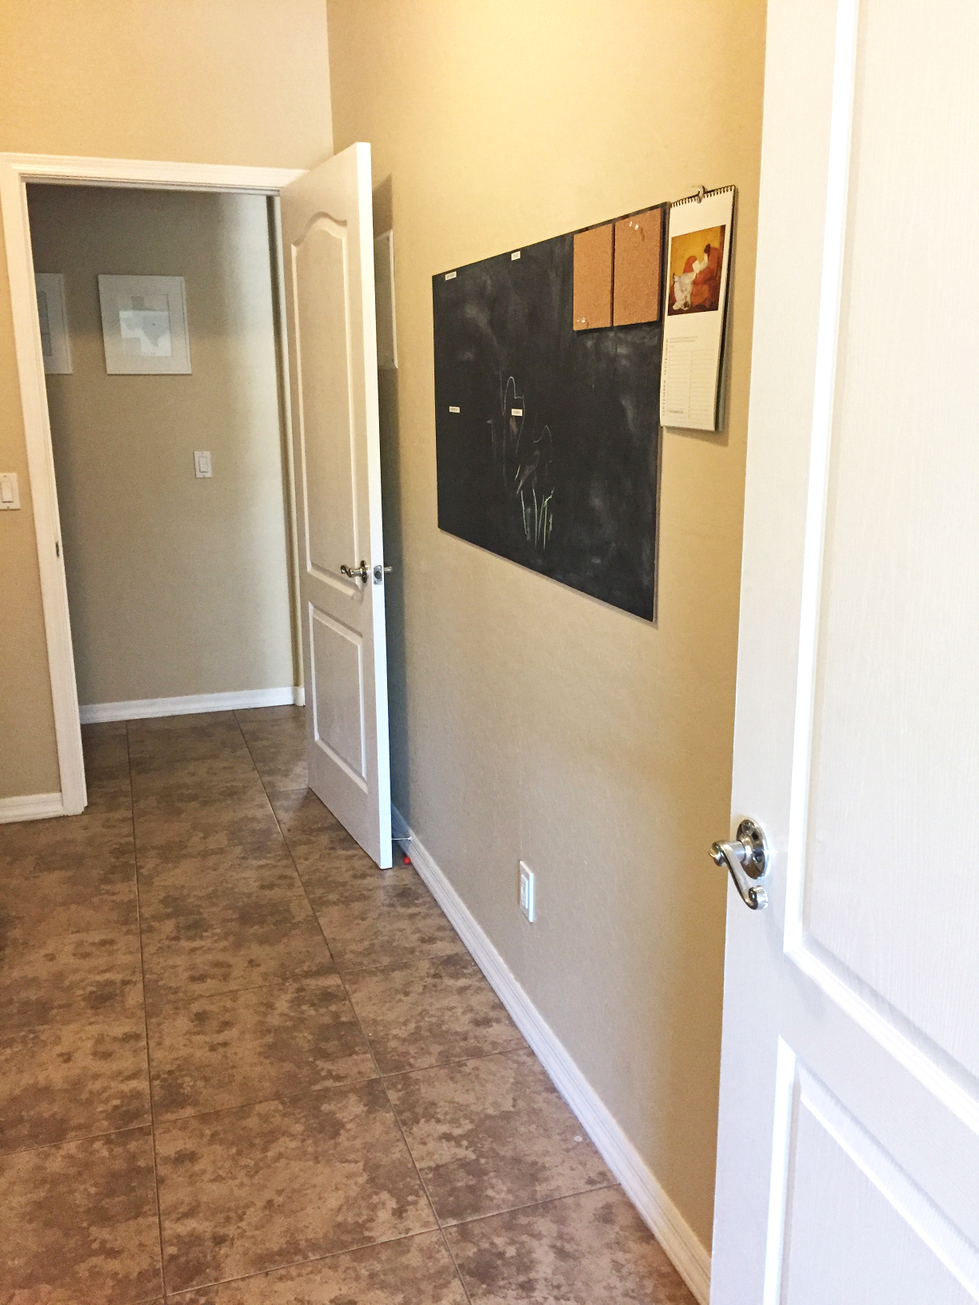
The first step was to paint the whole thing white. We used the same Alabaster Emerald paint from Sherwin-Williams that we’ve used for most of the general living spaces in the house (they donated the paint for this project), and it immediately looked a thousand times brighter.
After painting some fairly big spaces, it was such a treat to do a painting project that took less than two hours total.
I’d also been dying to do some wallpaper in this house and this little space seemed just the right place.
Of course, it took me literally dozens of hours of looking through various options to finally pick a pattern because I wanted something that was fun but not too busy and that would go with the rest of the house.
No small task.
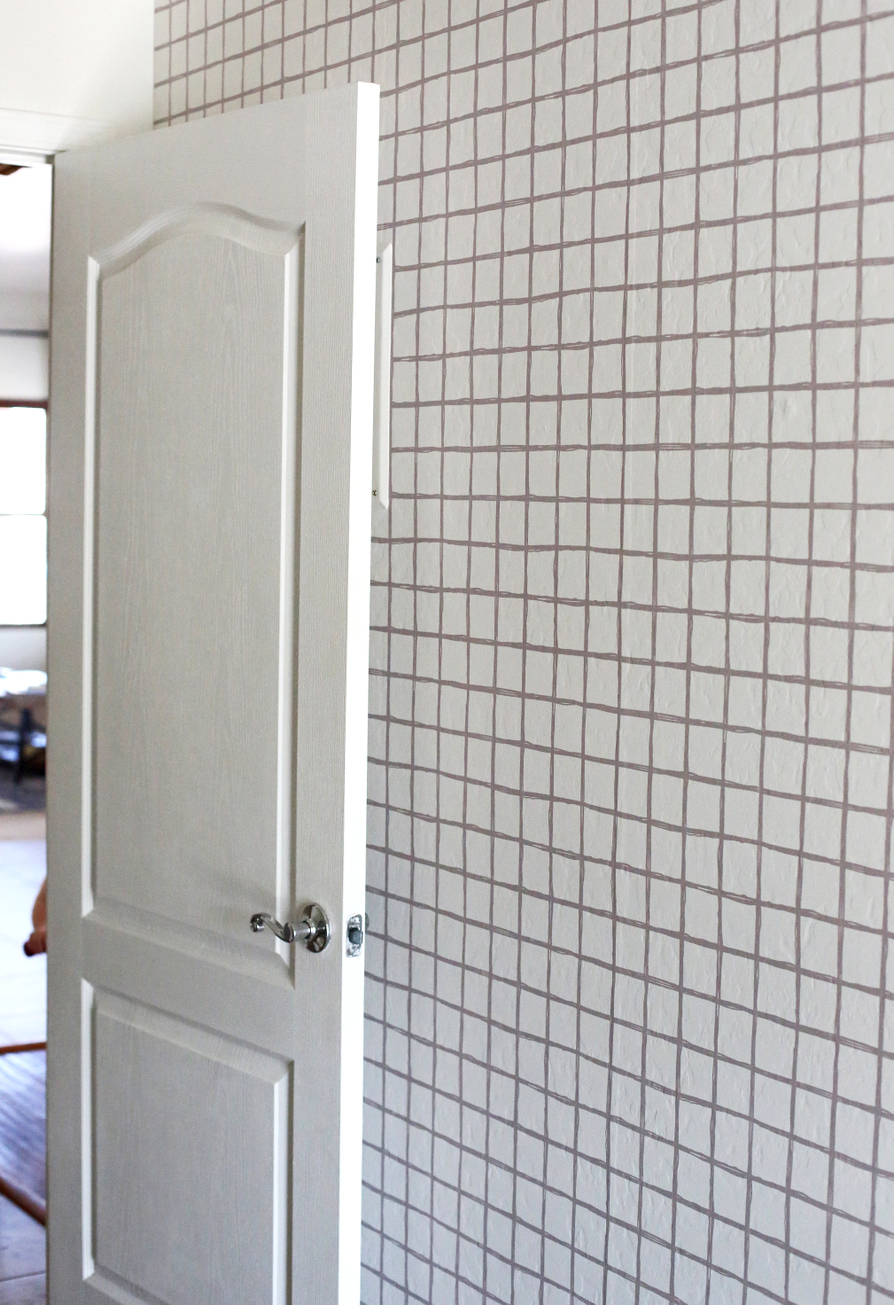
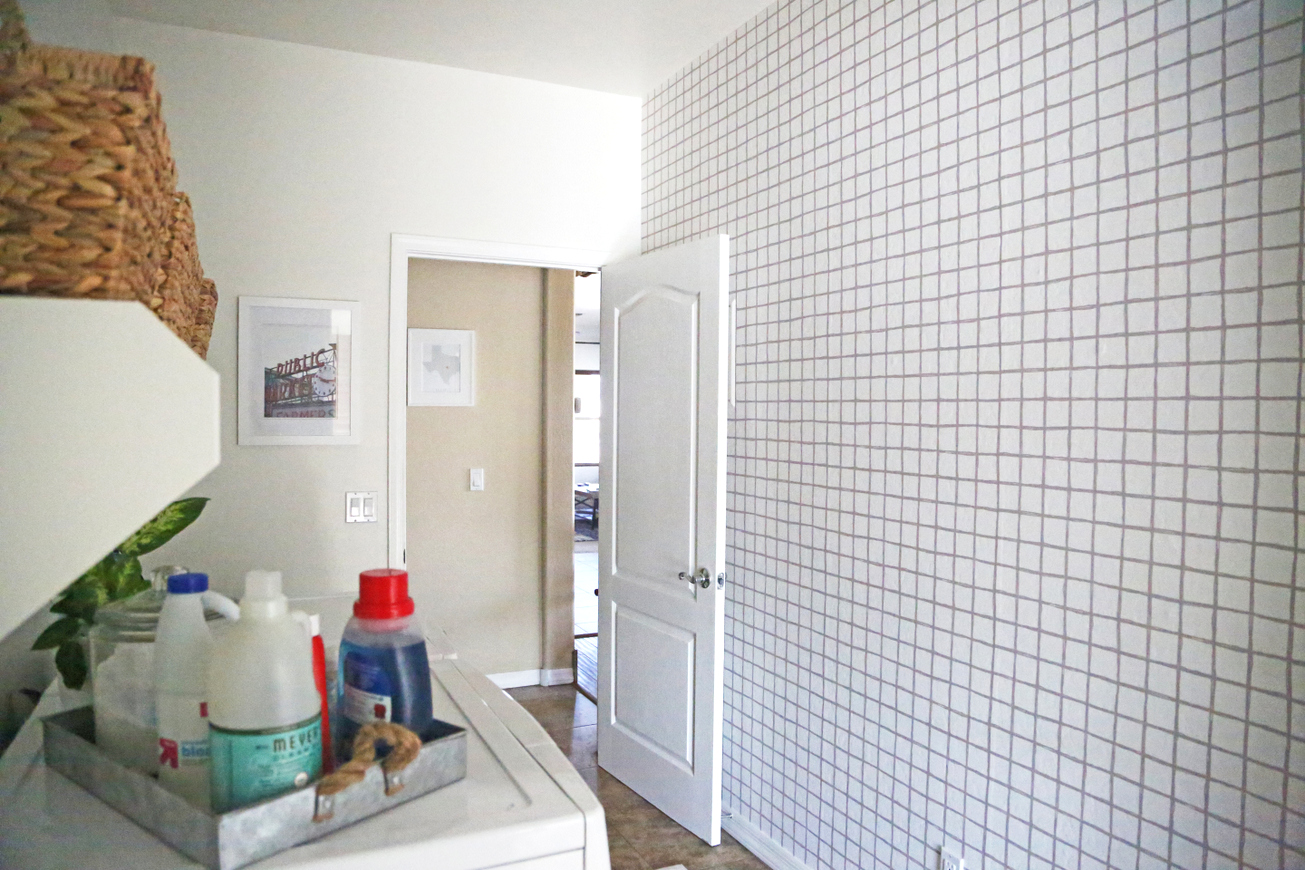
I finally picked this hand-painted windowpane pattern from Little Smilemakers at Spoonflower.
Spoonflower sells both the popular peel-and-stick wallpaper and the more traditional type of wallpaper that you get completely wet and than hang. Since the traditional type was quite a bit cheaper at $5 per square foot rather than $7.50 a square foot, I went with the water-activated one (Spoonflower gave me a discount and I paid for the rest of it myself).
Our wall was about 12 feet long and 9 feet high, so we ordered six rolls.
You’re supposed to wait about 4 weeks after painting to hang wallpaper, but we avoided this by just not painting that wall – the previous tan was light enough that I wasn’t worried about it showing through, and I am WAY too impatient to wait a month (we did paint a single layer around the edges of the wall just in case the walls weren’t quite straight and so that we wouldn’t have any of the old paint hanging out).
Although I’m sure the peel-and-stick wallpaper is easier, the water-activated one wasn’t bad at all. We filled the bathtub with about 3 inches of warm water and then just gently unrolled each roll through the water so it was completely wet. Then we laid it on the counter on top of a towel for about three minutes to let the glue activate.
We lined it up against the ceiling and carefully placed it against the wall, then used a giant wet sponge to smooth it out and remove any bubbles.
Bart said, “I had no idea this is how wallpaper worked.” Apparently he did not grow up in my house where my mom did a LOT of wallpapering (and we got recruited for a lot of wallpaper removal as well).
Spoonflower has very good instructions, plus a video, so it wasn’t complicated at all, and we did the whole wall in about an hour, and then went to bed.
In the morning, we trimmed the edges at the bottom, the openings for the electrical panel on the wall and the single outlet near the floor, and on the final vertical edge with a razor blade and used a spray bottle and the sponge to seal those open edges.
I had been a little nervous about this part, but it looked so clean and crisp on the all the edges. I tend to be ultra-critical of our own work, noticing any flaws, and after several weeks, I haven’t spotted a single thing that bothers me – all the pattern lined up perfectly, the seams are tight and flat, and we didn’t have any bubbles.
Then finally came the fun part, which was the finishing touches.
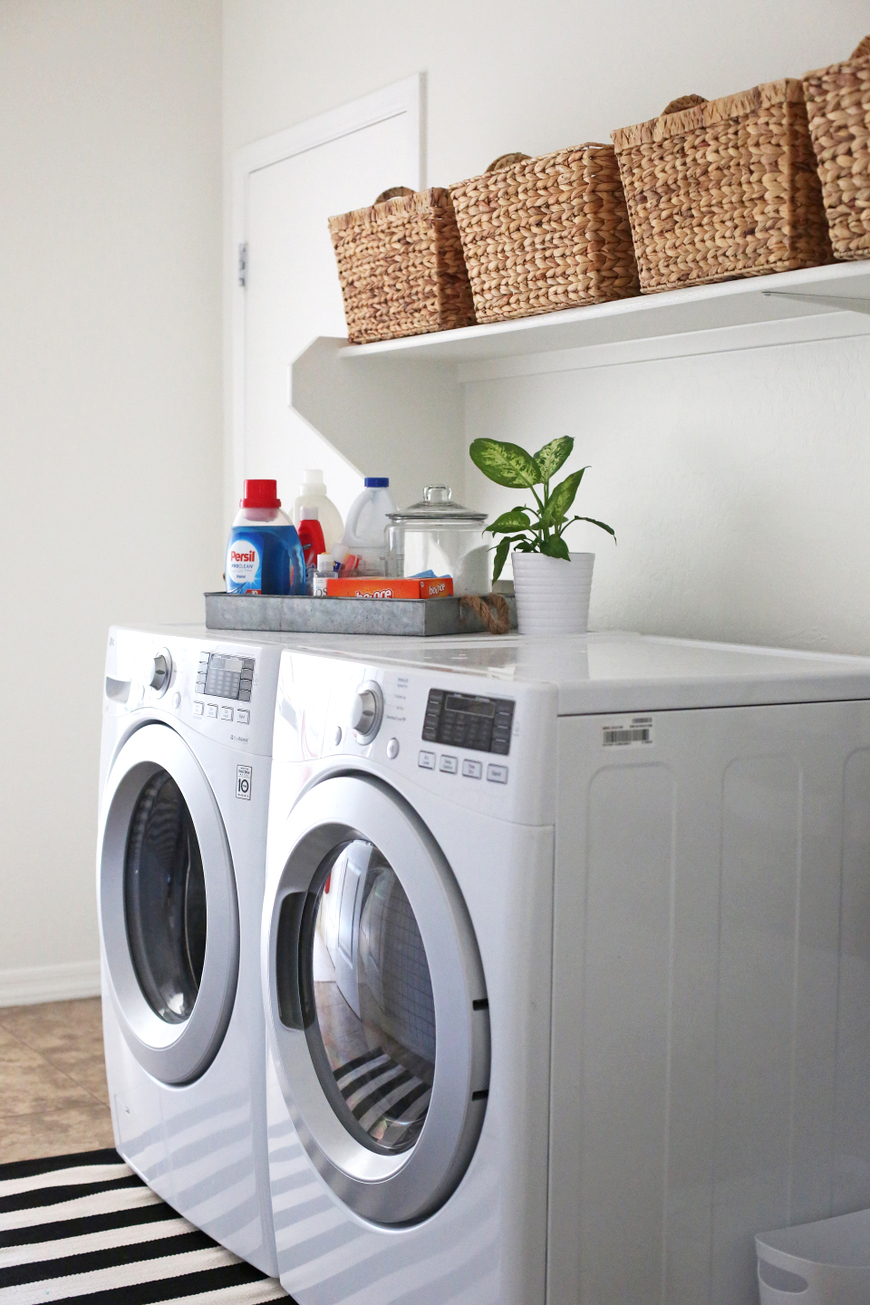
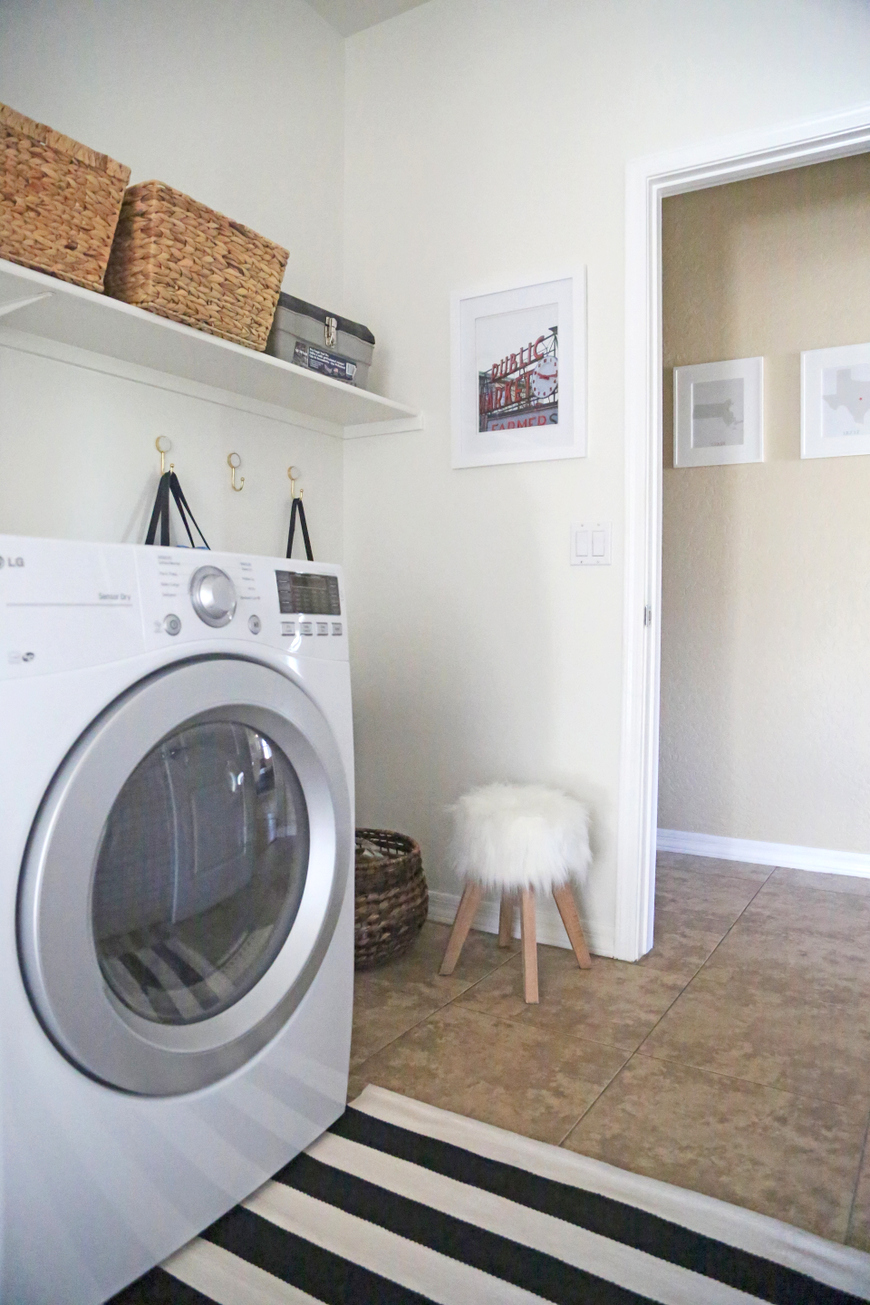
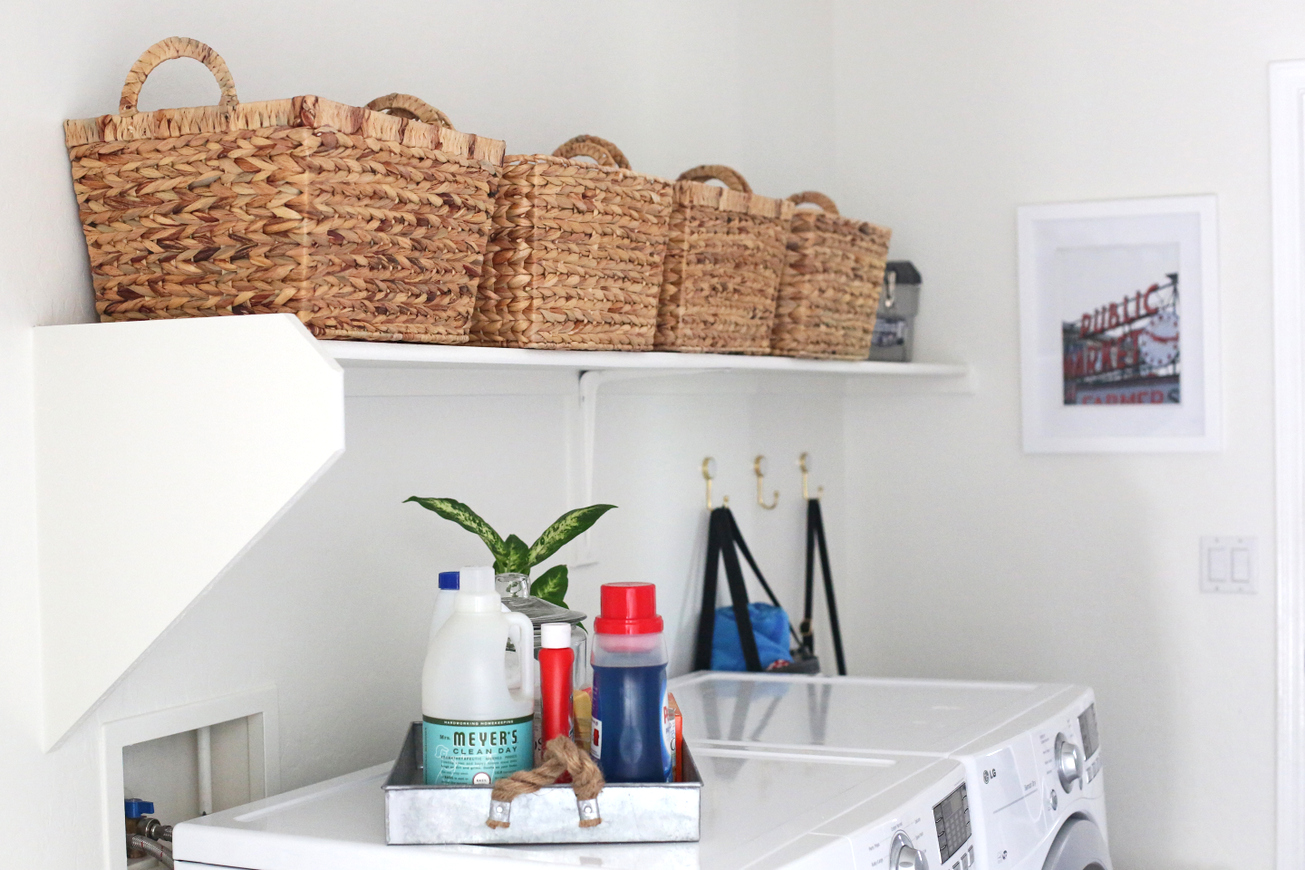
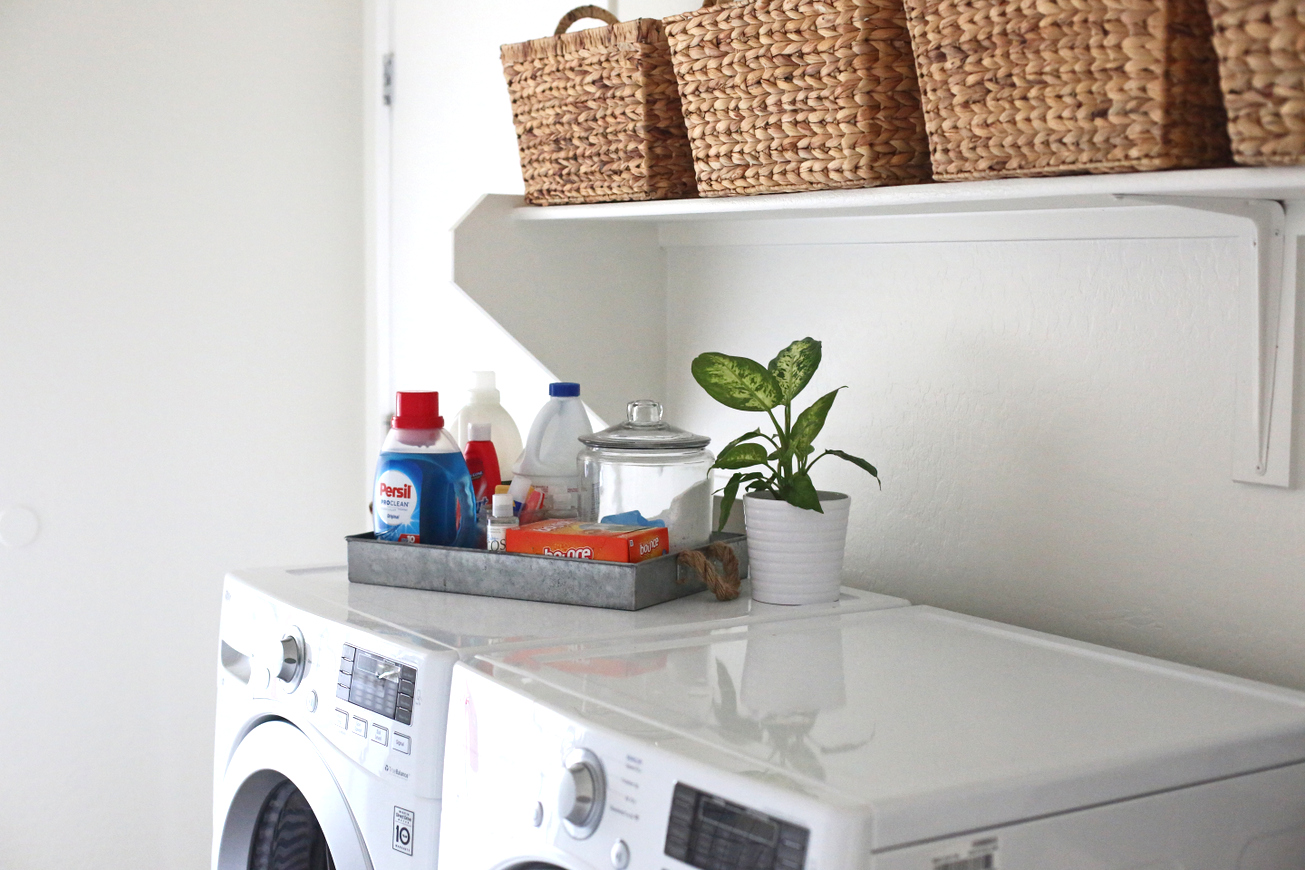
I knew I didn’t want a bunch of junk on the shelves again, so I bought a set of baskets to store extra laundry supplies in and and hung a photo on the wall.
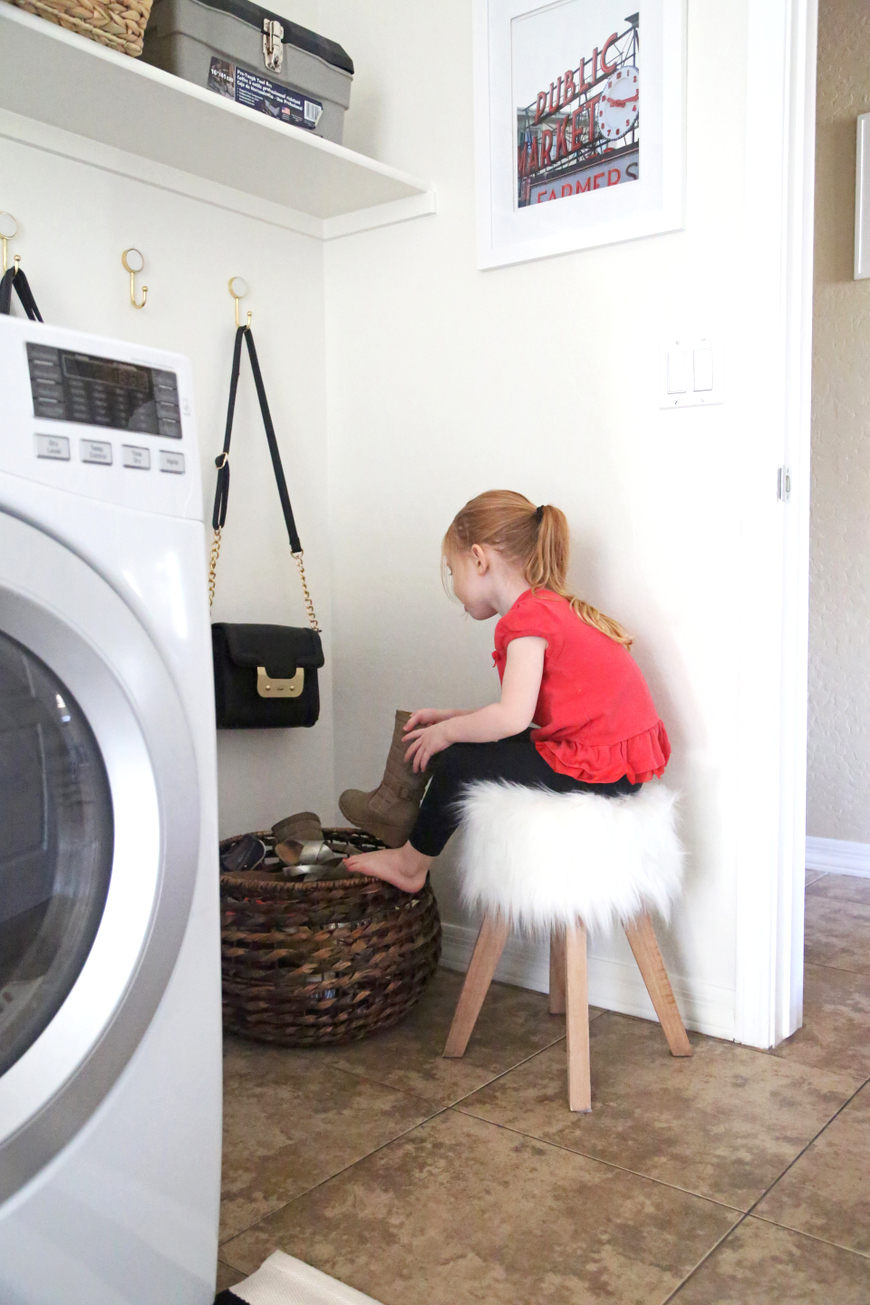
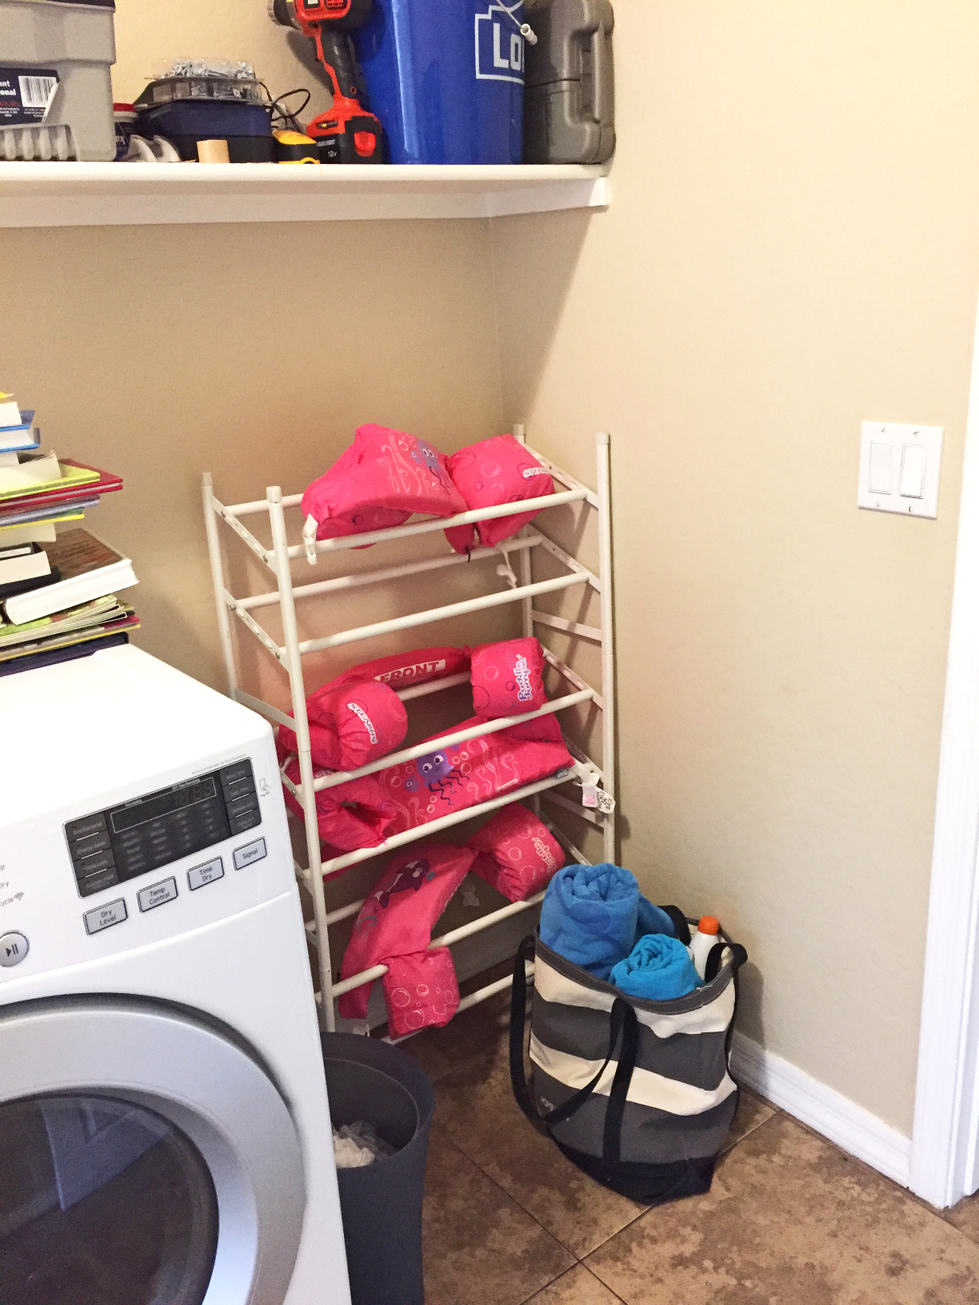
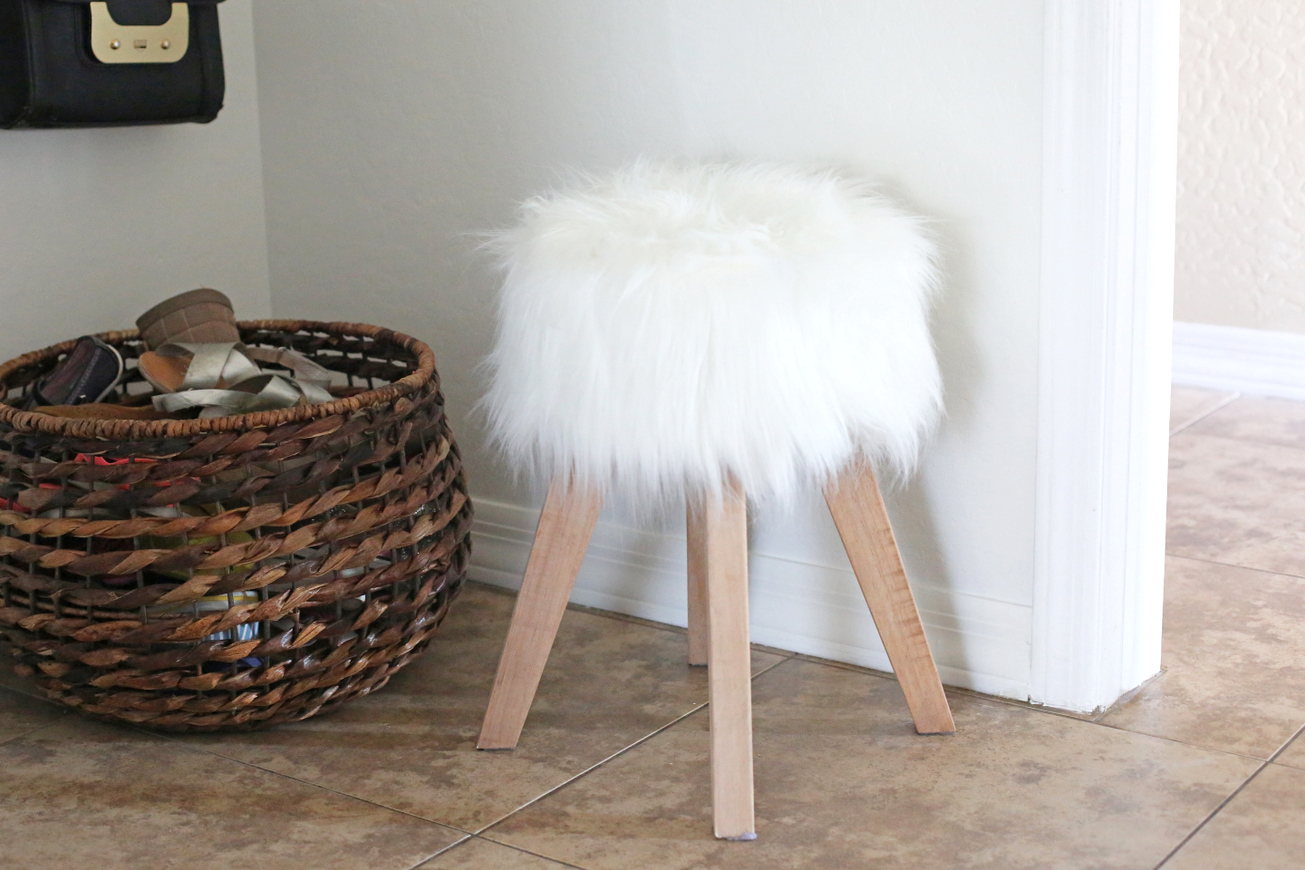
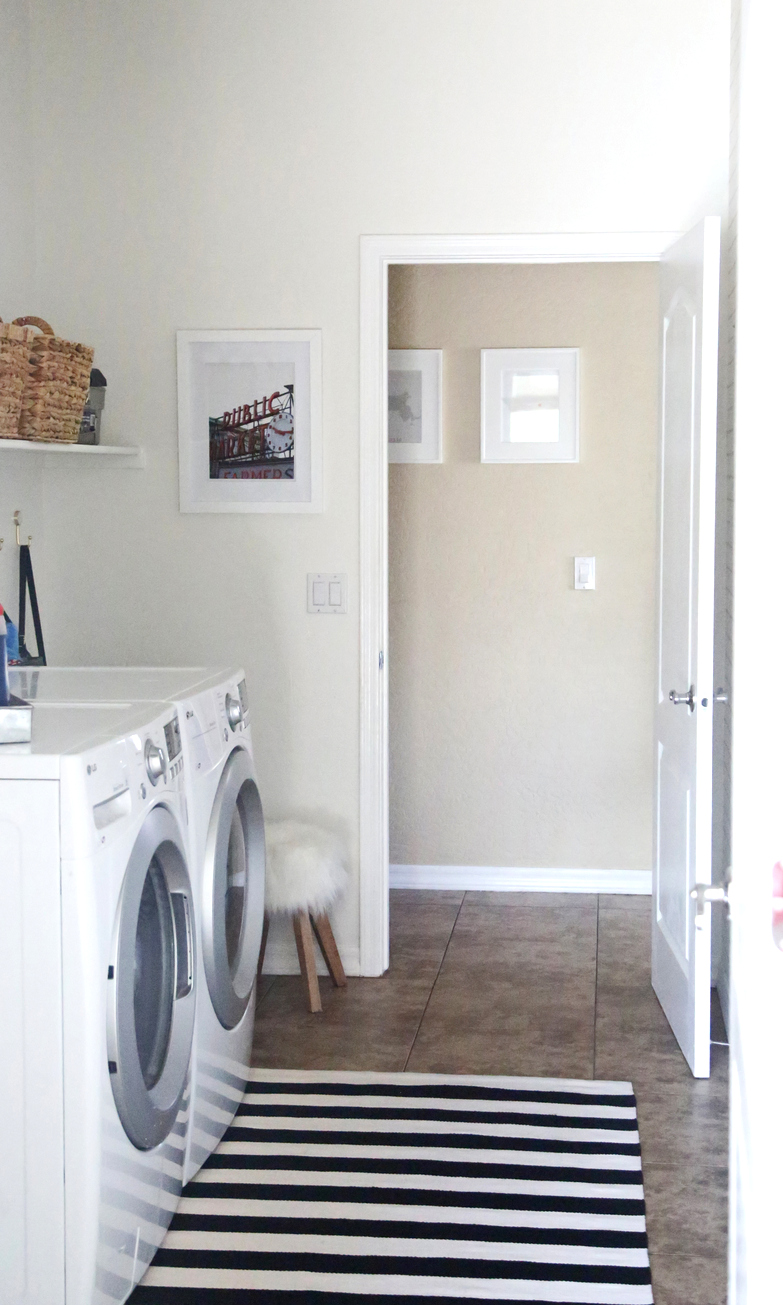
We also got rid of the shoe rack which had held the girls’ floaties (we discovered a set of hanging clips in the garage that worked perfectly instead) and added a shoe basket and a little stool, which I’m obsessed with and am crossing my fingers will actually stay white for more than a few months.
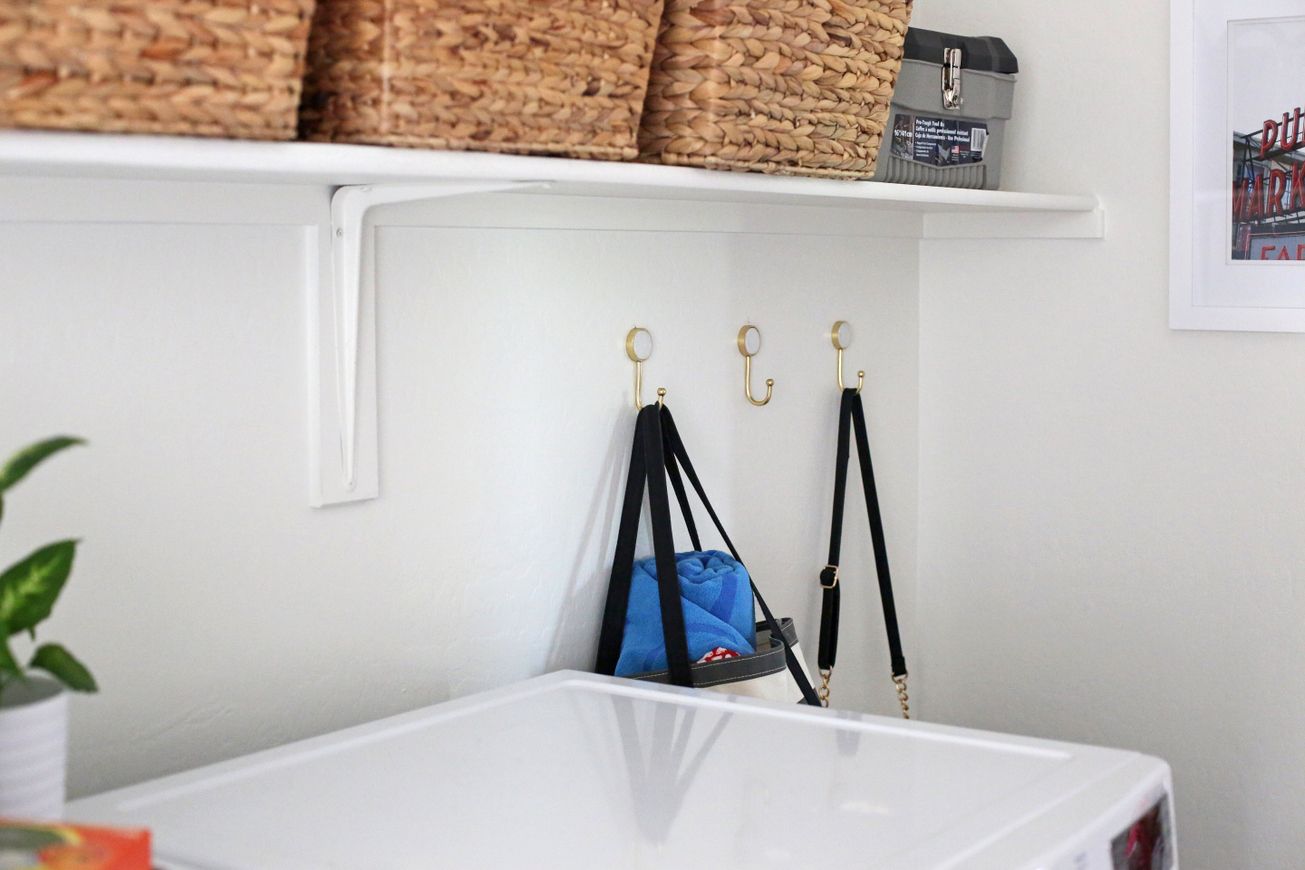
Plus, I snagged these little gold and marble hooks so I could hang up the pool bag, my purse, and the occasional random item like a backpack or my reusable grocery bags.
I’d planned on putting back up the chalkboard and a ledge and other decor, but when Bart and I started to plan where to hang them, Bart sad, “This room is pretty small – I think all of this is going to make it feel too busy and cluttered.”
And I agreed.
This let the wallpaper be a subtle star of the room and also a calmer place to come in and out of. For a small little room, it’s amazing how much of a difference it makes to have it looking bright and organized.
SOURCES:
Wallpaper: Spoonflower
Paint: Sherwin-Williams (c/o)
Shoe Basket: Target
Stool: Hobby Lobby
Hooks: Target
Picture Frame: Michael’s
Rug: Annie Selke (c/o)
Laundry Tray: Ross (similar)
Baskets: TJ Maxx
I love how your laundry room turned out! Derek promised I could redo our when our washer and dryer explode and destroy it (which should only be another month or two based on the sounds they were making this morning), and I’m dying to hang some fun wallpaper in there, and remove all the awful wire shelves from 1993.
It’s amazing what some paint can do. Even the floor seems less brown.
Looks great!!! I have been wanting to put up wallpaper in our laundry room, but it is so expensive to buy enough even do a small room.
I know it! Even just that one wall took 6 rolls, which is why it was way worth it to me to go the water-activated route.
Looks great. I’m having trouble imagining wanting wallpaper. We just removed all the wallpaper from our kitchen to do a renovation. Such a pain. Maybe someday in the far future it will interest me. It sounds like you have done your fair share of removal. I’m inspired to update my laundry room.
This is inspiring me to take my laundry room from a pit of despair to something beautiful!! We come through our laundry room from our garage and I walk through it to go to the pantry. It is so ugly and cluttered. blah! Your laundry room turned out amazing. I love how bright and airy it is.