This post is sponsored by Wagner. They design the best home improvement products for making DIY projects faster, easier, and better. Paint Smart.
Paint for this product was provided free of charge by Sherwin-Williams
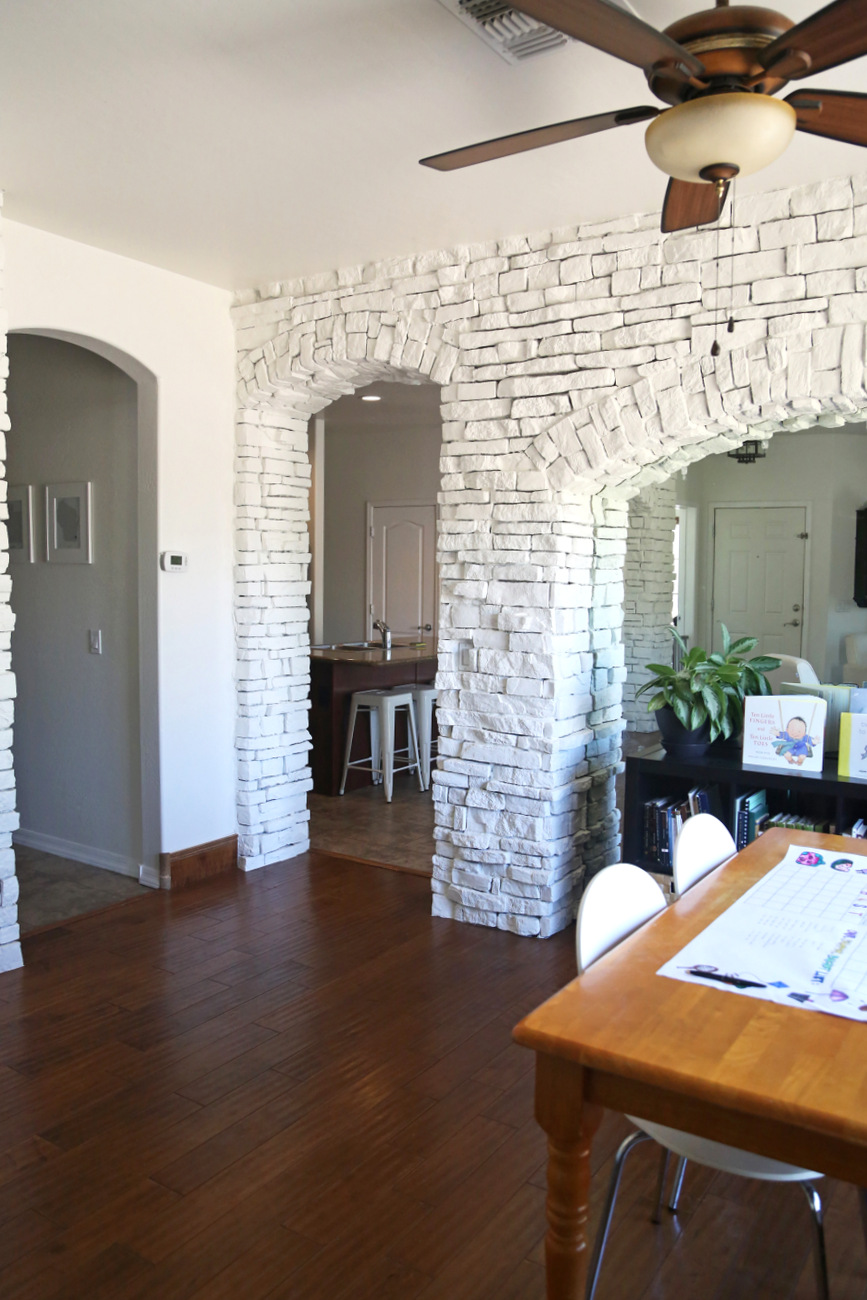
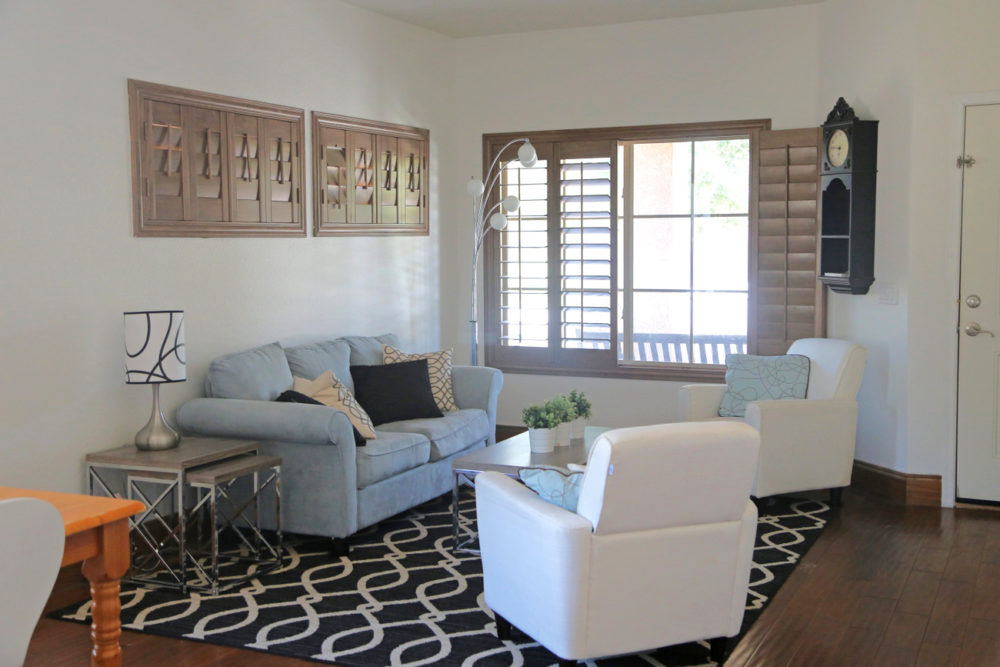
When Bart and I flew out to Arizona in the summer of 2015 to buy a house, we had about 36 hours to find something to buy (not stressful at all).
We went through about 30 homes with our realtor in that period of time and spent every moment that we WEREN’T going through houses weighing the various merits of each house we’d already seen.
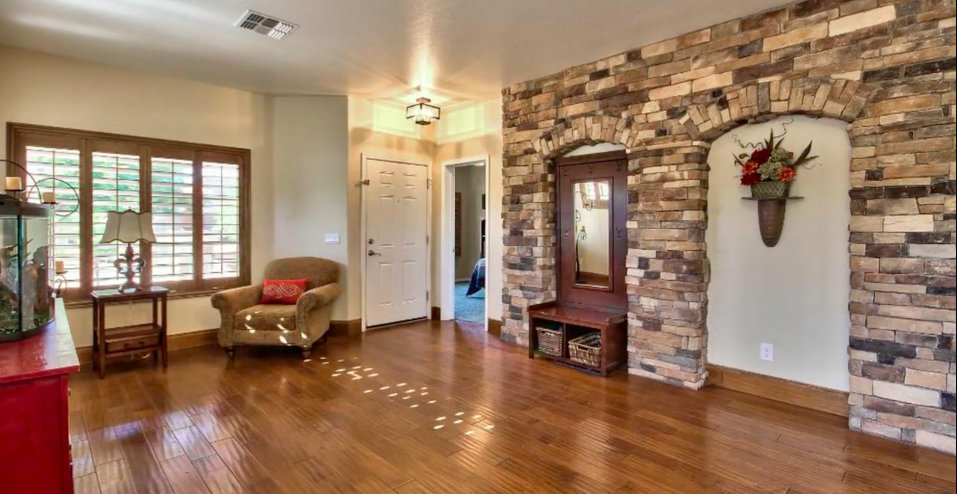
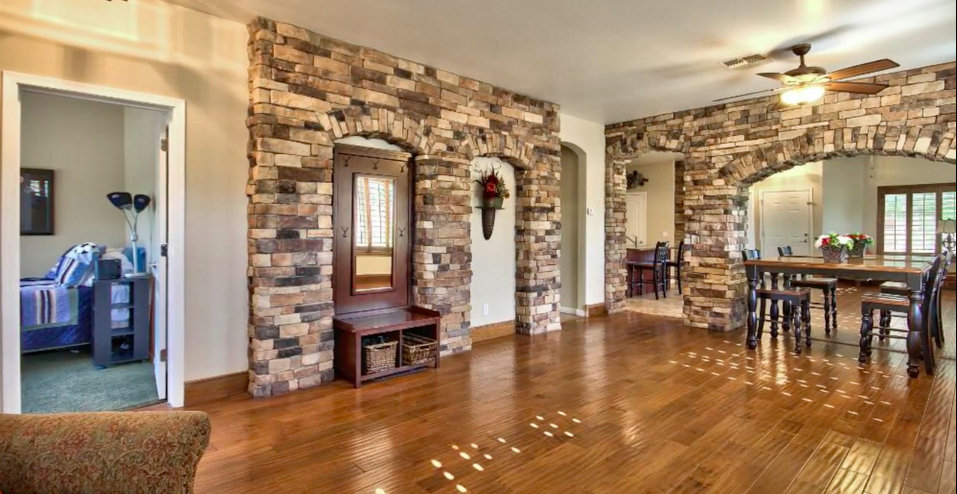
From the moment we walked into this house, we dubbed it “the stone house” because there was just SO MUCH DARN STONE.
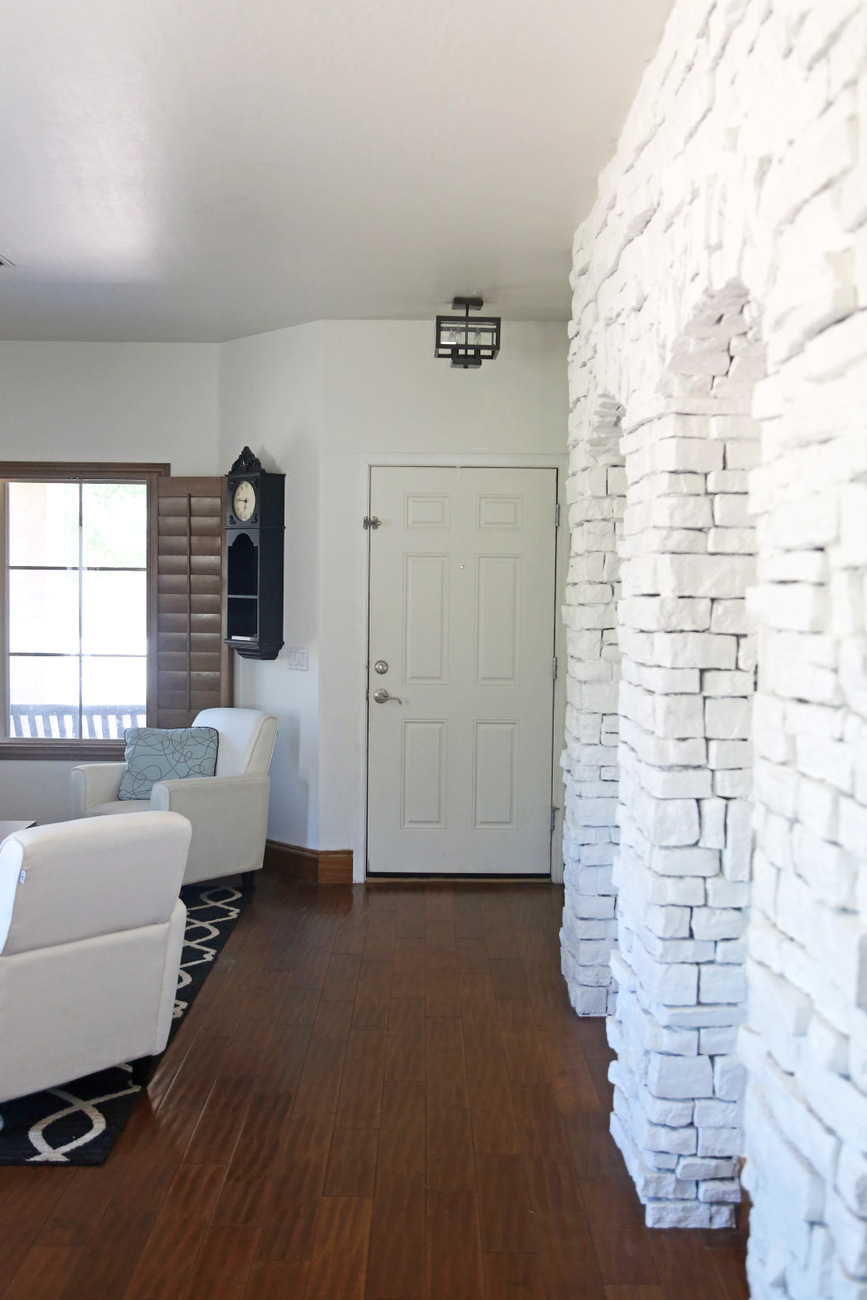
Last fall, we ripped out the mammoth stone entertainment center in the family room (you can see the before and afters here), and then it was time to turn our attention to the other stone which is in the living room.
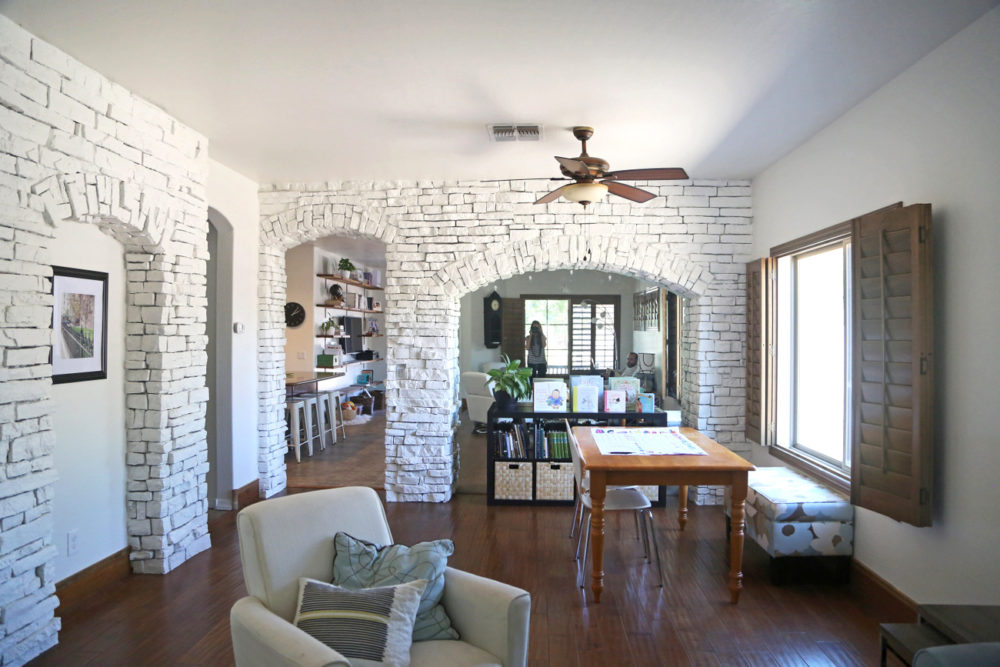
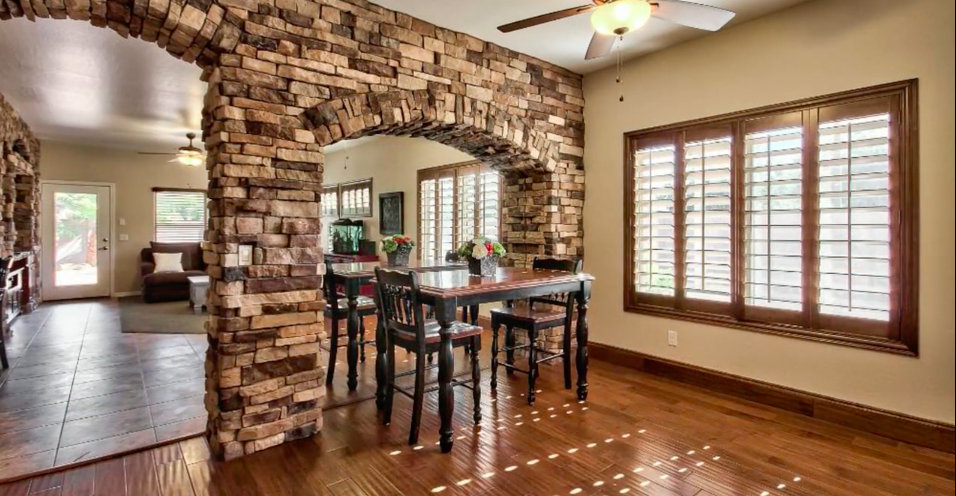
The living room/dining room isn’t particularly large and the floor-to-ceiling stone on two of the four walls made it seem even smaller. Also, it made the room just overwhelmingly brown.
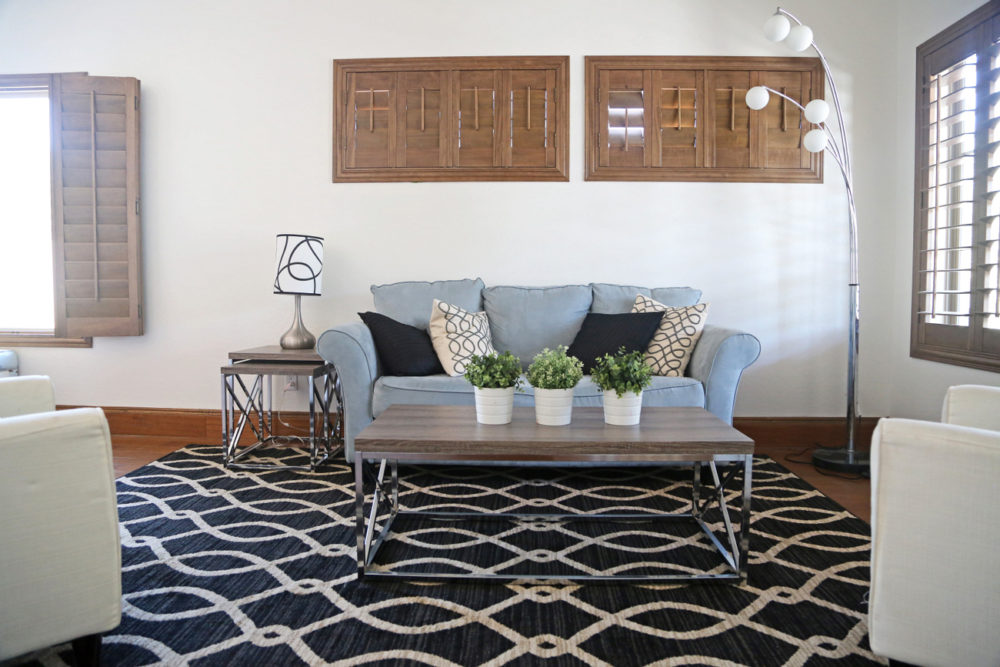
These photos are from the original house listing and it makes it look somewhat better than it really looked for the past two years that we’ve lived here.
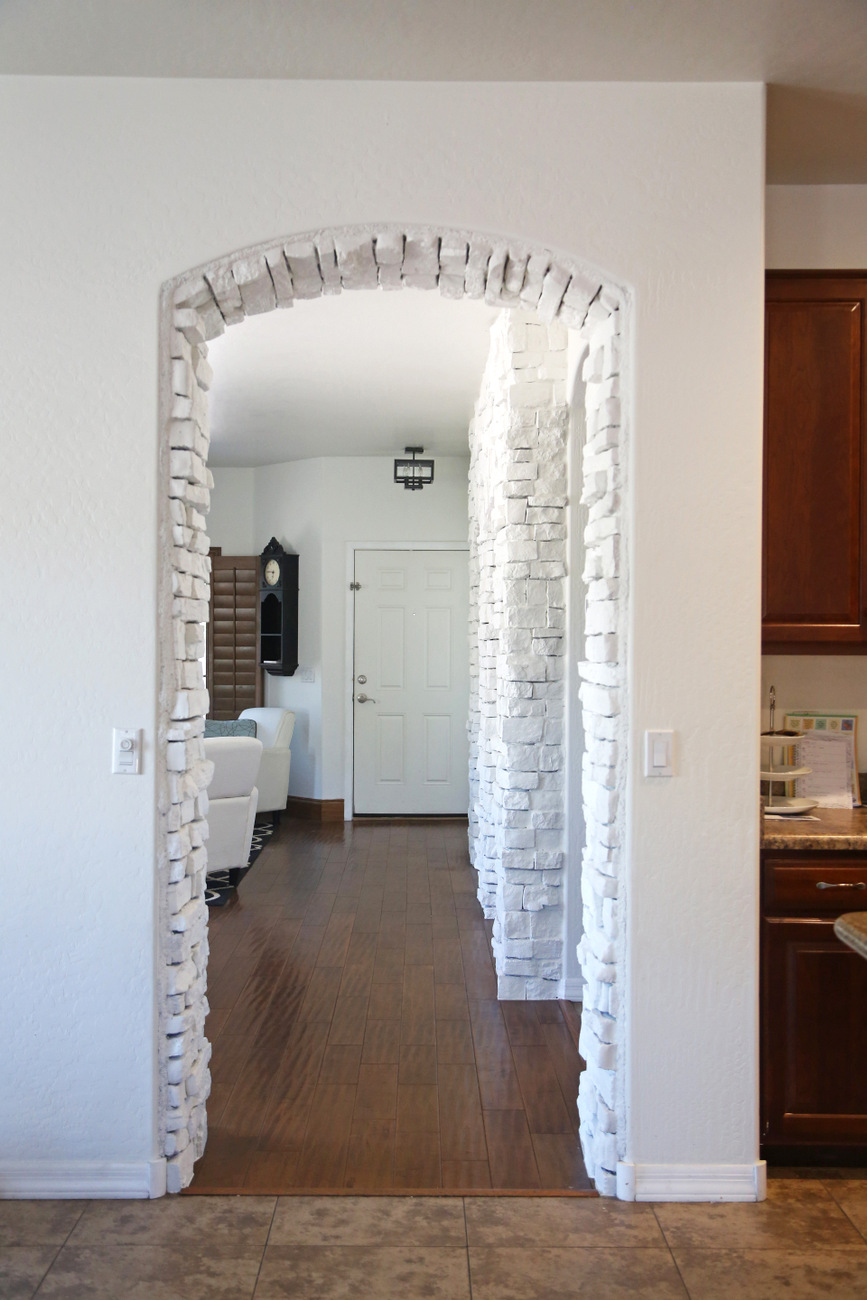
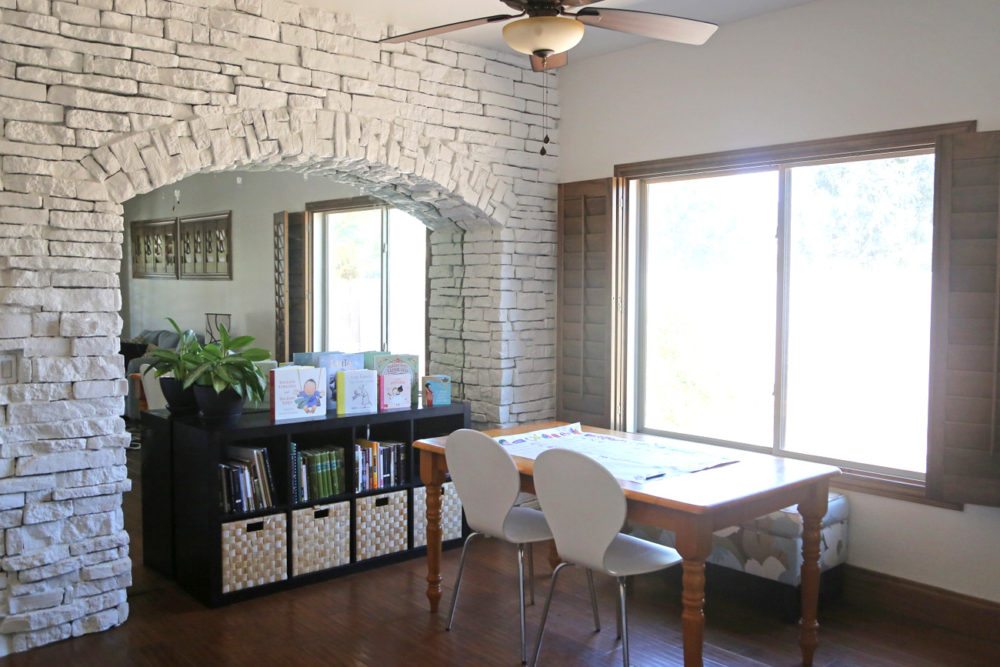
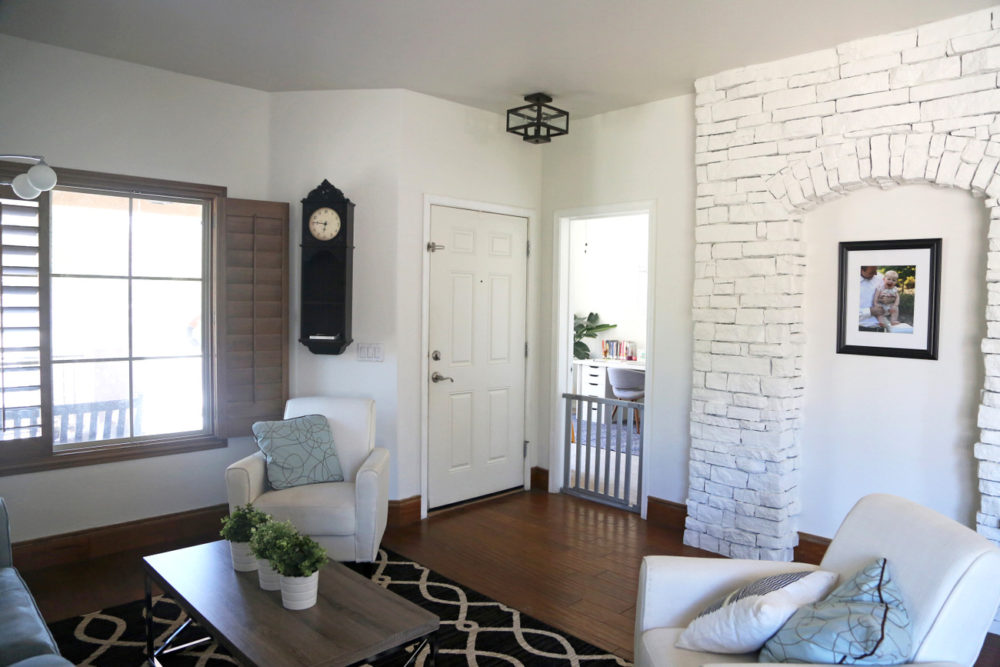
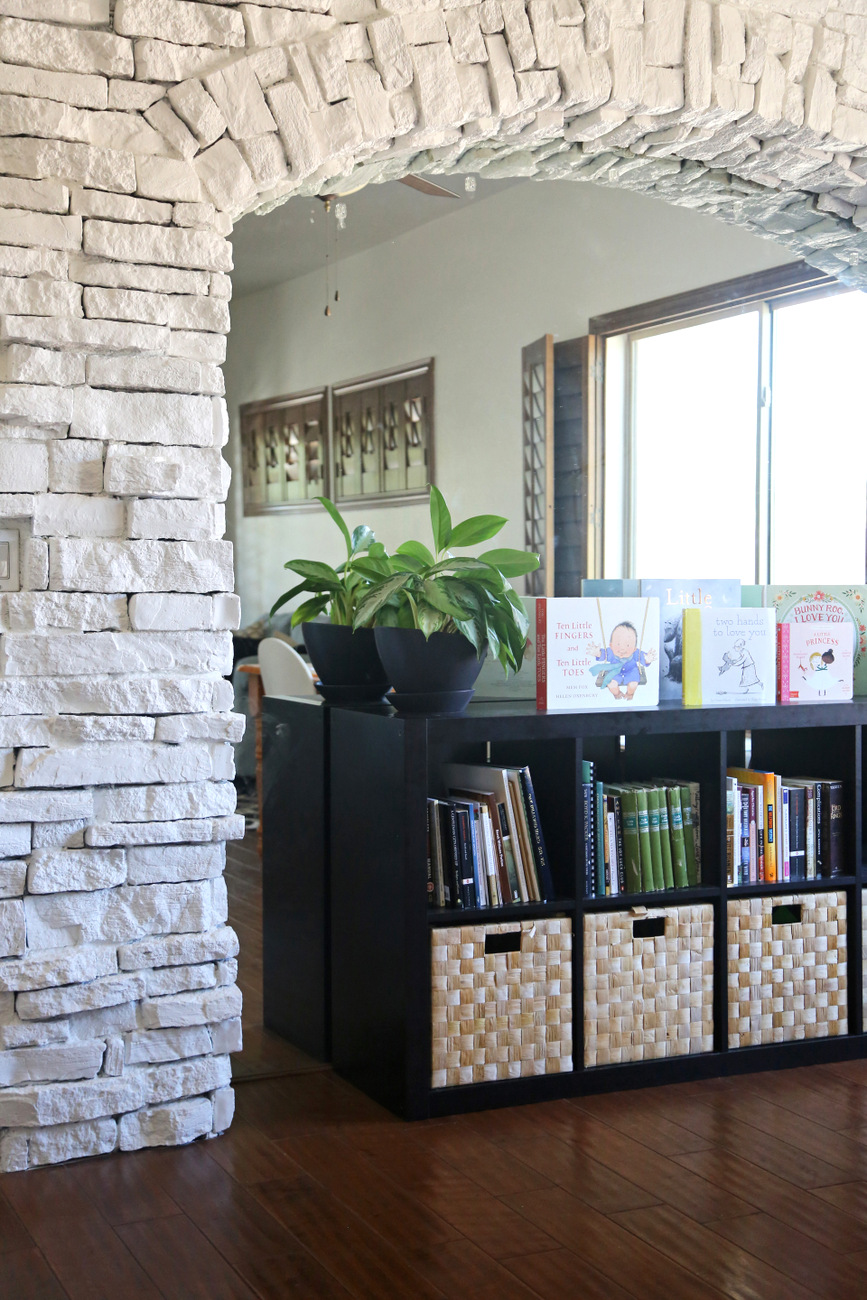
For more than a year, I’ve been dying to paint the walls and the stone white so that the shutters and wood floor and trim would pop more, and it wouldn’t just be so BROWN (did I mention the BROWN?).
In a perfect world where money wasn’t an issue, we’d just rip out the stone, but the wood floor was laid AFTER the stone was put in, which means if we ripped out the stone, we’d have to replace the flooring too and if we were to replace that floor, we’d probably want to replace the tile in the entire upstairs which we had priced a year or so ago and would cost around $12,000 for the wood tile we want. Anyway, this If You Give a Mouse a Cookie scenario meant the stone is staying for now.
But I had no idea how to paint that darn stuff. I didn’t know how it’d be possible to do this with a brush or roller, and so this project just kept getting pushed off indefinitely.
Then, when I spoke at SNAP conference this spring, Wagner was one of the sponsors and after they demonstrated their paint sprayers, I was like “I HAVE JUST THE PROJECT FOR THIS.”
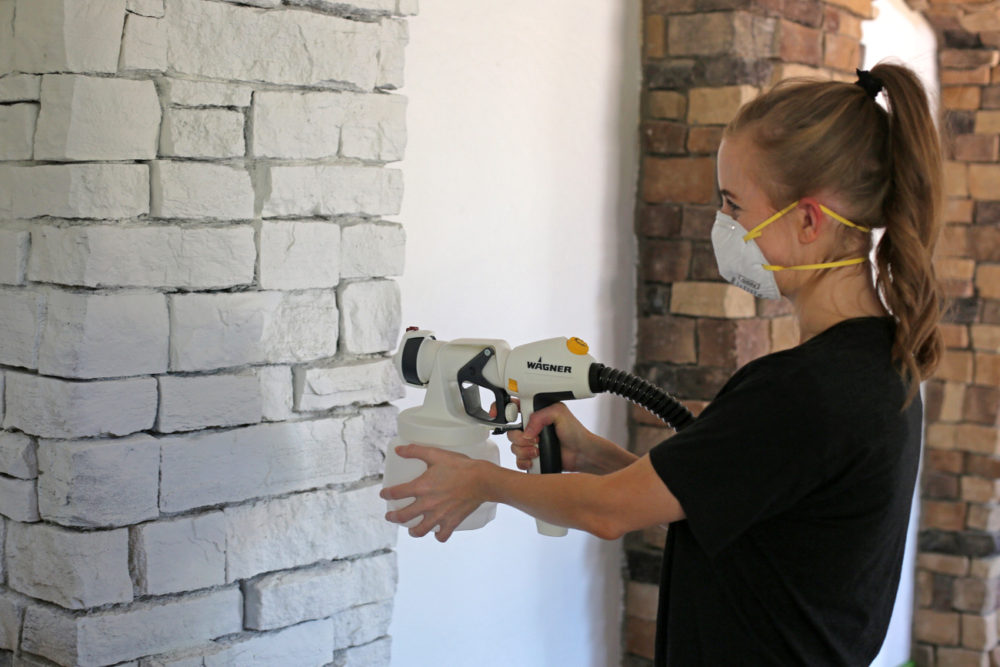
Wagner sent me the Studio Pro Sprayer and it was the perfect tool for the job.
I’d never used a paint sprayer before, and it’s a little different than the painting jobs I’m used to, since the actual application is a heck of a lot faster than using a brush and roller, but you do have to do a little more prep beforehand, like covering the floor and ceiling (in our case, the ceiling didn’t need to be covered because the ceiling is the same color as we were painting the walls and stone).
We taped up edges, laid plastic on the floor and got to work.
Originally, after asking around a little, we’d gone with a stucco paint, but when we opened the bucket, it was SO thick. Like . . . just slightly thinner than silly putty. There was NO WAY that was going through the sprayer.
So we called a professional painter and asked him what to use and he was all, “Um, not that.” He recommended we use two coats of primer and then just use the same paint we were using on the walls, which made it super simple.
Like most of the rooms in our house, we used Sherwin-William’s Emerald Satin paint in Alabaster (Sherwin-Williams donated the paint for this project), and it’s basically my favorite white ever. It looks so crisp and clean without strong yellow or blue tones and I’ve been thrilled with it in our bedroom, Ani’s bedroom, the family room, and the breakfast nook. You better believe we’ll be using it in our basement too.
Using a sprayer basically couldn’t be easier. You pour the paint into the sprayer, set how fast or slowly you want the paint to come out and then you just spray away!
It took all of 30 seconds to do half of one column, and Bart and I both just looked at each in amazement because we know all too well how long that would have taken without a sprayer.
Afterward, we cleaned out the four parts of the sprayer and packed the whole thing up in the carrying kit (I love something that is self-contained) and put it away for our next project.
It makes me feel (almost) brave enough to tackle painting our kitchen cabinets someday.
These rooms aren’t finished yet – I’d like to replace the table with something that we didn’t buy at Goodwill for $30 and I want a cool light fixture above the table instead of that big ugly fan, and the room could use some more plants and decor, but overall, I’m SO pleased how much better the whole thing looks and every time I walk into that light bright room, I am so happy we finally got this project done.
You can see more incredible DIY projects at Wagner’s blog, Finish. Guaranteed, it’ll make you want to put your DIY hat on.
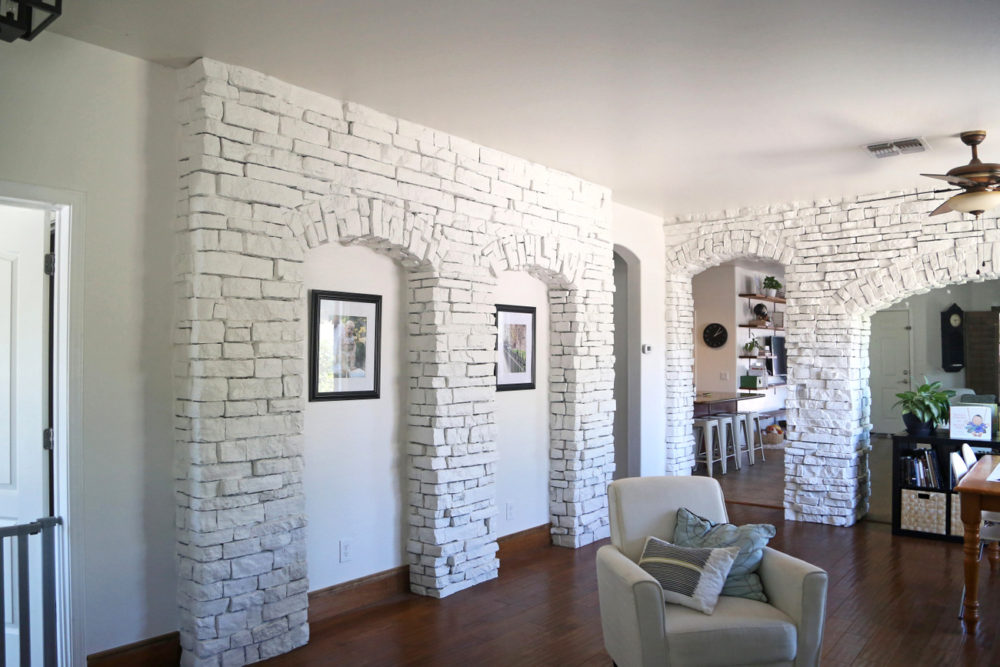

After paying someone $900 to paint our kitchen cabinets and finding several spots that weren’t the best (just little parts of the cabinet by the counters that didn’t get painted at all) Derek and I are pretty confident that we could have done as good of, if not better than the job they did. I will say the only thing about using a paint sprayer on wood is making sure that you don’t get “orange peel” which is when the paint comes out of the sprayer too fast (or your too close to what you’re painting) and creates an orange peel texture on the wood. We had that happen on a couple spots on a bed that we sprayed a few years ago, but it was luckily on the back side and not incredibly noticeable. But if painting another kitchen is in our future, Derek and I will definitely do it on our own.
Your room is so much more attractive now! Great idea and great work!
It’s amazing what a difference a coat of paint can make!!! My husband and I just bought our first house and we’re painting the WHOLE thing. It’s a little overwhelming but I think I’ve said “I can’t believe how GOOD it looks” about twelve (dozen) times. We’re also replacing the flooring in most (possibly all, we’re mid-decision on that) of the house and I’m pretty thrilled that it’s basically going to look like a whole different house before we even move in (call me crazy but the wine red carpet in the main living area was just not my idea of classy). Anyway, hooray for home improvement projects!
The white stone looks really good!
I saw your instagram post a while back about painting the stone and was wondering how you were going to go about it. I never thought about using a paint sprayer. It looks really nice! Thanks for posting about this!
Btw, are those real wood floors?
It’s a laminate that the previous owners put in, but in my uneducated opinion, I think it’s a fairly decent laminate!