If you’re wondering how to paint a room, here’s a step-by-step guide including how much paint you need, the average cost to paint a room, what tools to use, and how to prep a room for painting and how long it takes!
I’ll be the first to admit that I’m NOT an expert painter. But I am an expert AMATEUR painter.
In our first house in Texas, Bart and I painted every single room (some of them multiple times, like when we accidentally painted our living room the color of mustard mixed with peanut butter).
We took an eight year break from painting a single thing until we bought our second house in Arizona.
And that house needed SO. MUCH. PAINTING. (Want a peek? Check out the orange walls of the master bedroom and the practically glow-in-the-dark mint green walls in Ani’s room).
Over the course of two years, we painted every single room in that house except the master bathroom which was already white (and that was a BIG house – 4200 square feet – so it was a lot of painting, including painting the ceiling white in Bart’s office because it had originally been a theater room and they’d painted the ceiling black).
Bart and I painted all the living areas (kitchen, breakfast nook, family room, living room, dining room), plus our bedroom, my office, and the laundry room.
My mom came to visit two separate times and helped me paint three of the four girls rooms, the basement play room, Bart’s office and two bathrooms.
Now, in our new house, we’ve painted my office and our bedroom and have lots more painting ahead of us.
Basically, I’ve had a LOT of practice. And because I learned from the master (my mother, who has painted probably 100 or more rooms in her life), I haven’t had a lot of flops.
I am a huge fan of painting, like I mentioned in this post about my best decorating tips, because it’s such an inexpensive way to transform a space.
It usually costs us less than $100 to paint a whole room and about 4 hours. That’s hard to beat!
So here’s how to paint a room, step-by-step.
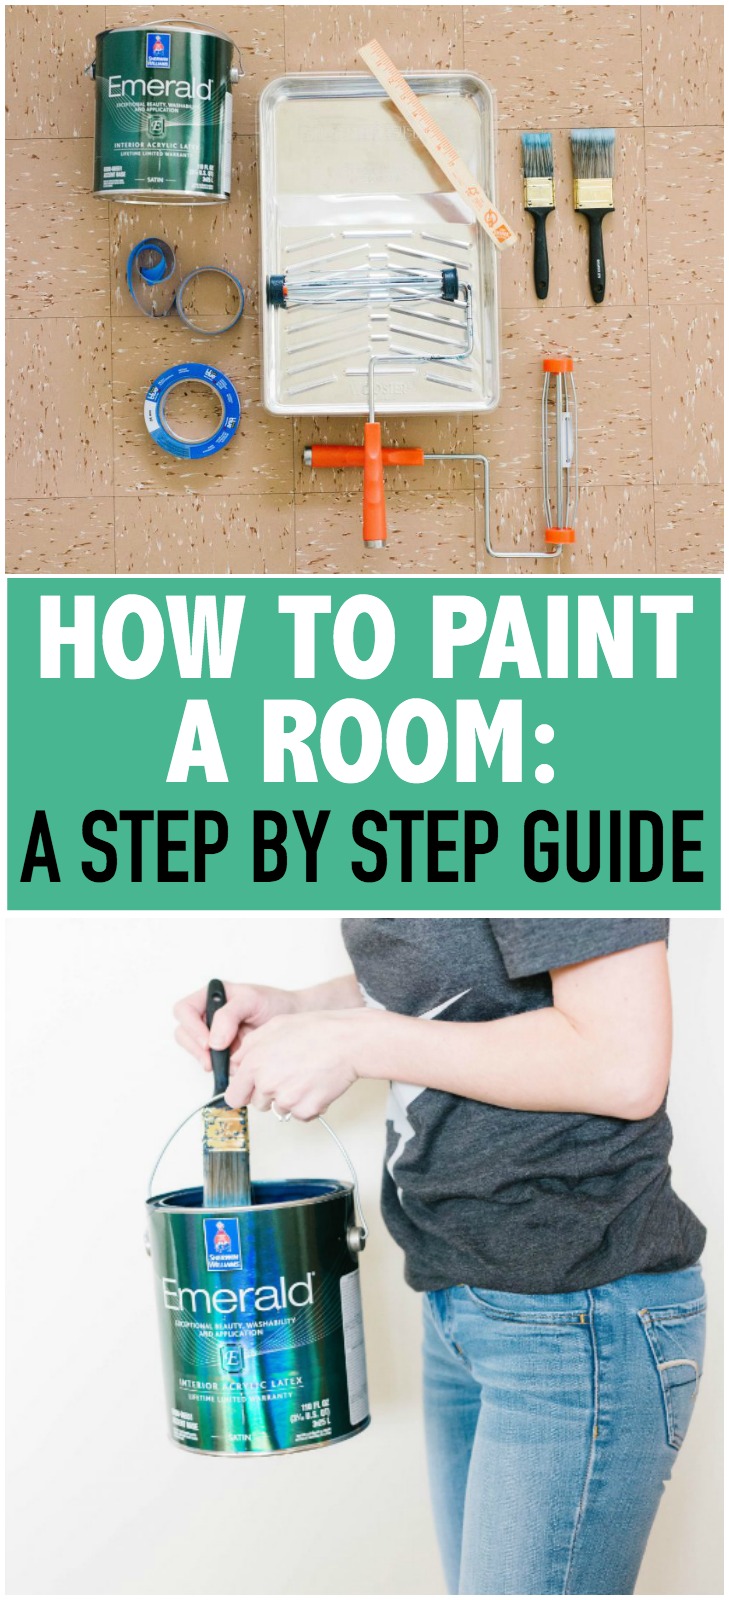
How to Paint a Room: A Step by Step Guide
First, you’ll need some painting supplies!
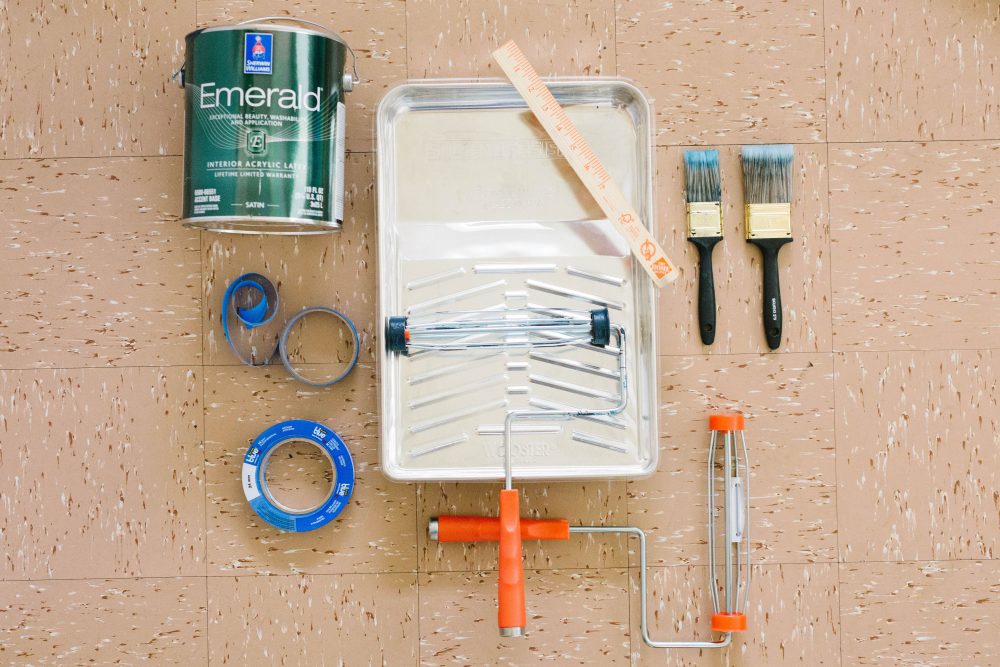
Supplies for Painting a Room:
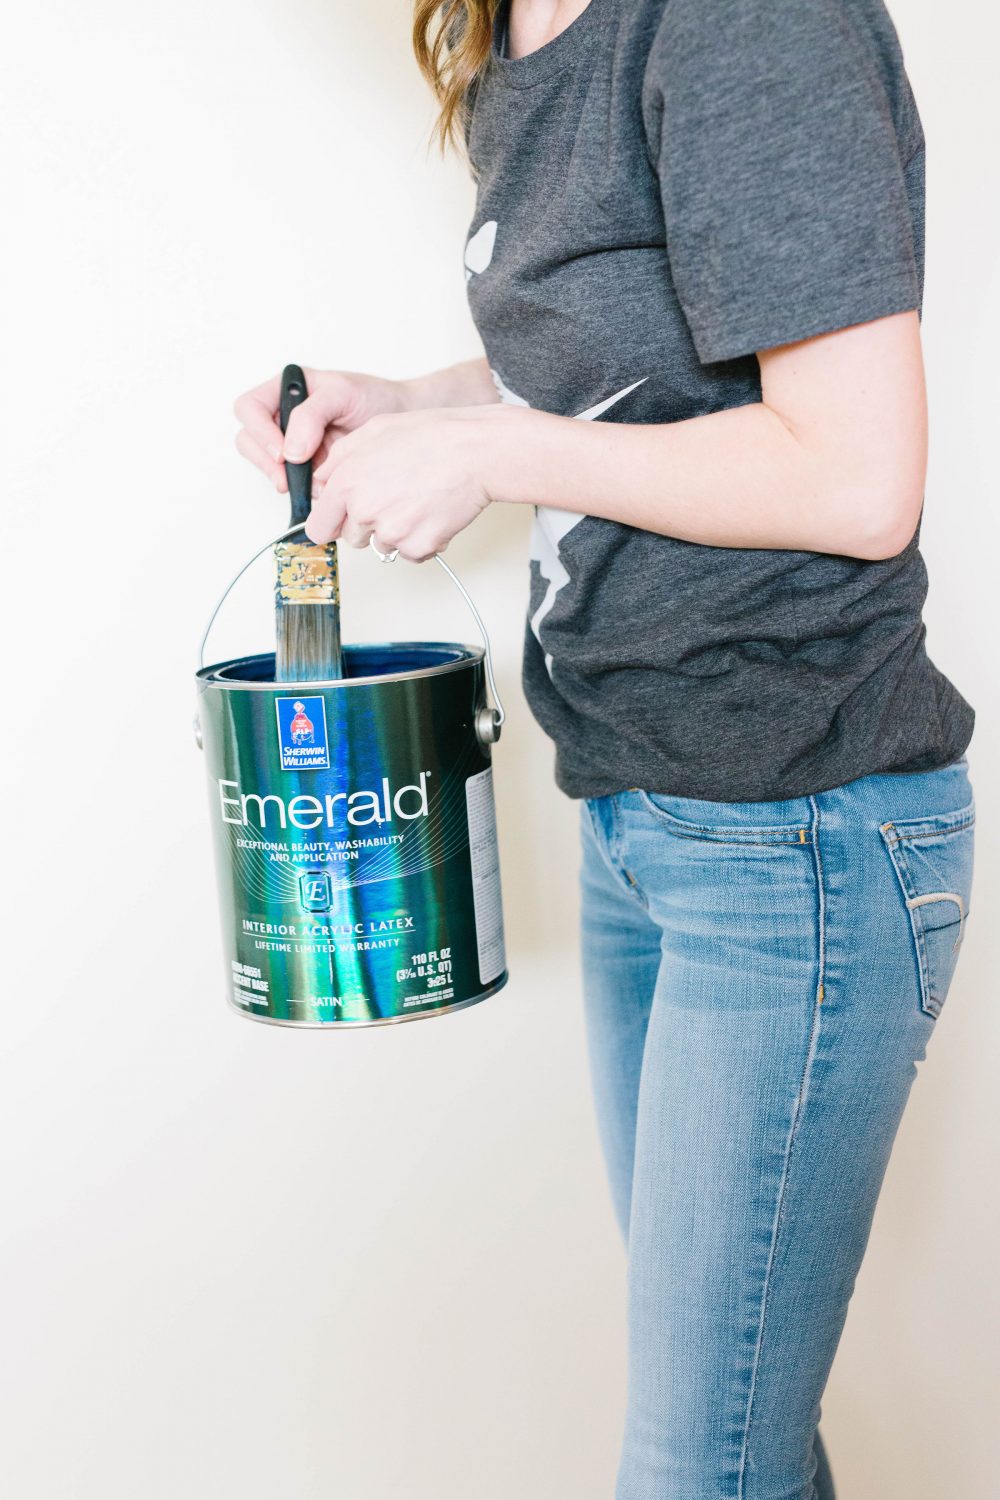
- Paint. I always use Sherwin-Williams paint and I always go with Emerald in a Satin sheen. I love Satin because it’s not overly shiny like a semi-gloss or eggshell, but it’s not as matte as a flat paint which I think shows EVERYTHING. It’s also super durable so you can wipe things off it in a kitchen or bathroom. We usually have no problem doing an average-sized room with a single gallon of paint (when we painted my office navy blue, we had enough paint leftover to paint an accent wall in our master bedroom too).
- Paint stirring stick. These are free – just make sure to grab one at Home Depot or Sherwin Williams. You want to make sure your paint is WELL-stirred before your start painting.
- Paint tray. We have one metal paint tray that’s reasonably nice and we just reuse it every time.
- Paint tray liner. We always use a paint tray liner to make clean-up faster and so we don’t have to buy a new paint tray every time.
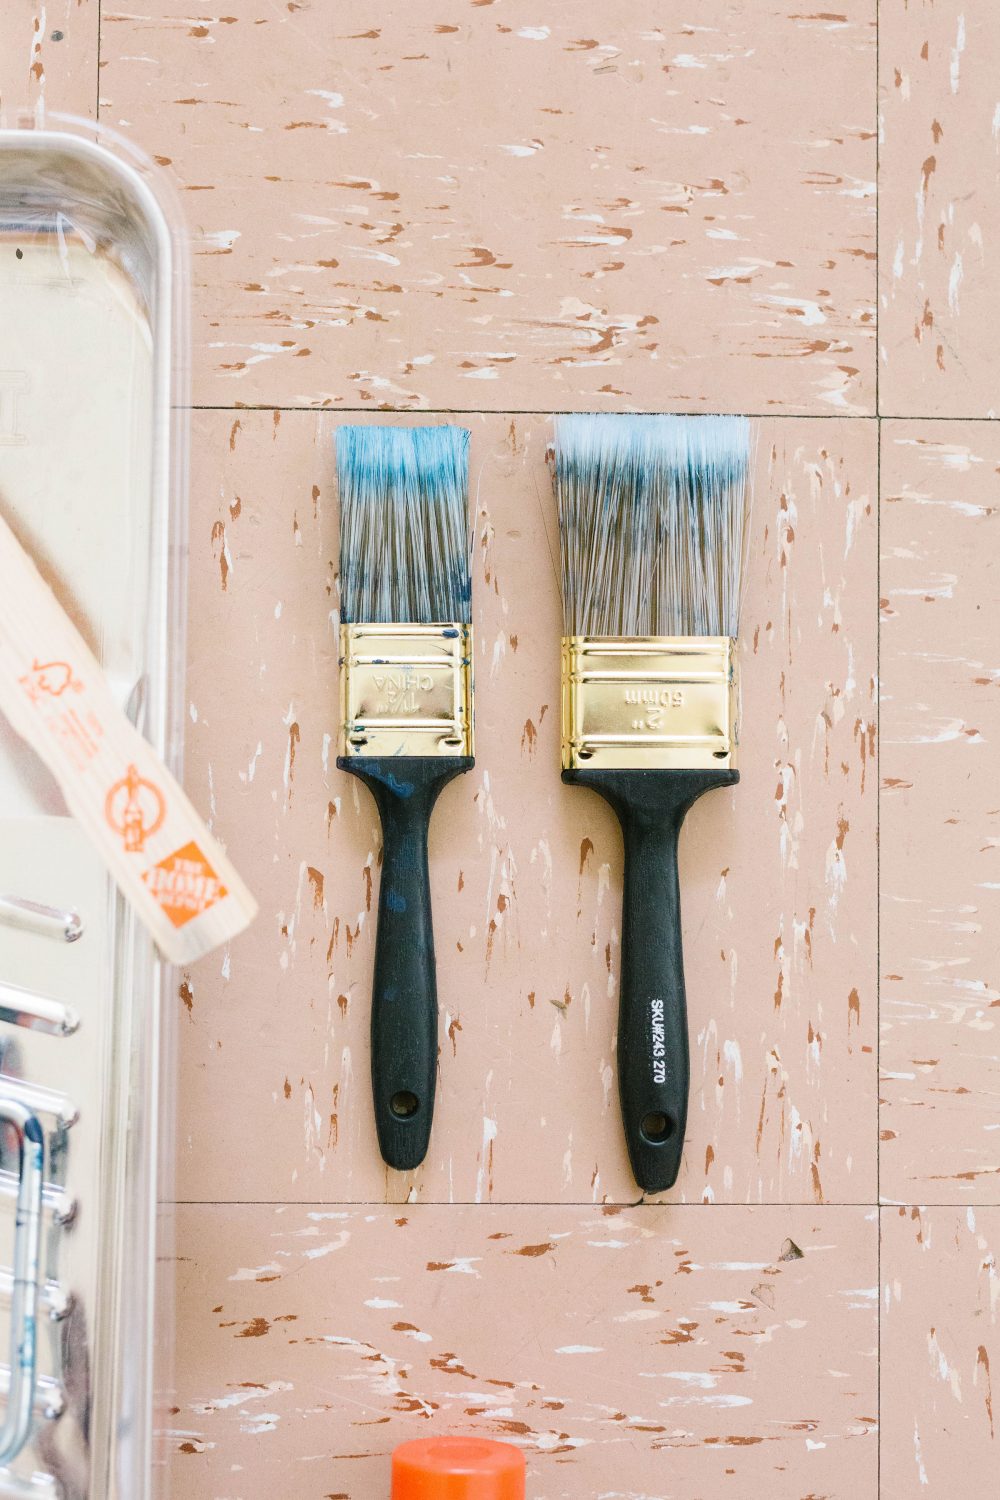
- Brushes. We generally buy mid-range flat edge brushes and then use them for a couple of years.
- Rollers. We have two rollers and we just buy new roller brushes for each project.
- Roller brushes. Again, I buy mid-range rollers (Home Depot has them handily listed as Good, Better, Best – I usually get “Better.”) and we just use them once for a room because after you’ve cleaned them, they’re pretty much toast, I think, from a texture perspective.
- Painters Tape. I am a BELIEVER when it comes to painters tape – it makes all the difference in crisp clean lines and it’s worth the time it takes to tape off the room. We sometimes use the standard blue painters tape, but I think the green Frog tape is the BEST and worth the extra dollar or two.
- Screwdriver. For opening your paint can and taking off the outlet covers in the room.
When do you paint and how long does it take?
We always chunk off our painting and do one room at a time (the biggest one we’ve ever done was our open-concept kitchen, breakfast nook and family room, and we just treated it like one room). We almost always do a Friday night and Saturday morning sprint.
We put the kids to bed, get everything ready, tape the room, and paint the first coat, then wash our brushes and go to bed. In the morning, we do the second coat, remove the tape, and let it dry for a few hours before putting everything away.
From the time we start moving furniture and taking off outlet covers to the moment everything is put back away is under 24 hours and hands-on time is usually 4-6 hours depending on the room. Not bad.
Here’s what the painting process looks like from start to finish:
Move all the furniture out of the room or into the middle of the room. We don’t cover the furniture unless we’re painting the ceiling too.
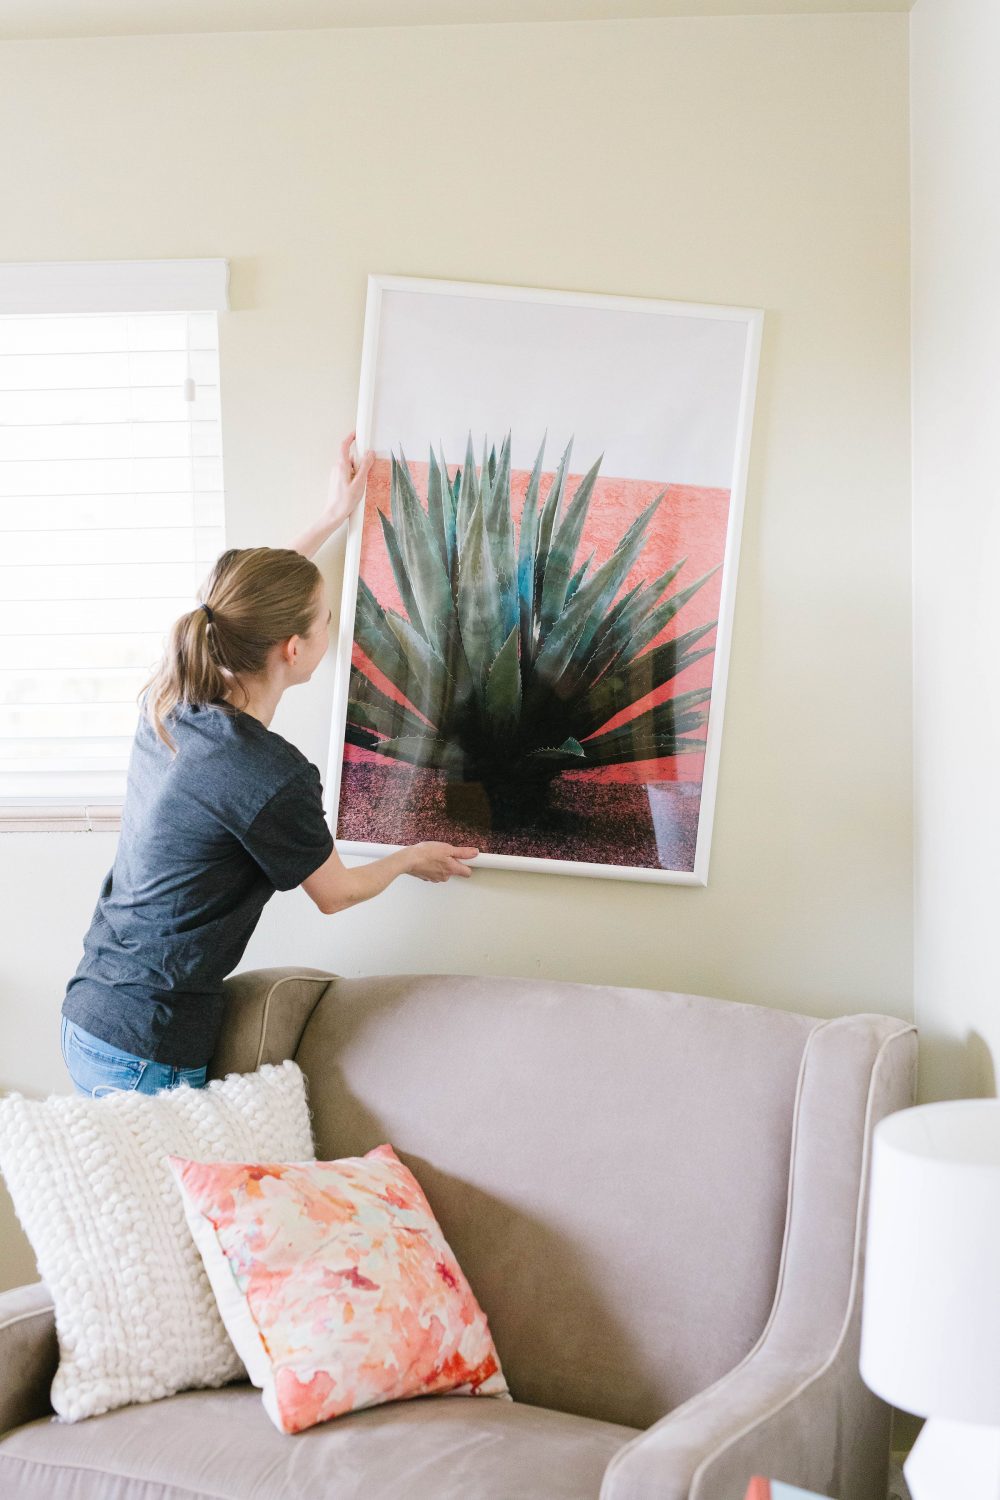
Take anything any photos or art off the wall. We take the nails out, but we usually plan to put them back up where they were, so we don’t fill in the holes. We generally haven’t filled in any holes beforehand but when we sold our house in Arizona and took all the art off the walls, we filled in the holes, sanded them down, and then repainted over those spots and they were virtually invisible (our walls were textured too, so that helped hide it).
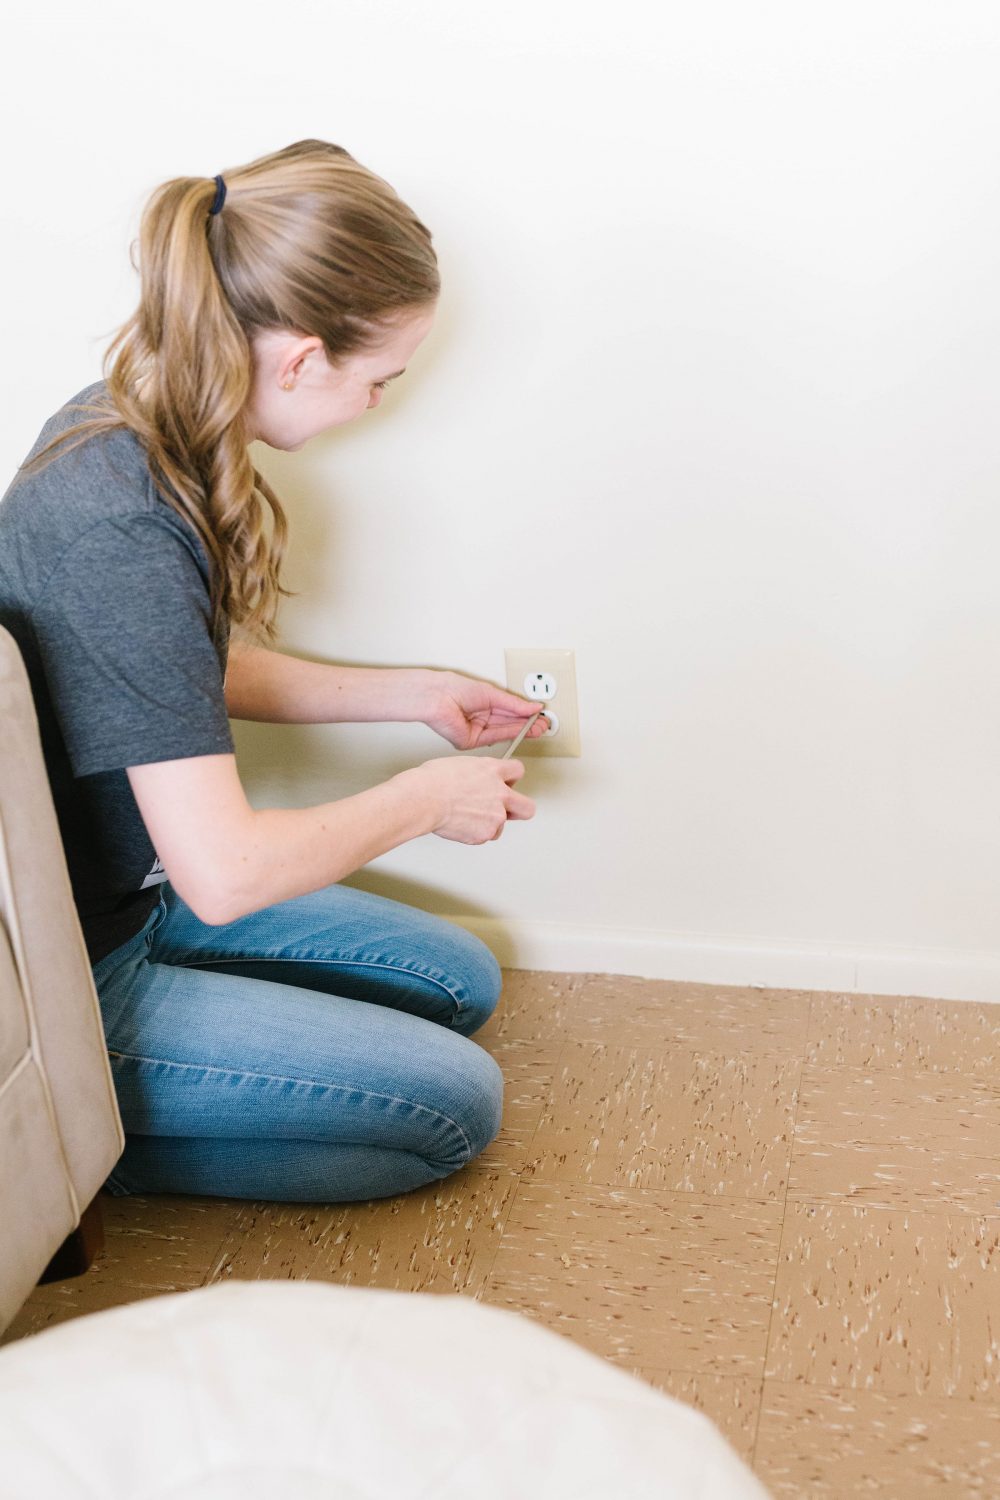
Unscrew the outlet and light-switch covers. Set them aside with their screws somewhere where they won’t get lost.
Remove blinds or curtains. We have faux wood blinds in every room in our house (and did in Arizona too), so we just remove the decorative board at the top, open up the tabs and slide the whole contraption out. I’m not that careful around the hardware for the blinds when I paint because once you put the blinds back in, they’ll be covered.
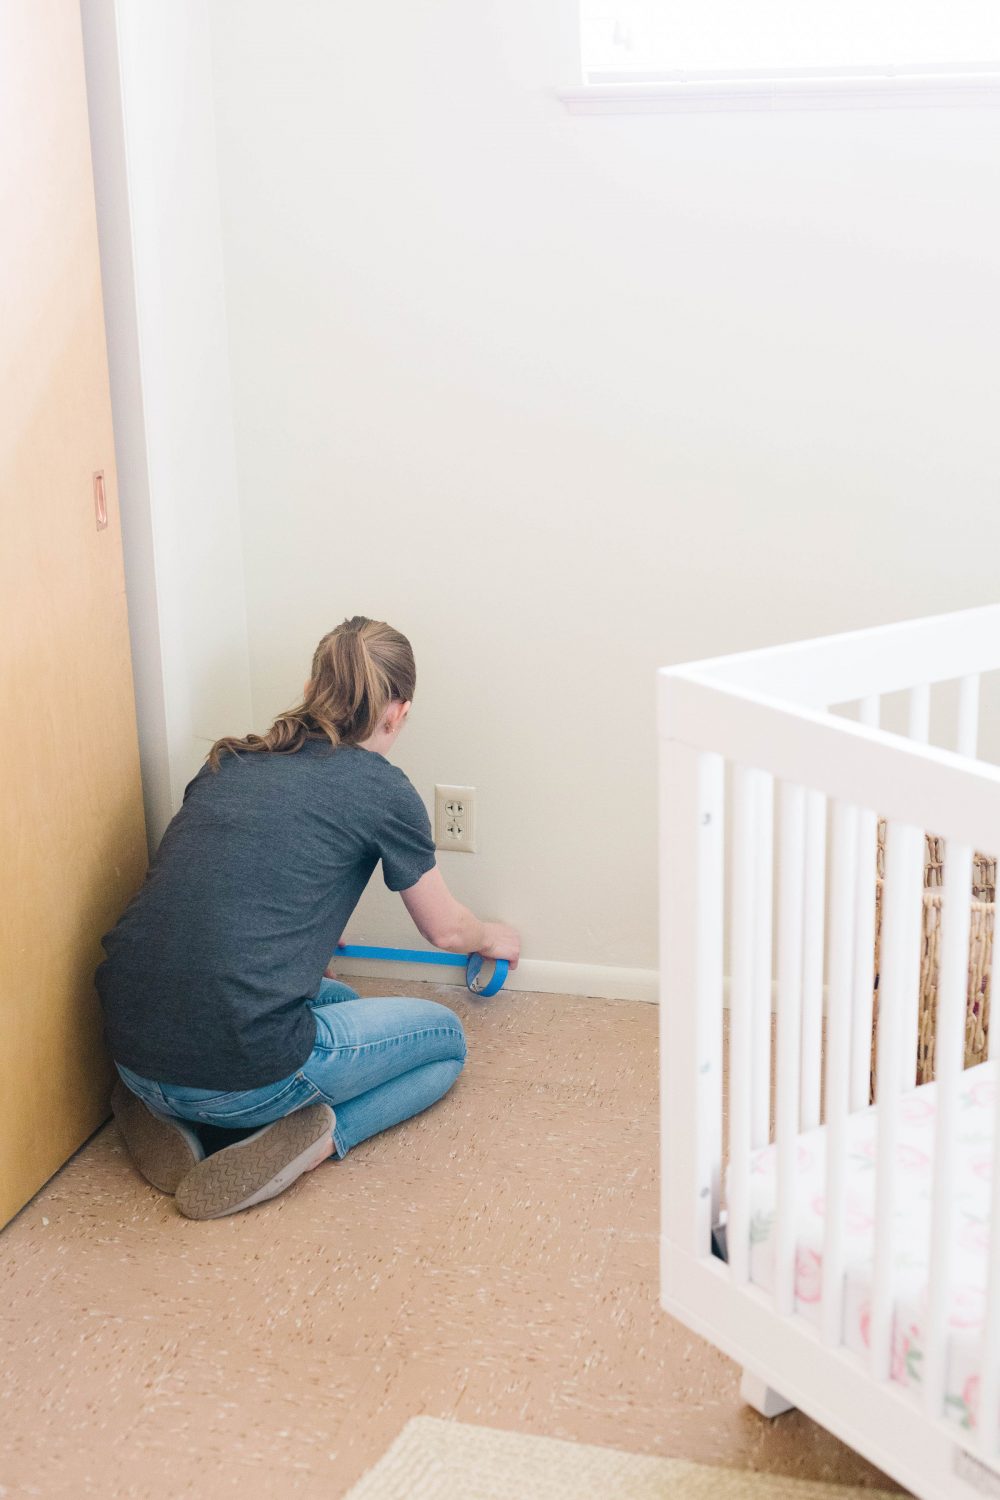
Tape off the trim, windows, ceiling and any built-ins. Taping is by far my least favorite part of painting. But taking the time to do it means you’ll get a MUCH more professional look and it also means you can paint at lightning speed because you don’t have to be so careful around the edges. When we paint white walls, we paint our trim the same color, so we put tape along the floor edge instead and Bart just free hands the edges along the ceiling. Be sure you really press your tape tightly so you get a crisp edge. It’s also really helpful to wipe down your baseboards first with a dry cloth so there isn’t dust on them that will keep your tape from sticking well.
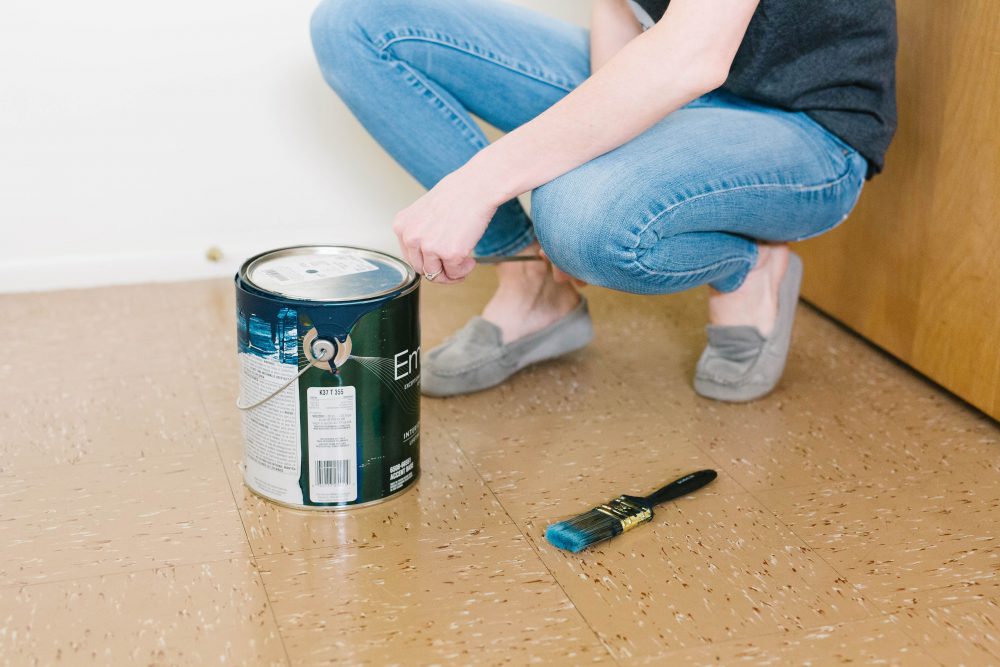
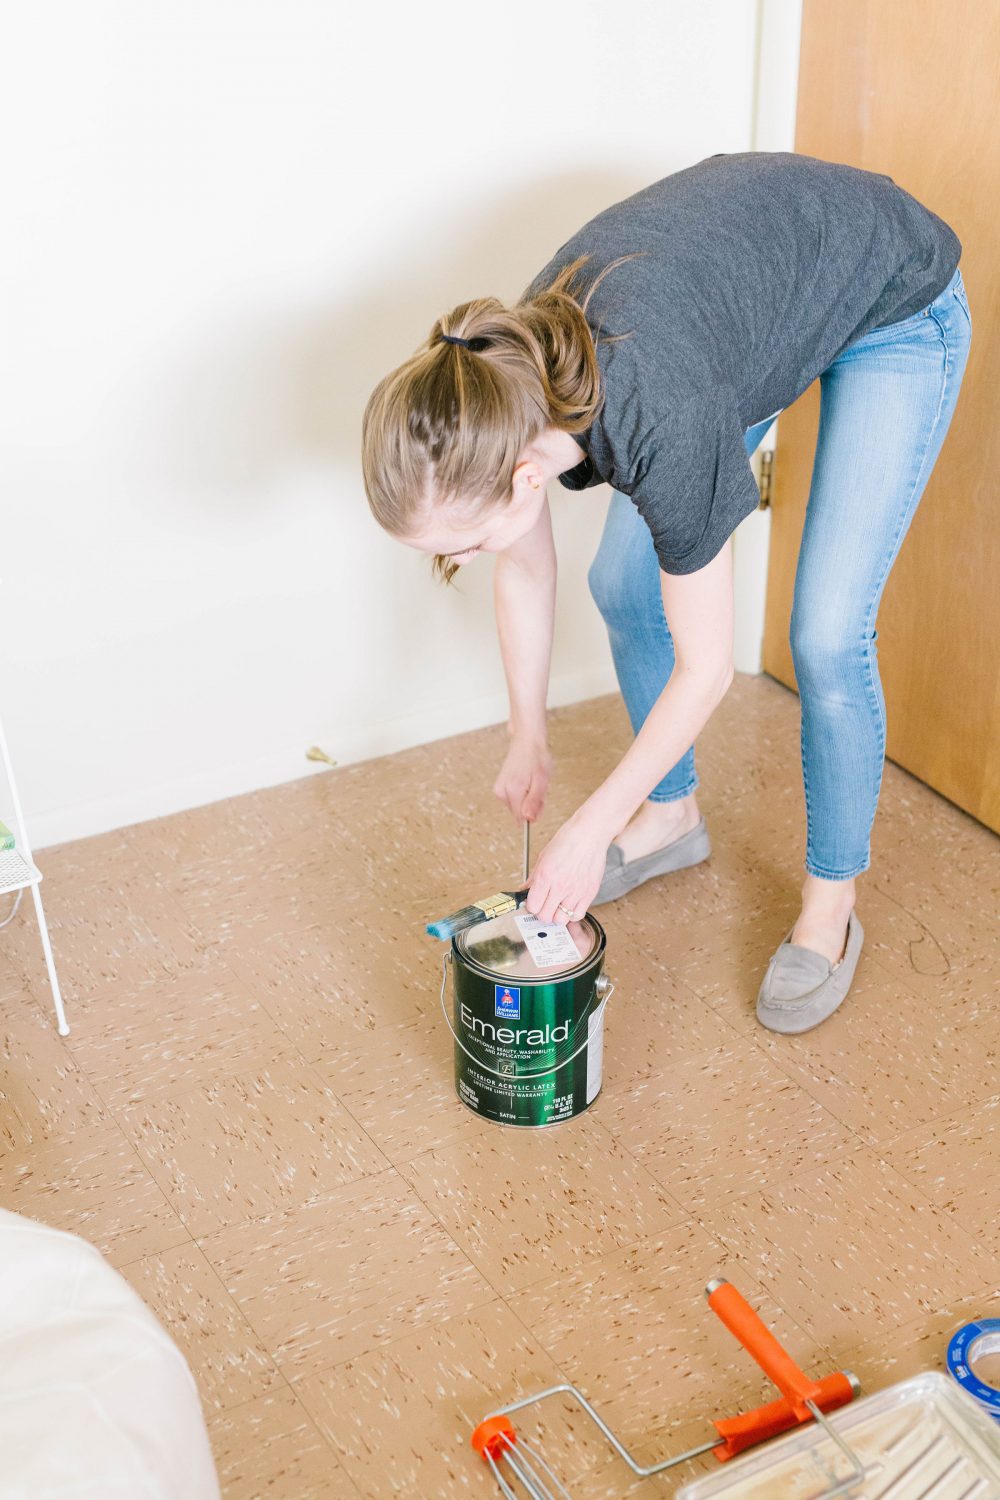
Get your paint ready. Shake the unopened paint can well a couple of times, then open the paint can with a screwdriver (there are special tools for this, but a screwdriver works just fine) and stir the paint thoroughly with a paint stirring stick. If you just bought your paint, you’ll need less stirring, but if it’s been sitting around for a few days or weeks or months, you’ll definitely want to stir really well so you don’t have color variations from top to bottom. Pour about 1/4 of the paint into the deepest part of the paint tray.
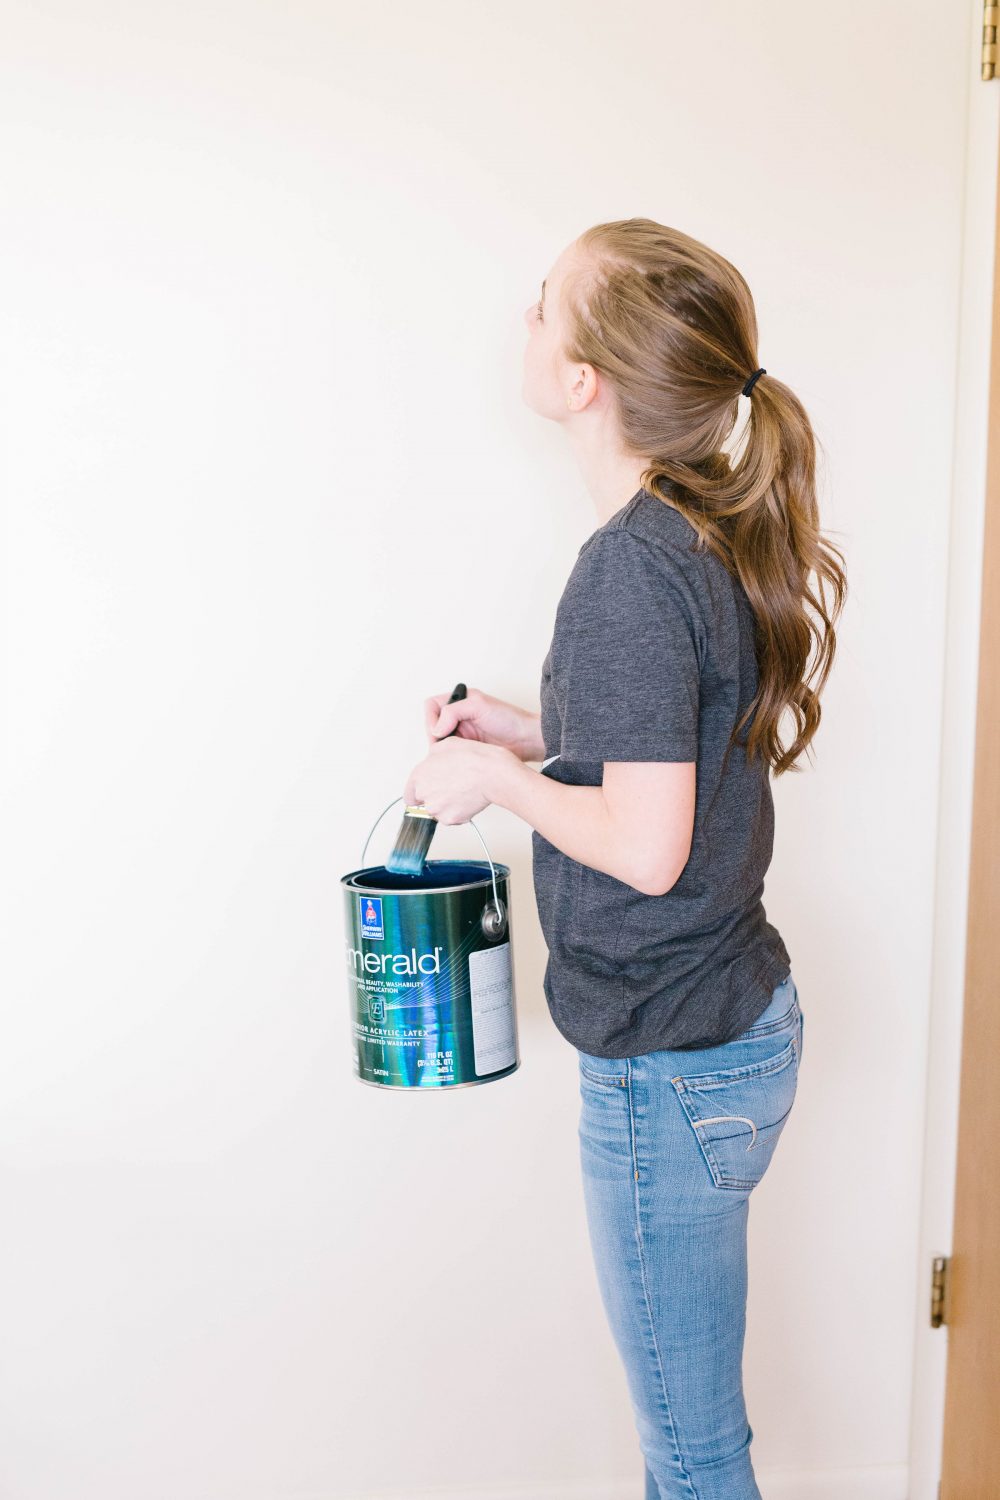
Start painting! Because Bart and I almost always paint together (or I’m painting with my mom), one of us starts painting with a brush around the edges. I like to use the paint straight out of the can and carry the can around with me, painting the floor edge first, then the corners of the walls where the roller won’t be able to get, around the electrical and light outlets, then around the doorways and windows, and finally the edge around the ceiling (if I’m painting with Bart, I always make him do the ceiling because he’s taller).
The other one of us uses the roller to do the big stretches of wall. I prefer to roll. Just put your roller into the deep well of paint in the tray and then roll it up the ramp of the tray to get off excess paint and then roll it on the wall until you need more paint.
Once the whole room has one coat, we rinse out our brushes, close up the paint can (you can just use the handle of the screwdriver to pound it back on) and put anything away that we don’t want our kids getting in to if they get up before we do.
The next morning, we do a full second coat around all the edges and rolling all the walls again. We usually let it dry for about 30 minutes and take a look to make sure there aren’t any spots we’ve missed (with a darker color, especially, it’s easy to miss spots that you don’t notice until it’s a bit drier). Then we put away the paint, throw out the paint tray liner, fully wash out all our brushes with water and a little soap and set them out to dry and then pull off the tape (carefully, because there might still be wet paint on it and you don’t want that getting on you or your furniture or floor). You don’t want to leave your tape on too long because the drier the paint gets, the more likely it is to pull off with the tape. I usually put all the tape plus the paint tray liner, the paint stirring stick, and the rollers in a garbage bag so they don’t get paint on anything.
Once the paint is fully dry (which usually takes less than 2-3 hours), we put the outlet covers back on, replace the blinds, and put all the furniture back away.
And, ta-da! Your room is back to normal, except looking a thousand times better.
A couple of other questions about how to paint a room:
Do you prime? I’ve never once primed a room. I always go straight to painting.
How many coats of paint do you need? We’ve never needed to do more than 2 coats. If you pick a good paint like Sherwin-Williams Emerald, even pretty awful colors will be completely covered with 2 coats. We did white paint over those orange bedroom walls and a very light pink over bright sky blue walls with burgundy stripes and those were covered with two coats without any problem.
How do you keep the mess to a minimum? I think the BEST trick for keeping the mess to a minimum is just getting in there and getting it completely painted and put away as quickly as you can. The longer your paint supplies are out, the higher odds that someone will step in paint or something will spill. We also try to be as careful as we can be. Keep the paint tray or can near where you are painting so you aren’t traveling very far.
When we paint over carpet, we tape down black garbage bags along the edges (we’ve been fortunate to almost always be painting over carpet we plan to tear out and in that case, we don’t even worry about it).
And DEFINITELY wear painting clothes. It’s almost impossible not to get some paint on you, so I have a designated pair of old jeans and a t-shirt that I wear every time we paint.
Any other questions about how to paint a room? Let me know and I’ll do my best to answer!
When do you paint the ceiling and trim? I like to paint them too even if they are staying white. I just do the standard Sherwin Williams Extra While color. Otherwise I think they can look dingy if I skip them.
In our last house the ceilings were all pretty white, so we didn’t worry about them, except in the room with a black ceiling. If we were doing white paint, we did the trim at the same time. In this house, we’ll paint all the ceilings white at the same time we do the rooms that are white and then the ceilings in non-white rooms at the same time.
Very comprehensive and helpful! Maybe I missed it, but what do you do with the roller brushes in between coats? Wash them out (I’m guessing not, since you said it ruins their texture)? Just get as much paint as possible off of them and let them dry out? Something else?
Oh, and same question about the paint tray and liner- what do you do with them? Do you put the paint you poured out back in the can overnight?
If I do have extra paint, I pour it back into the can and let the liner dry and reuse it the next day.
If I’m doing same day, I’ll just put a plastic grocery bag tightly around the roller and it’s fine. If it’s the next day, I’ll either rinse it out and reuse it or just use a new one the next morning!
I stick in a ziplock or grocery bag and stick in the fridge to use the next day
We have always put paint brushes and rollers in the freezer overnight. They don’t dry out and you don’t have to wash them between coats. Just wrap them in a plastic bag tightly and take them out as you are setting up.
We also just use a trash bag as a liner. Turn it inside out and throw in the trash when you are done!
Great painting tips! Do you have a favorite SW trim color? All the trim in my house needs painted and I am overwhelmed by the endless white color choices. Gah! Also, would love to know more about the window blinds shown in the second pictures. Thanks!
I always use Alabaster from SW!
Do you remember where your cute shoes are from? I’d never thought about a paint tray liner – so thank you!
They’re slippers! They’re from Target, but they don’t seem to be sold anymore.
Hi,
Thank you for the tutorial, but I am still a little nervous about painting a room on my own. No one in my family is handy so it’s all me! When exactly do you peel off the tape? Should I do it right after I finish the second coat? Also, can I paint the first coat, then wait a few hours and come back and do the second coat?
Thank!
I peel off the tape as soon as the second coat is on. And yes, definitely you can wait a few hours between coats. Sometimes, we even wait overnight!
Thanks a lot for the tips! I’m painting by myself, so should I start with the edges of the walls (up by the ceiling and at the floor), then use the roller?
You can do either one first but I prefer edging first because it’s more tedious and takes longer.
How do you remove old dried colored paint (tan paint) from a ceiling that’s a Different color then the New color you’re going to use on the wall now due to the mistakes from previous tenants that painted before me? I want to paint the room blue so the tan mistakes on the ceiling will really show up & look really bad