This post is part of a social shopper marketing insight campaign with Pollinate Media Group® and timeshel, but all my opinions are my own. #pmedia #timeshelprints http://my-disclosur.es/OBsstV
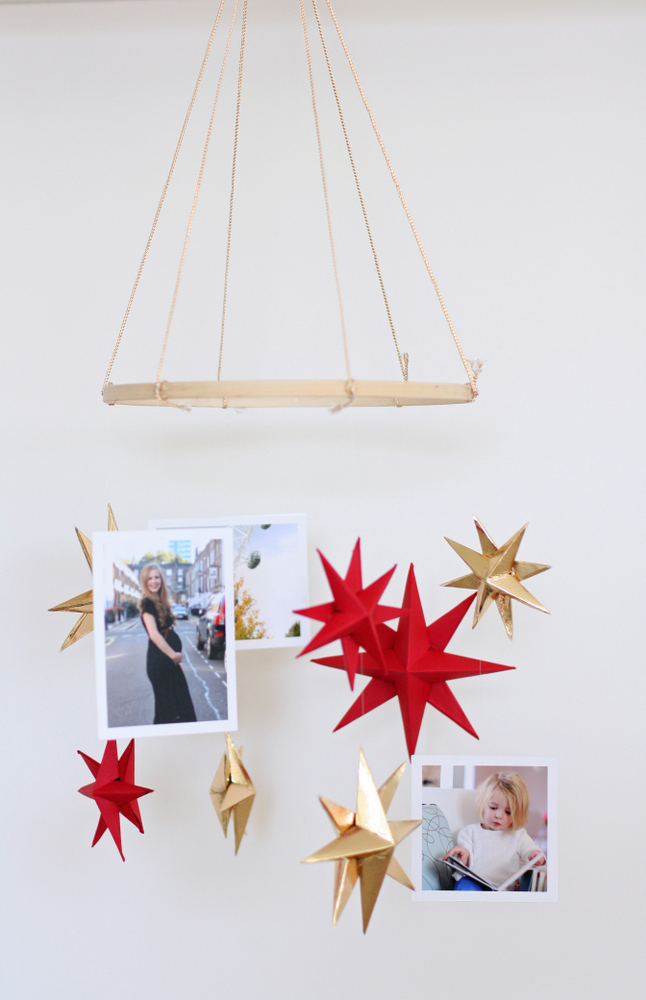
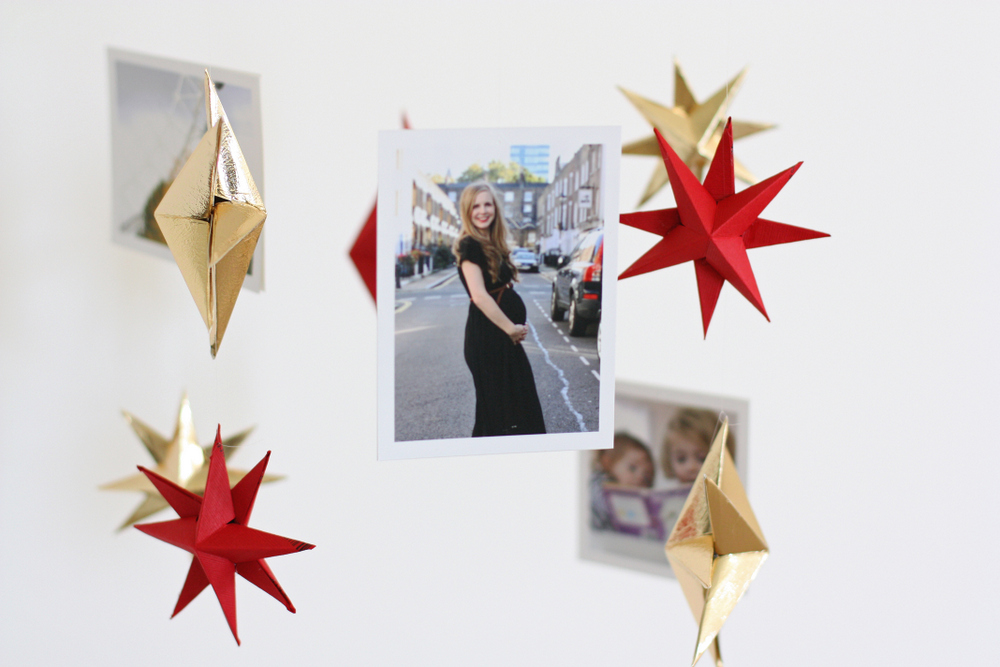
My decorating progress on the house has slowed down considerably now that I have a newborn in the house, but over the weekend, I spent one of the girls’ nap/quiet times making this little mobile to hang in the nursery.
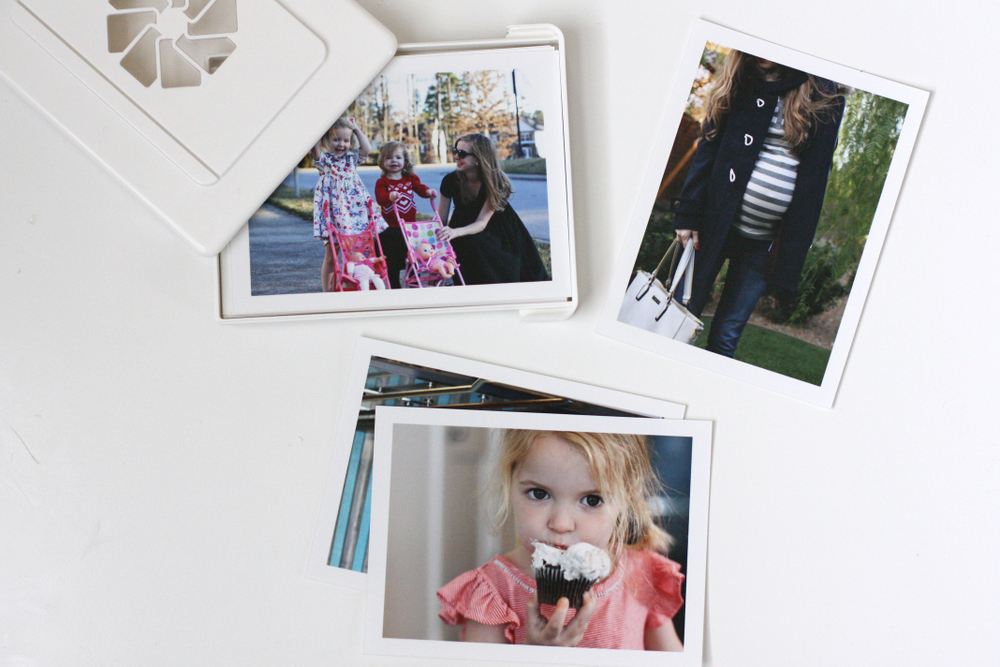
I’d ordered some photos of our Europe adventures from timeshel (timeshel is a new iOs app in the Apple Store that makes it super easy to get your photos printed. Every month, you just add the photos you want printed to to the app and at the end of the month, they’re mailed to you. They have two levels – 10 prints a month come in an envelope for $5.95 per month or 30 prints mail in a shel (you can see my shel in the photo below) for $14.95 per month), and I wanted to display some of them in the nursery.
When I get around to taking photos of the whole room, you’ll see that it’s a pretty minimal nursery, so I thought this would be a fun way to add a little color and document some of our adventures while I was pregnant with this little baby.
I loved how easy it was to add the photos I wanted and I was really impressed by how beautiful the prints were when they showed up. Also, I never need an excuse to make more paper stars.
how to diy a baby mobile
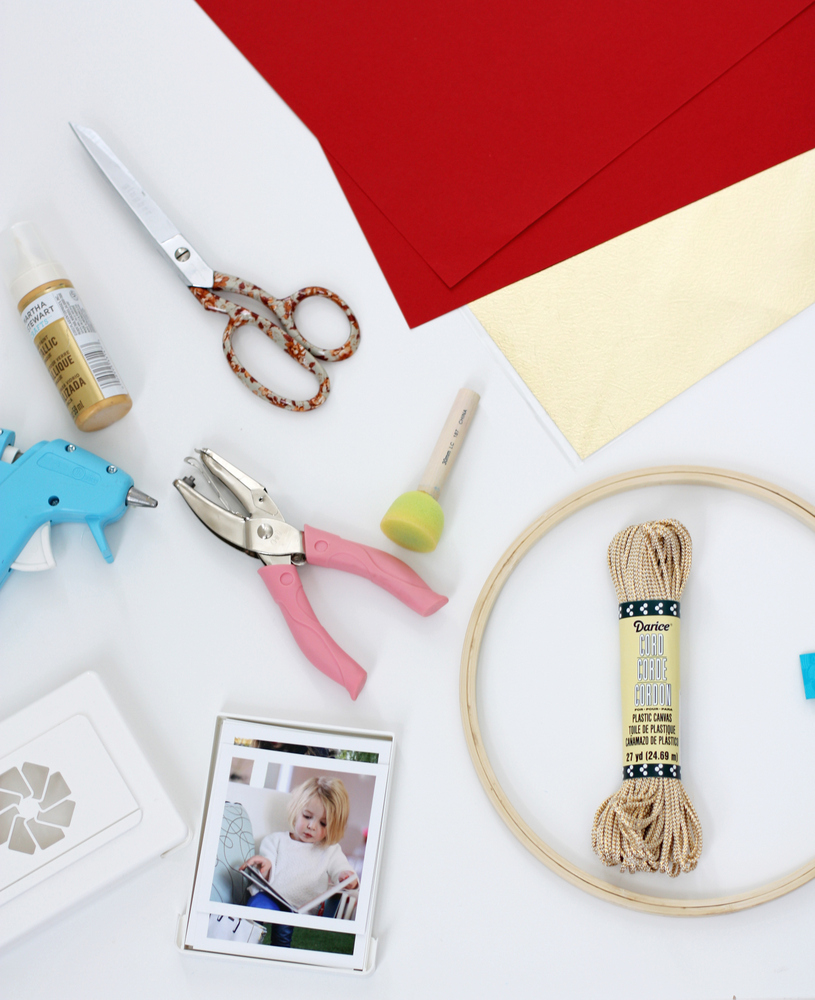
Supplies needed:
- Embroidery Hoop
- Cord
- Glue
- Paper in the colors of your choice
- Photos (I really liked that the timeshel photos come with the white border printed around them, since I feel like it makes the mobile look more finished than photos without the border would).
- Scissors
- Needle
- Thread
I’d planned to paint my hoop gold (hence the gold paint in the photo above), but at the last minute decided against it because I didn’t want it to draw too much attention, so I left it plain.
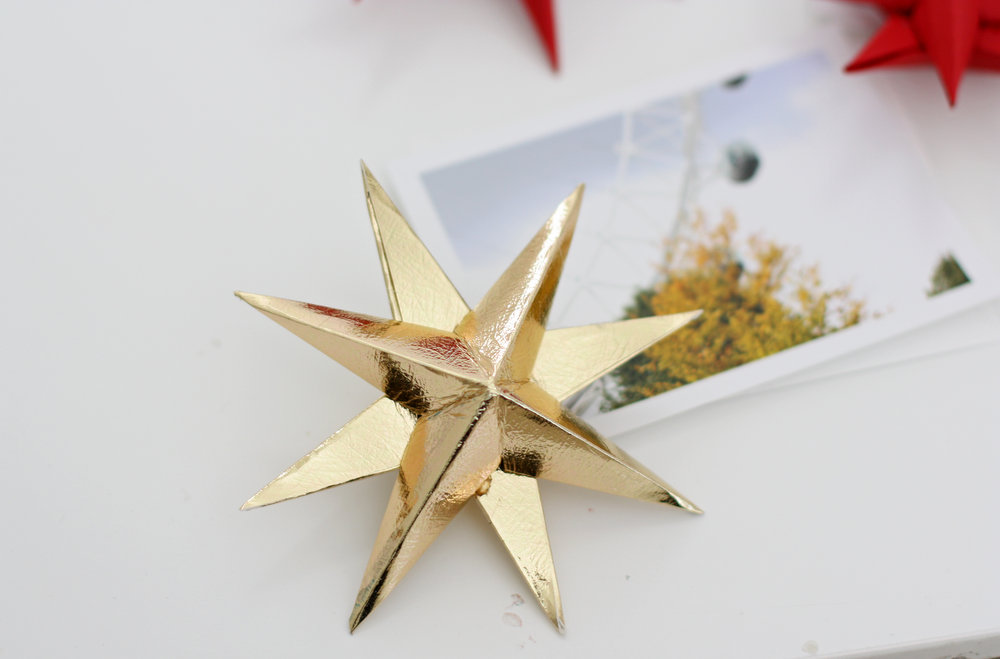
Fold the paper into stars of varying sizes (tutorial here). I used two 12×12 sheets of cardstock and made seven stars with paper leftover.
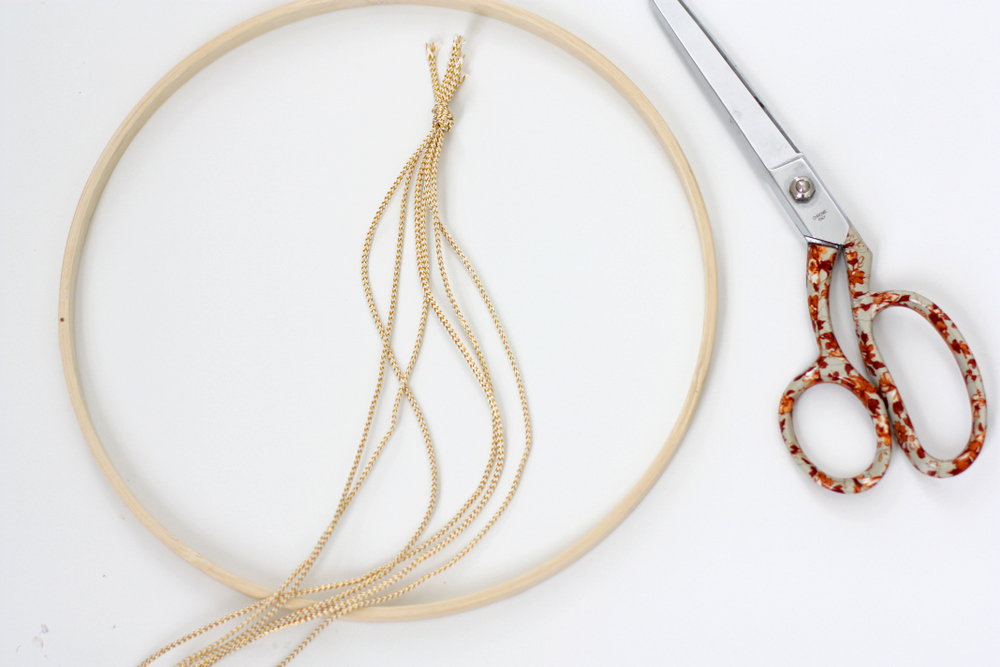
Cut six equal lengths of cord and knot them together at one end. Tie the loose ends around the embroidery hoop, spacing them equally apart. Glue them in place so they don’t slide around.
Glue your photos together in sets of two so there is a photo on the front and back. (I used three sets – two square photos, two vertical photos and two horizontal photos).
Using a needle and thread (I used invisible thread), tie the thread through the cord knots along the hoop, then thread the stars and photos along the thread, tying a knot after each addition.
Trim the extra thread off, hang it up and pat yourself on the back for your very own DIY baby mobile!
[…] A 3-D Star and Photo Mobile […]