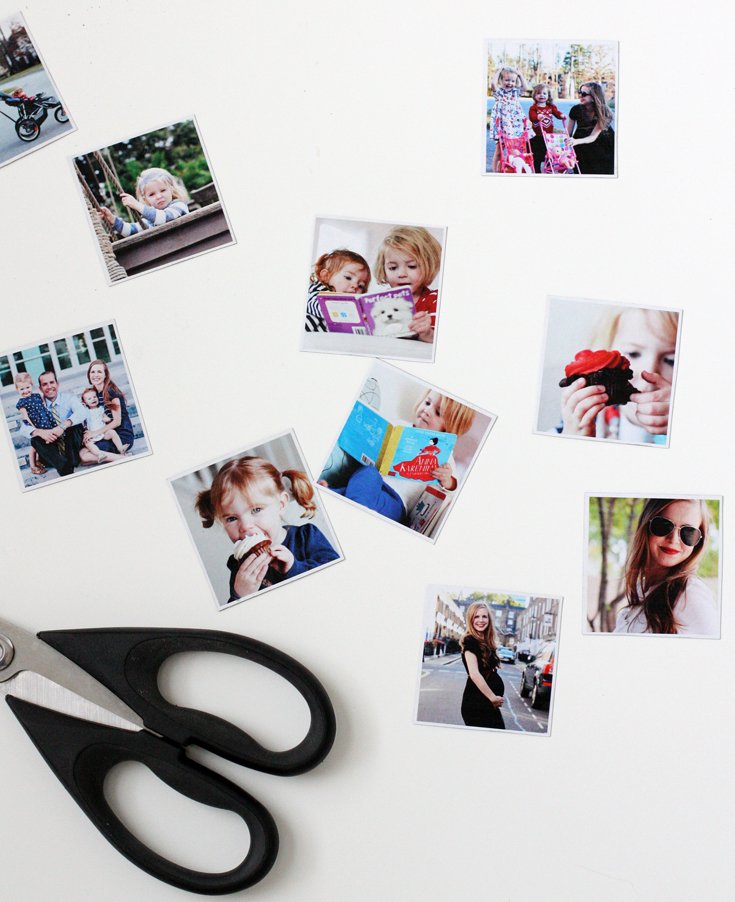
Over the last few years, I’ve seen Instagram magnets all over the place, and thought they were SO cute.
But they can be a little bit pricey, and on a trip to Michael’s last year, I saw some magnet backed photo paper and thought, “How hard can it be to make your own photo magnets?”
Turns out the answer is “not hard at all.”
I’ve loved my set of Instagram magnets for the last year, and the girls get a huge kick out of rearranging them on Bart’s magnetic board in his office.
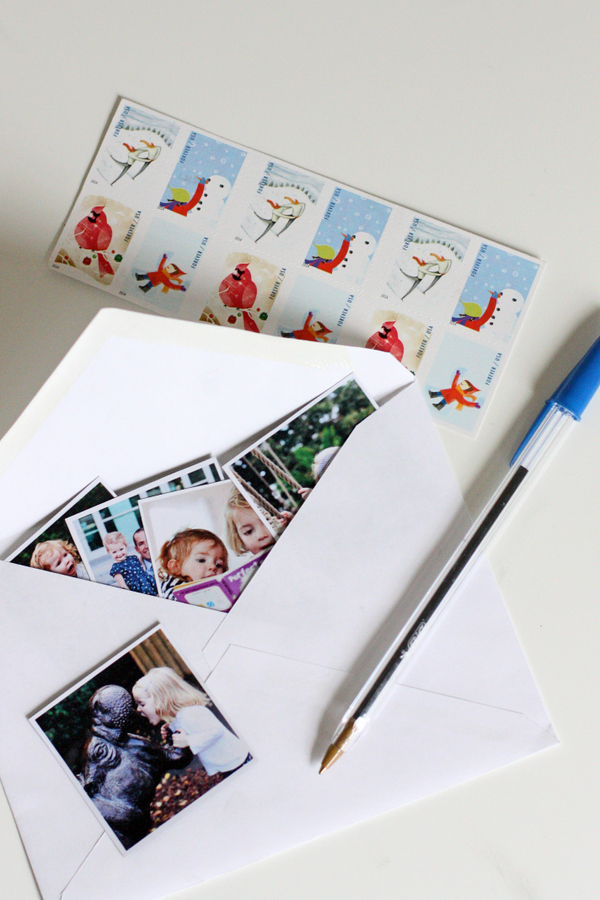
These Instagram photo magnets would be a great gift for grandparents or for Mother’s and Father’s Day. They’re so slim, you can just put a half-dozen in a regular envelope with a card and ship them off for the price of a stamp.
HOW TO Make your own Instagram photo magnets
If you’d like to make your own photo magnets, here’s how I did them.
You’ll need:
- 8.5″ x 11″ magnetic photo paper (I bought ProMag Magnetic Photo Paper at Michael’s—they were $14.99 for a pack of 5 sheets, but with one of those ever-present 40% off coupons, my total cost was $8.99. (I also saw similar products at Wal-Mart, Amazon, and Staples, so it should be fairly easy to get your hands on this item).
- Inkjet Printer
- Scissors
Step 1: Pick your photos. I tried 12 per page, but I liked the smaller look of fitting 20 per page. I used Picasa to crop my photos into squares and arrange them in a grid.
Step 2: Print. Once you have your photos arranged, load one sheet of the magnet paper into your printer’s paper tray (you’ll probably need to load it with the paper side face-down and the magnet side facing you). Press print and marvel at how cute your children/dog/house/landscape/shoes are.
Step 3: Cut your photos out. Using scissors or a paper cutter (a paper cutter was the best money I’ve ever spent), cut your magnets out in straight lines and, if you’d like, leave a thin white border around each photo.
Step 4: Hang them up, send them off to your loved ones, or take photos of them to share on Instagram for a true meta experience.


This is so genius! I had some sent to me a couple years ago, but for $15 you only got 9 if you had to buy them yourself… and with this you get what, about 100 for $8… that is a bargain! Totally making more of these soon!
This is such a great idea! I would definitely make these for gifts for friends and family.
Brilliant! I'm going to do this for my in-laws on a mission. And myself, of course.