The first time I walked through this house, I knew it was the house for us.
But the kitchen . . . well, it gave me serious pause.
It was nearly seventy years old and had never been remodeled.
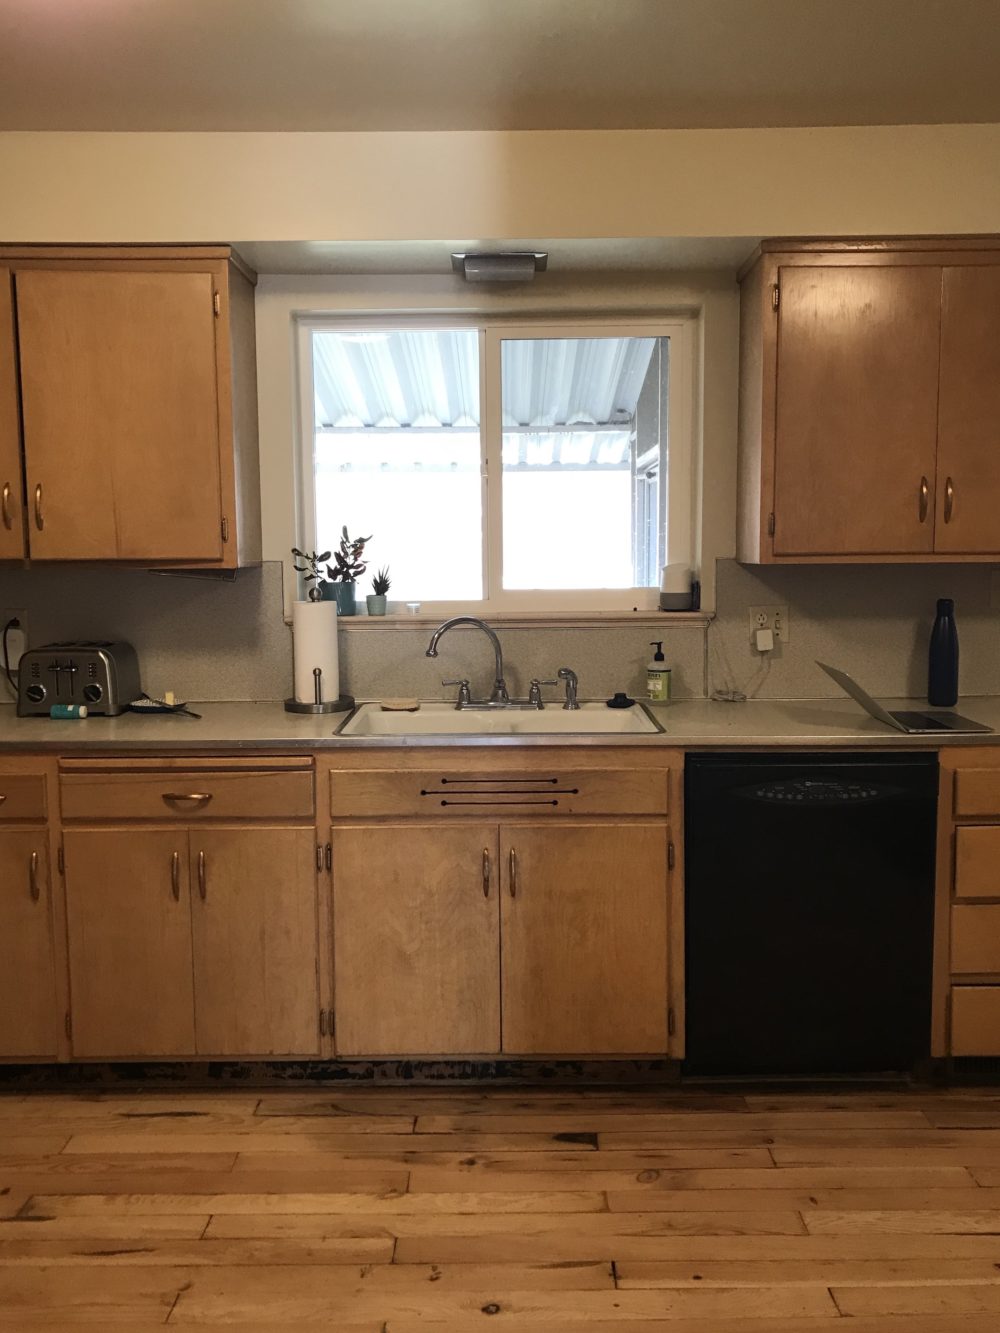
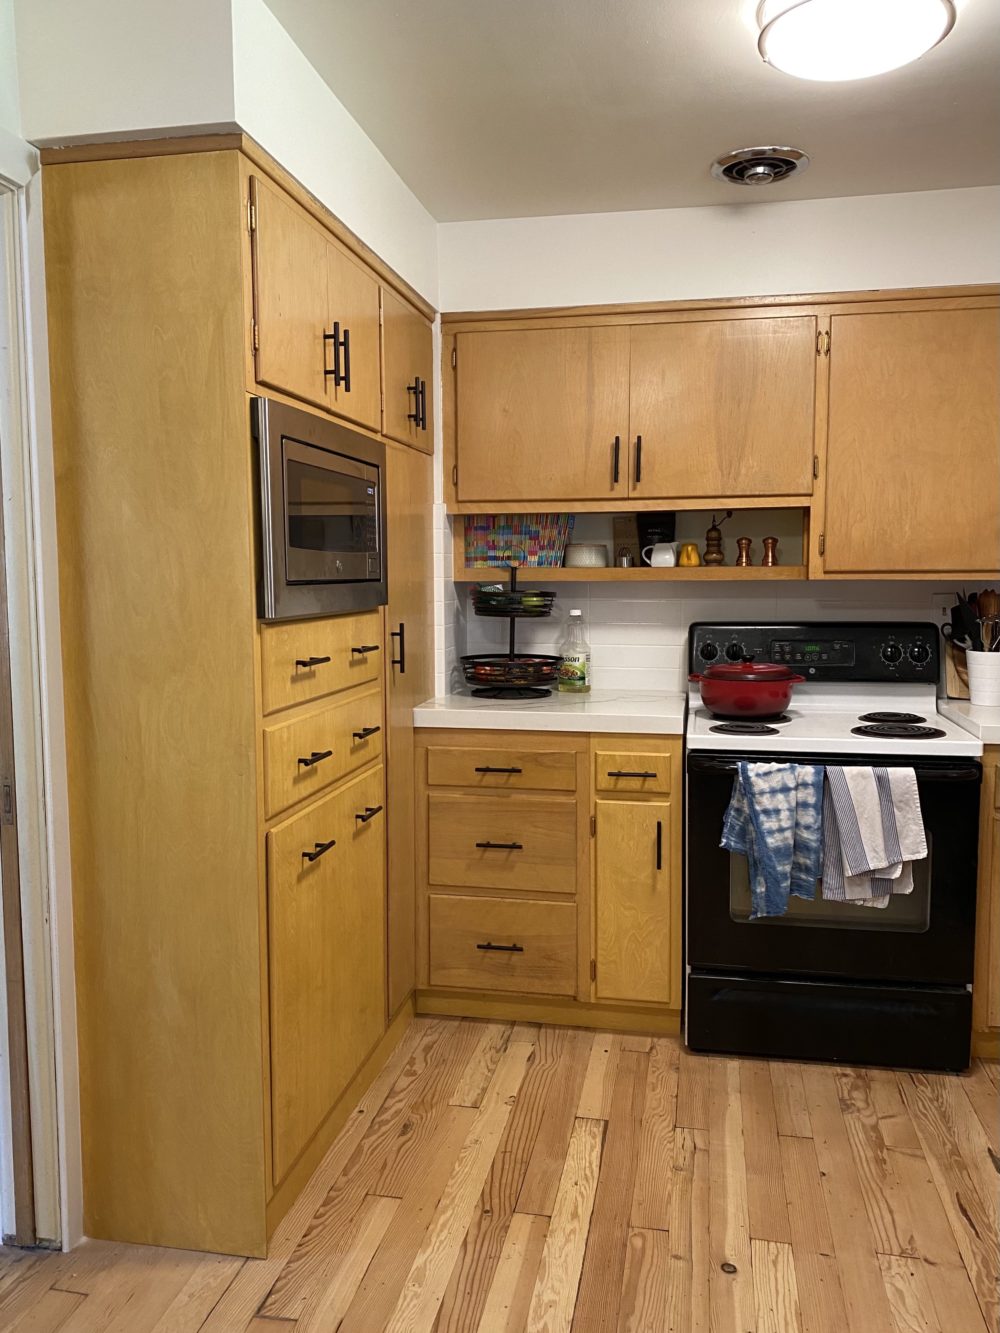
The cabinets were sturdy but definitely showing significant wear on the doors.
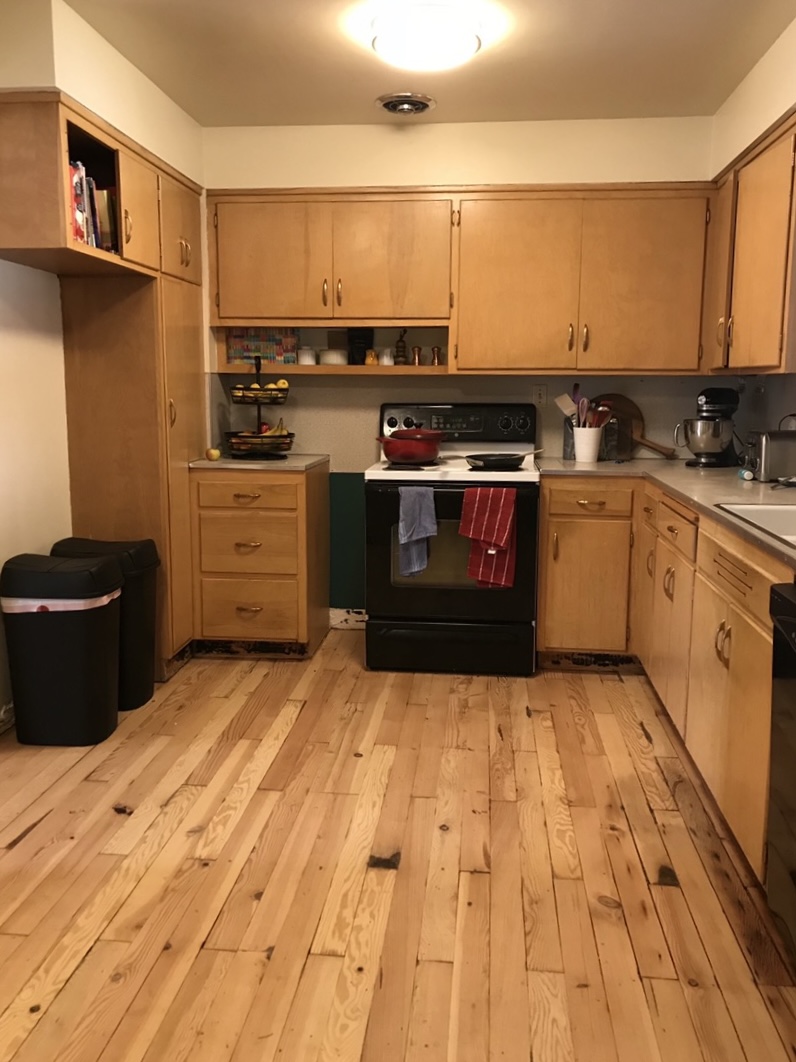
There was no real place for a fridge to go (the original space was far too small for any current fridge), no microwave, a too-big space for the oven.
The countertop and backsplash were original laminate from the 50s and the design was completely worn off in high-traffic spots.
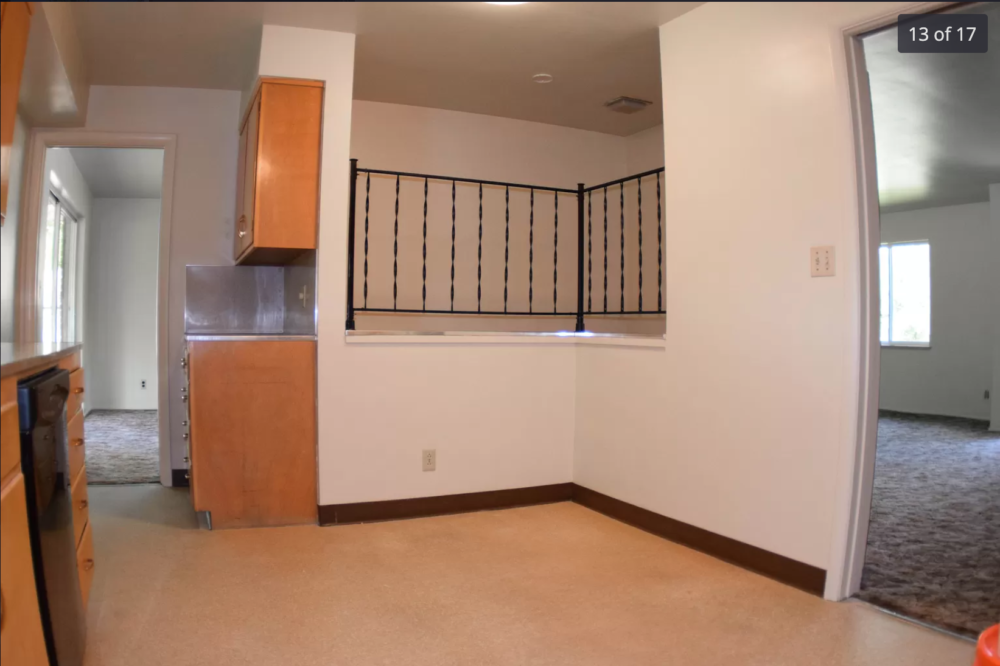
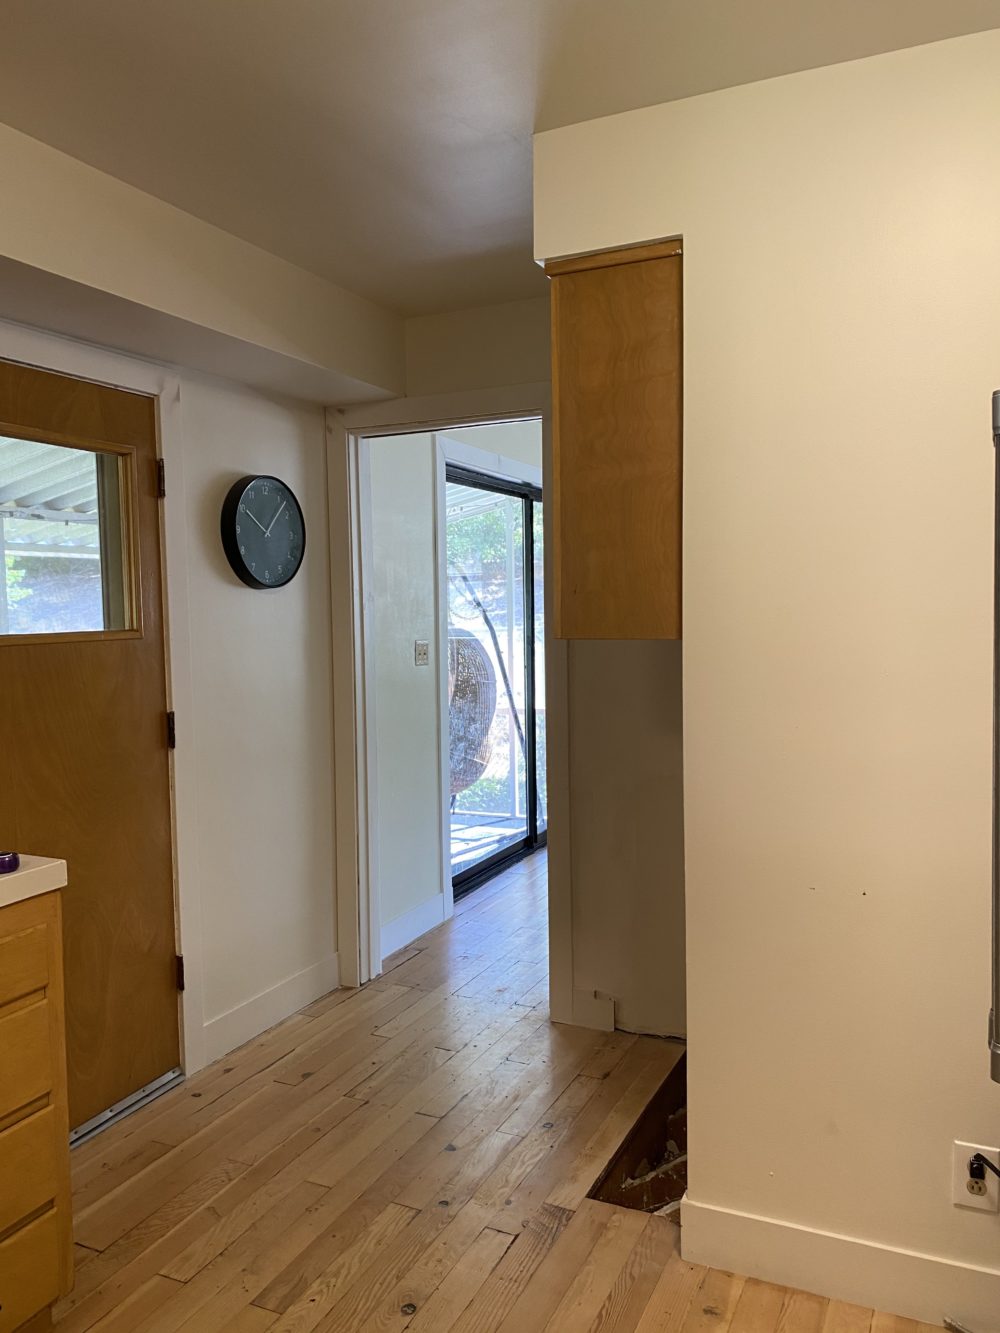
There was an opening in one wall above the staircase with a railing that started halfway up the wall, which made it very noisy and also made that corner of the kitchen hard to use.
There was no pantry and no shelves in the entire kitchen that were tall enough to house a bottle of vegetable oil or a box of cereal.
There was an extra section of shelving and counter that made the walkway into the dining area quite tight, not to mention didn’t really make sense with the flow of the kitchen (and the countertop was a magnet for ALL sorts of junk).
The flooring was original linoleum with a huge seam right down the center of the kitchen that had collected seven decades worth of dirt and grime and was 100% impossible to get clean.
All the baseboards were brown rubber (like you might see in an old doctor’s office).
I didn’t even know where to begin, and I CERTAINLY wasn’t excited about using that kitchen.
And when we bought the house, our plan was to completely gut and remodel the whole kitchen before we moved in.
But a week before our close date, I suggested to Bart that maybe we should just move into the house as soon as we owned it and live there a bit before we started changing things up.
And that’s what we did.
Once we moved in, the kitchen wasn’t so bad. It was totally functional, even if it didn’t look great, and I never regretted that we’d moved right in.
Our 1956 Kitchen Update
We did exactly zero updates to the kitchen for the first 10 months and then, when we ripped out the carpet in the main living areas to expose the hardwood floors beneath it, we also tore out the linoleum in the kitchen which ALSO had hardwoods. (Instead of being glued to the wood floor, the linoleum had been glued to large sheets of plywood nailed to the floor, so it took only an hour or two to pop up all the plywood, instead of trying to remove the linoleum, plus it meant the hardwoods were in quite good condition thanks to that protective layer).
Once the linoleum was gone, things started rolling along, slowly but surely.
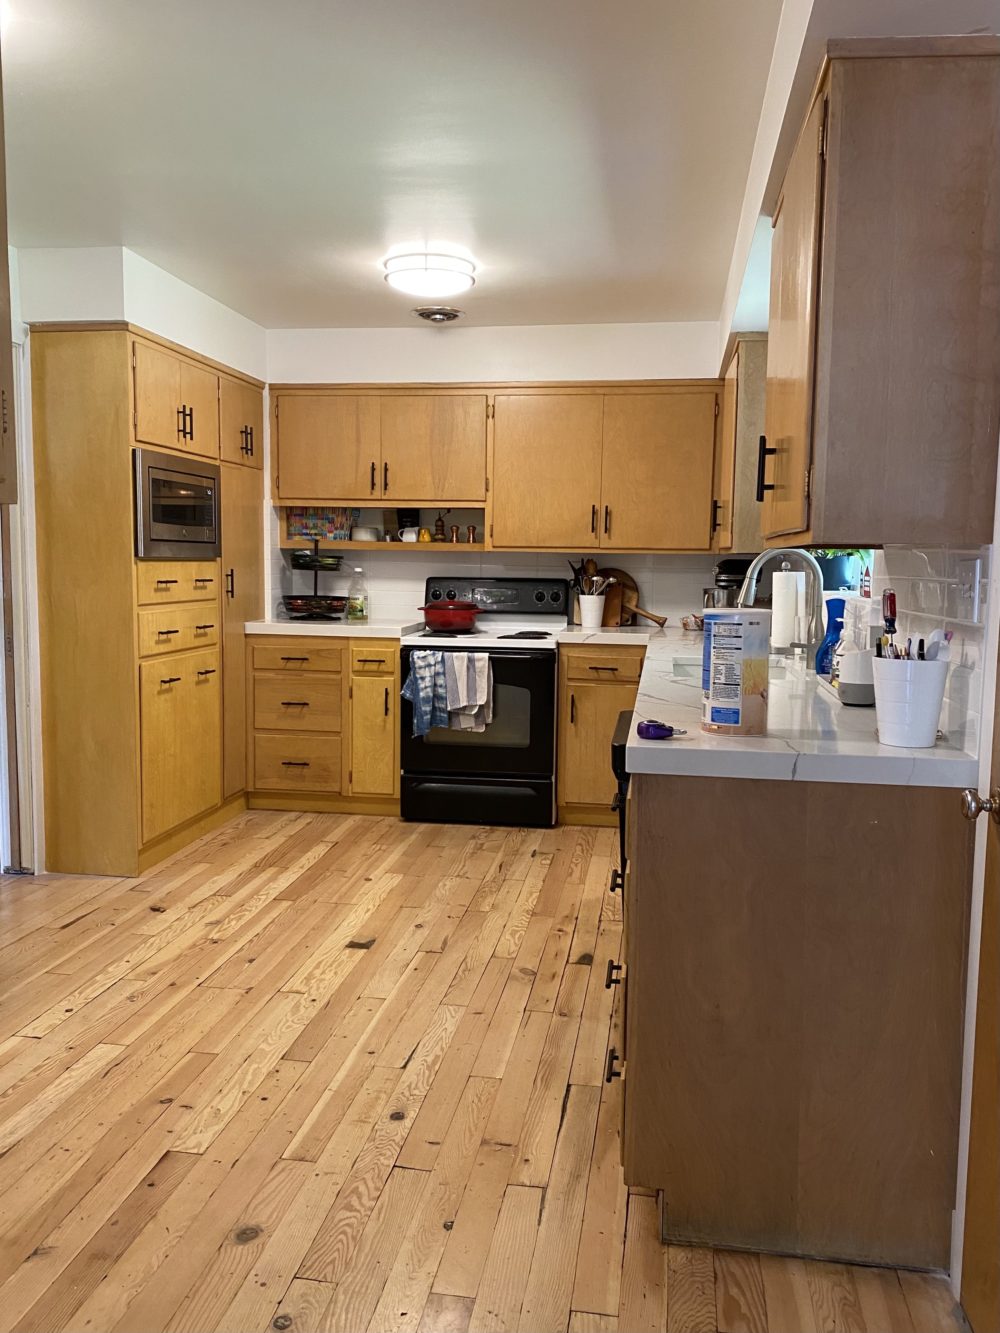
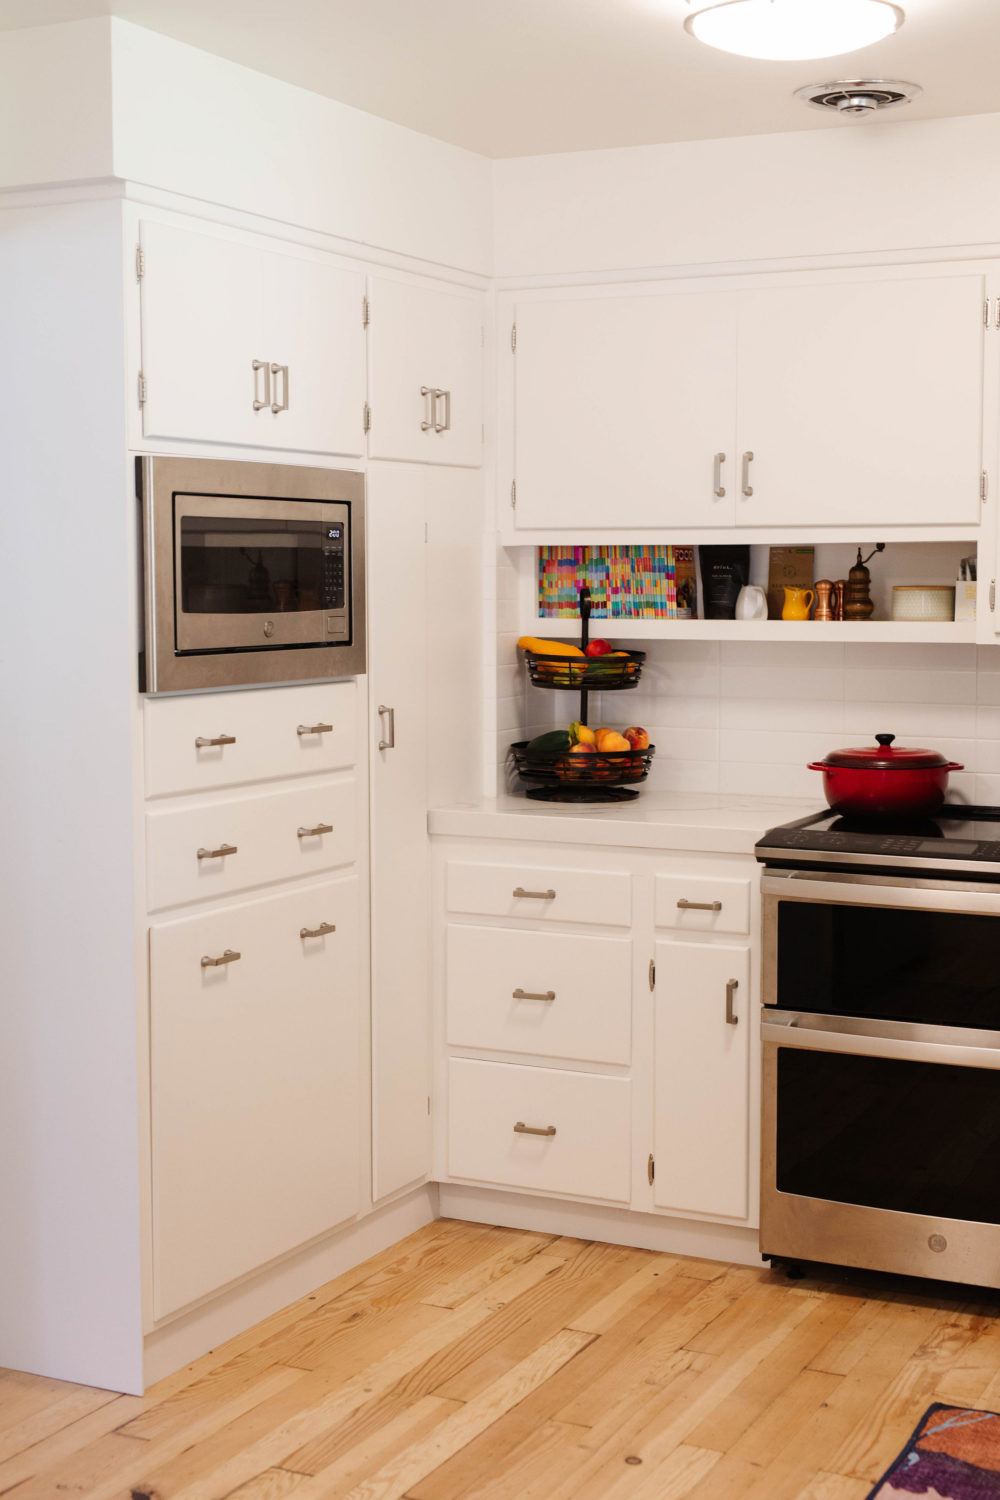
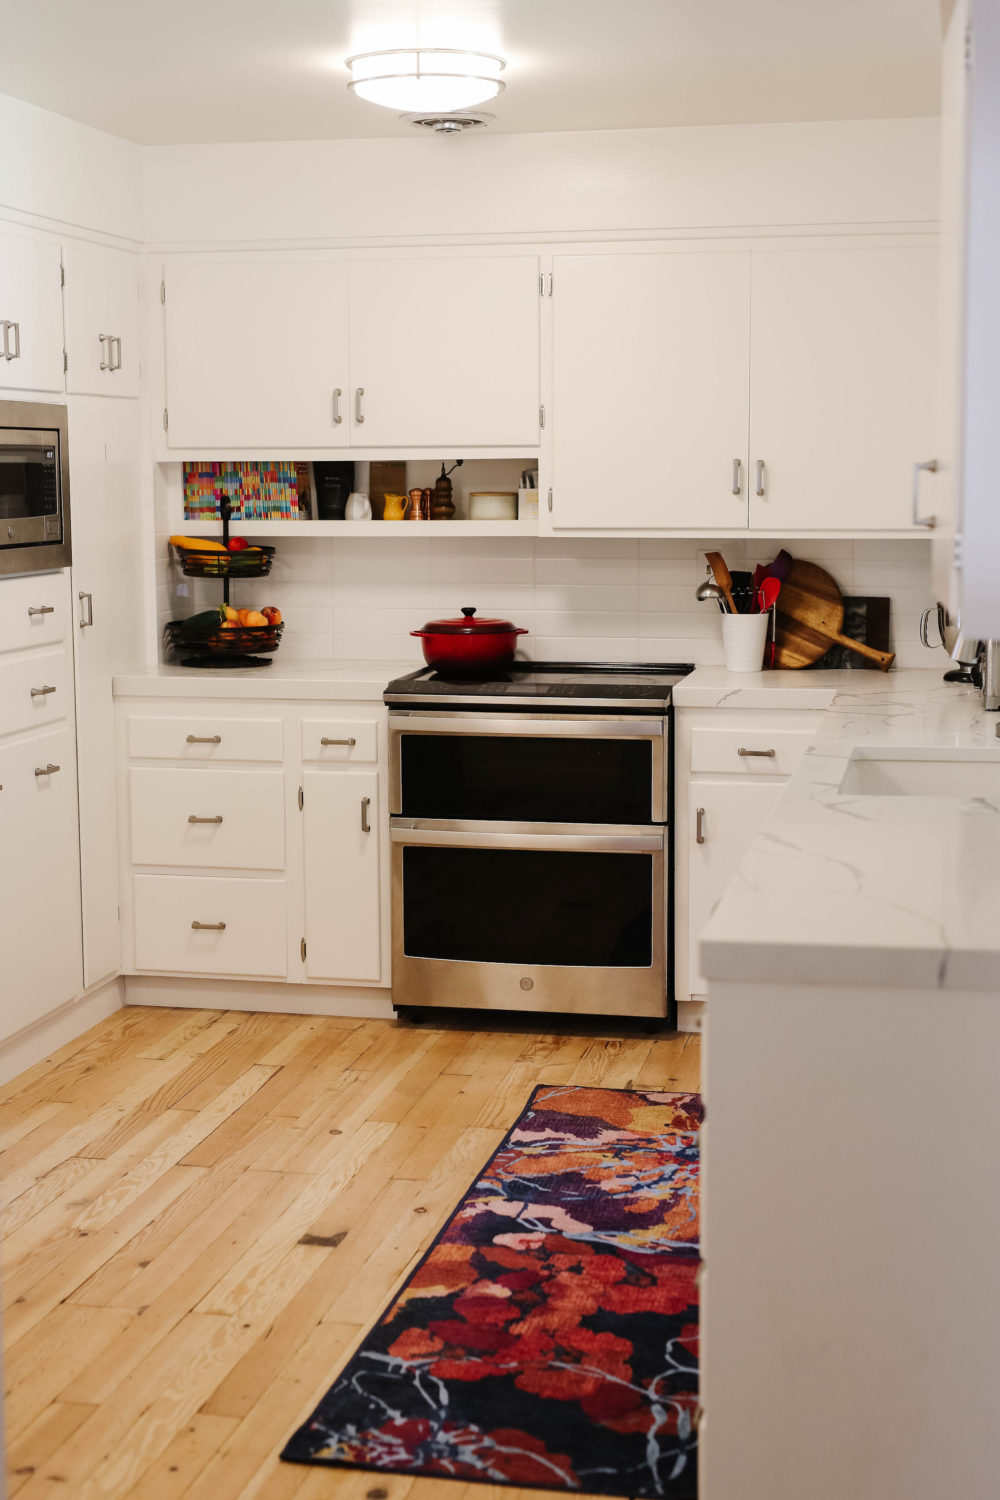
We hired a carpenter to build in the space where the original fridge would have gone, adding a microwave (he recommended a trim kit which makes it look built in, despite the fact it’s really just sitting on a shelf. This was a GREAT suggestion), and pull-out drawers for the garbage and recycling which had been sitting completely exposed and ugly for nearly a year.
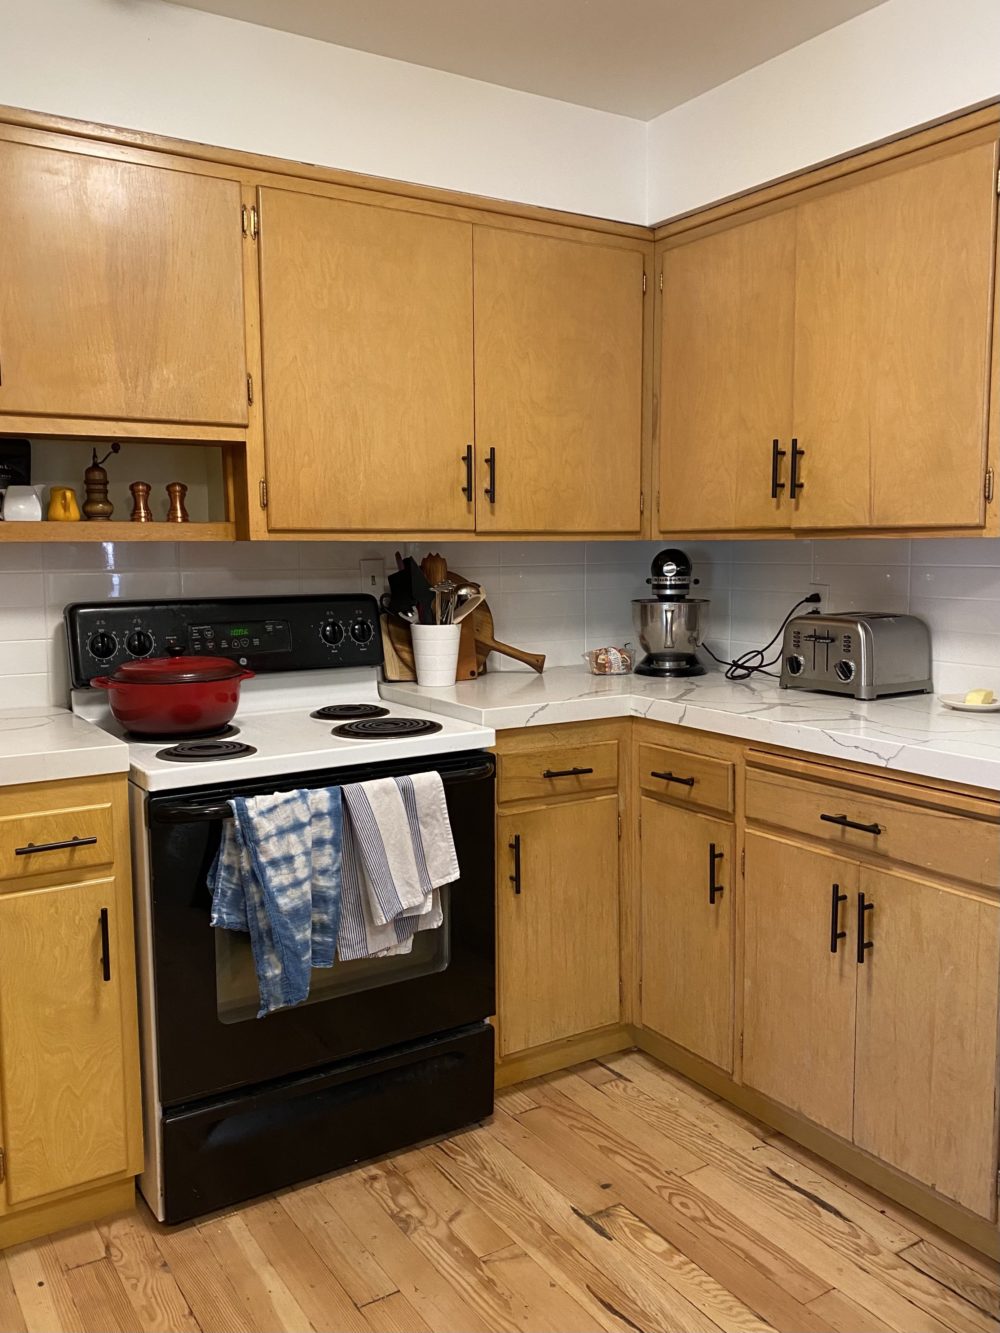
He also built in a cabinet that made the stove fit in snuggly, plus made it look less off-centered.
We also had the railing in the wall removed and the wall closed up. Another big step forward.
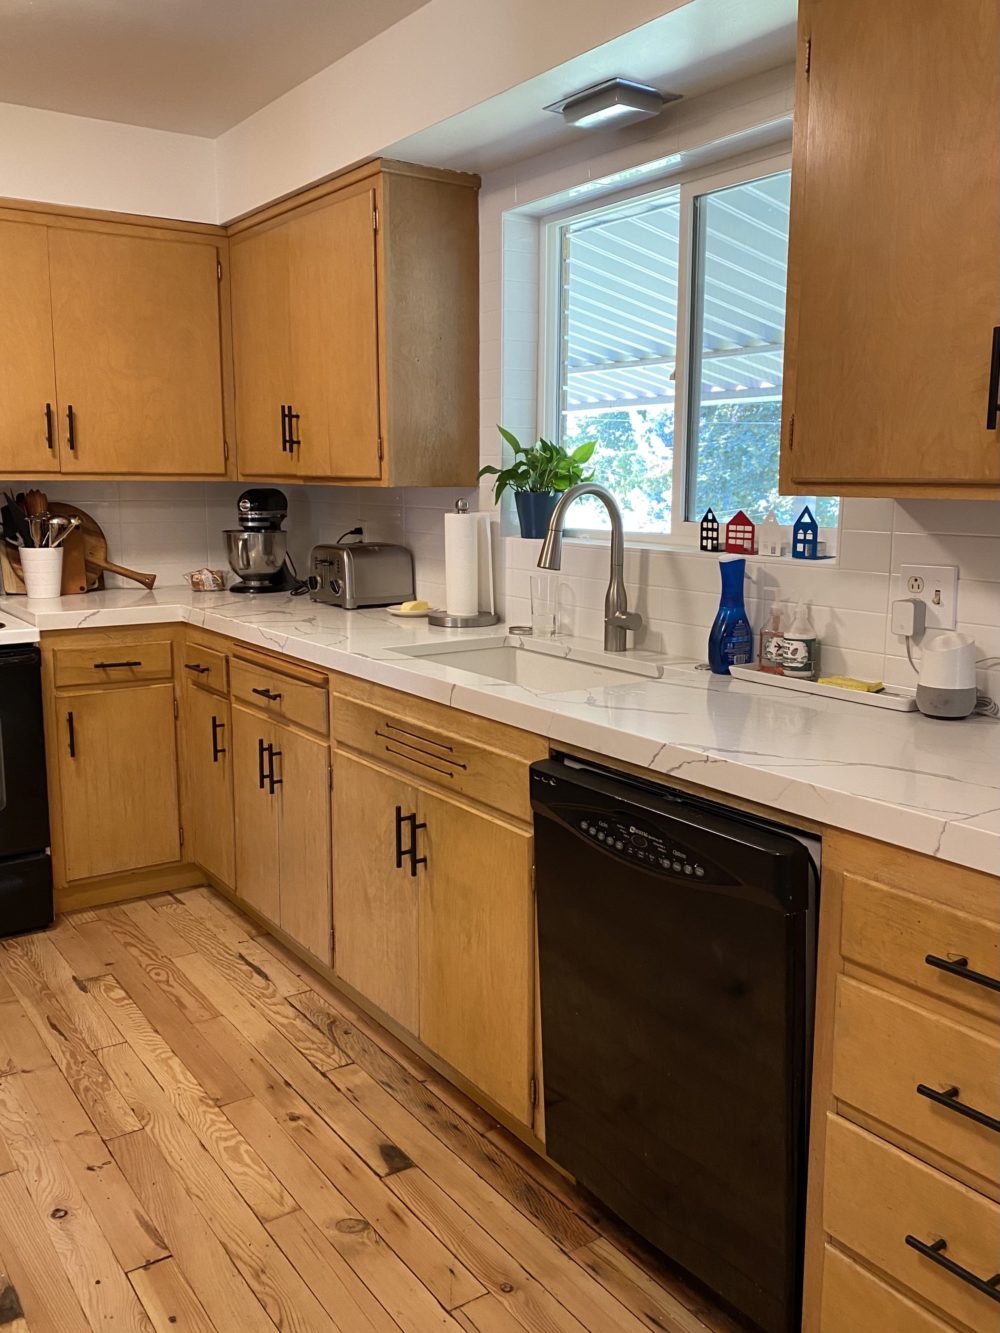
In December, with the new cabinets in place, we had new quartz countertops installed (we splurged on extra thick counters and I love how high-end it looks) and a few days later, a new subway tile backsplash was installed (when I polled on Instagram, the majority of people voted for a standard offset pattern, but I knew I wanted a straight stack that would fit the style of our 1950s house better, plus look a little more unique).
We also went from a double drop-in sink to a granite single-bowl under-mount sink with a push button disposal (the disposal had been very dicey from the moment we moved in, so it was nice to finally have a real permanent solution that didn’t include extension cords and twist ties).
In the spring, we had the trim in the whole main floor redone including the kitchen, and it made a huge difference, since we’d been living with no trim and just damaged drywall for six months.
We’d gone back and forth about having the kitchen cabinets painted, but the more updates we did, the clearer it became that doing NOTHING was a bad option because the cabinets were so worn. And because the kitchen is so dark (just one window with a 6-7 foot roofline over the top), white was clear winner. Plus, Bart really wanted a white kitchen.
We talked for five minutes about doing it ourselves, but when we had a painter come give us a quote to paint our entire upstairs and it turned out to be only $1200 to have all the cabinets repainted too, we happily handed over the job to the professionals who did a phenomenal job.
With the cabinet painting came new hinges (we chose an almost identical style to the original ones, but in stainless steel) and new hardware.
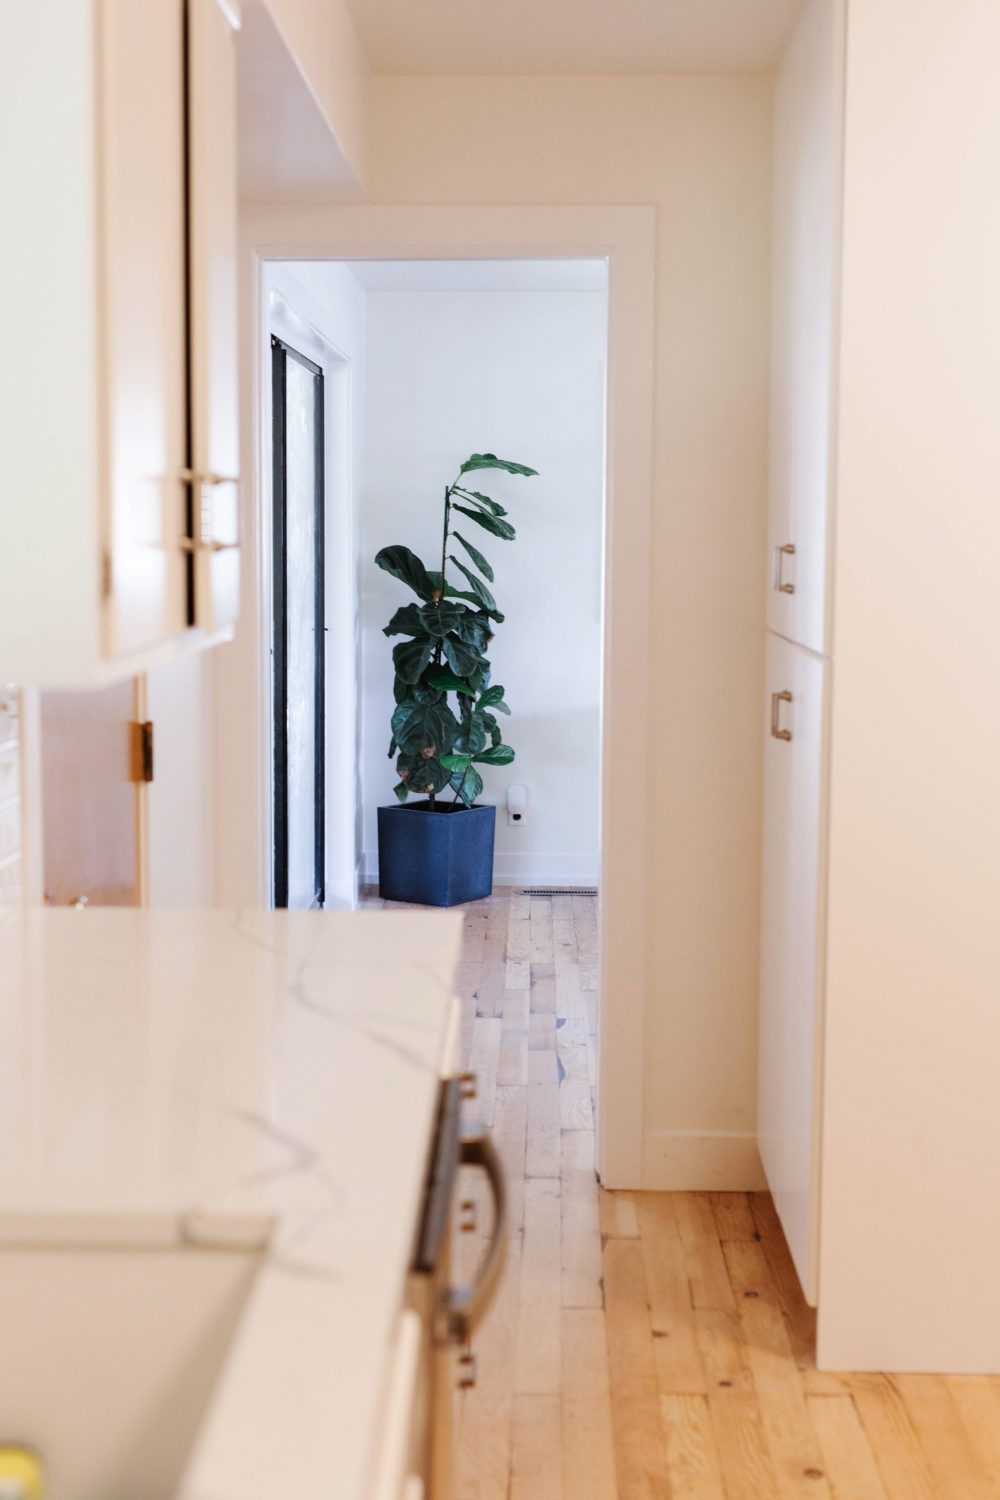
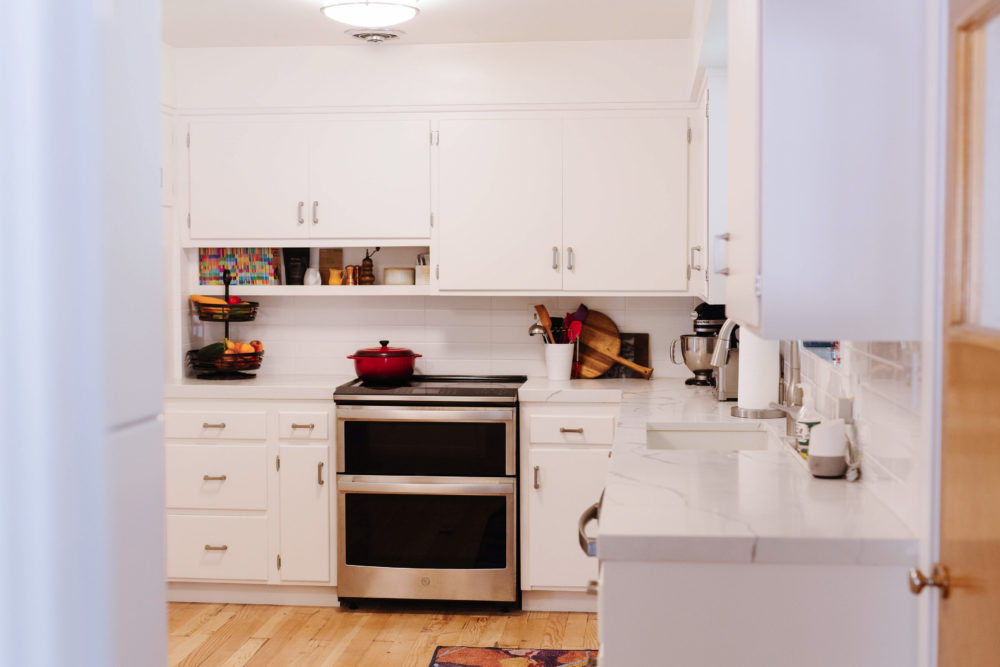
And then we tore out the whole awkward cabinet section (discovering that the floor didn’t QUITE reach the back of the wall in the process, although the new cabinetry covered it, so it didn’t matter) and the soffit and installed a floor to ceiling pantry. I cannot express how much I love this pantry. It opens up the walkway so much, plus has a ton ton ton more storage and I can put my cereal boxes upright.
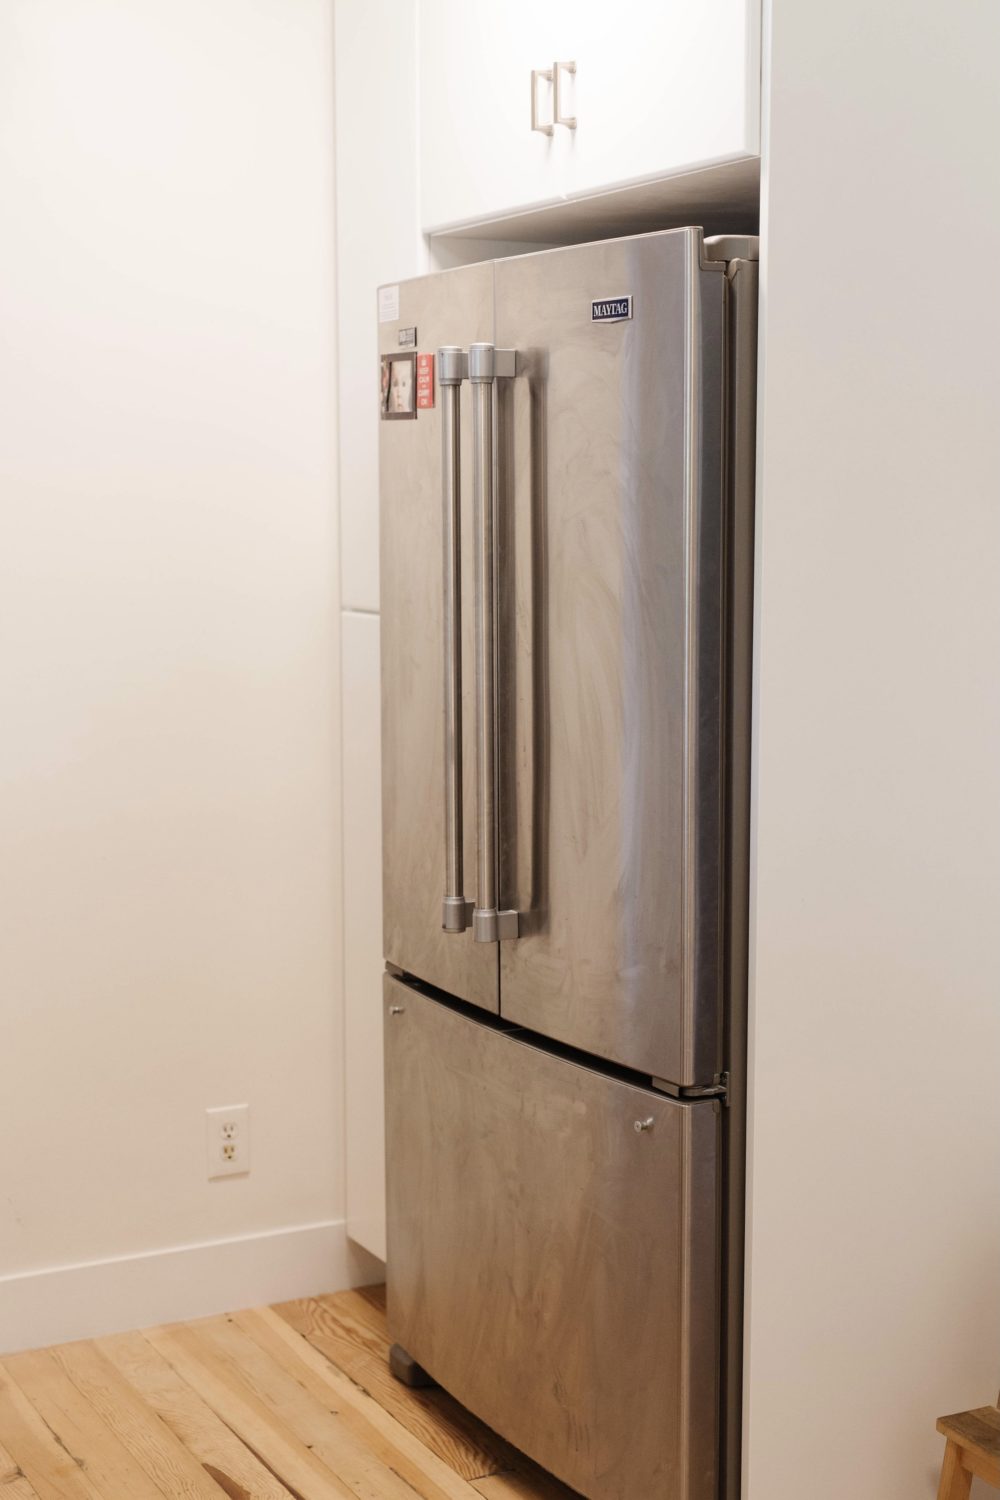
We also had custom cabinets built around the fridge so that the fridge looked like it belonged, plus gave us more storage space.
My mom had recommended a counter-depth fridge in our last house, since with a standard fridge, you could BARELY open the dishwasher (I don’t know what genius designed that kitchen but it was clearly someone who never had actually used a kitchen) and I LOVE the way it looks in this kitchen because it doesn’t stick out nearly so far.
The last things were a new oven and a new dishwasher.
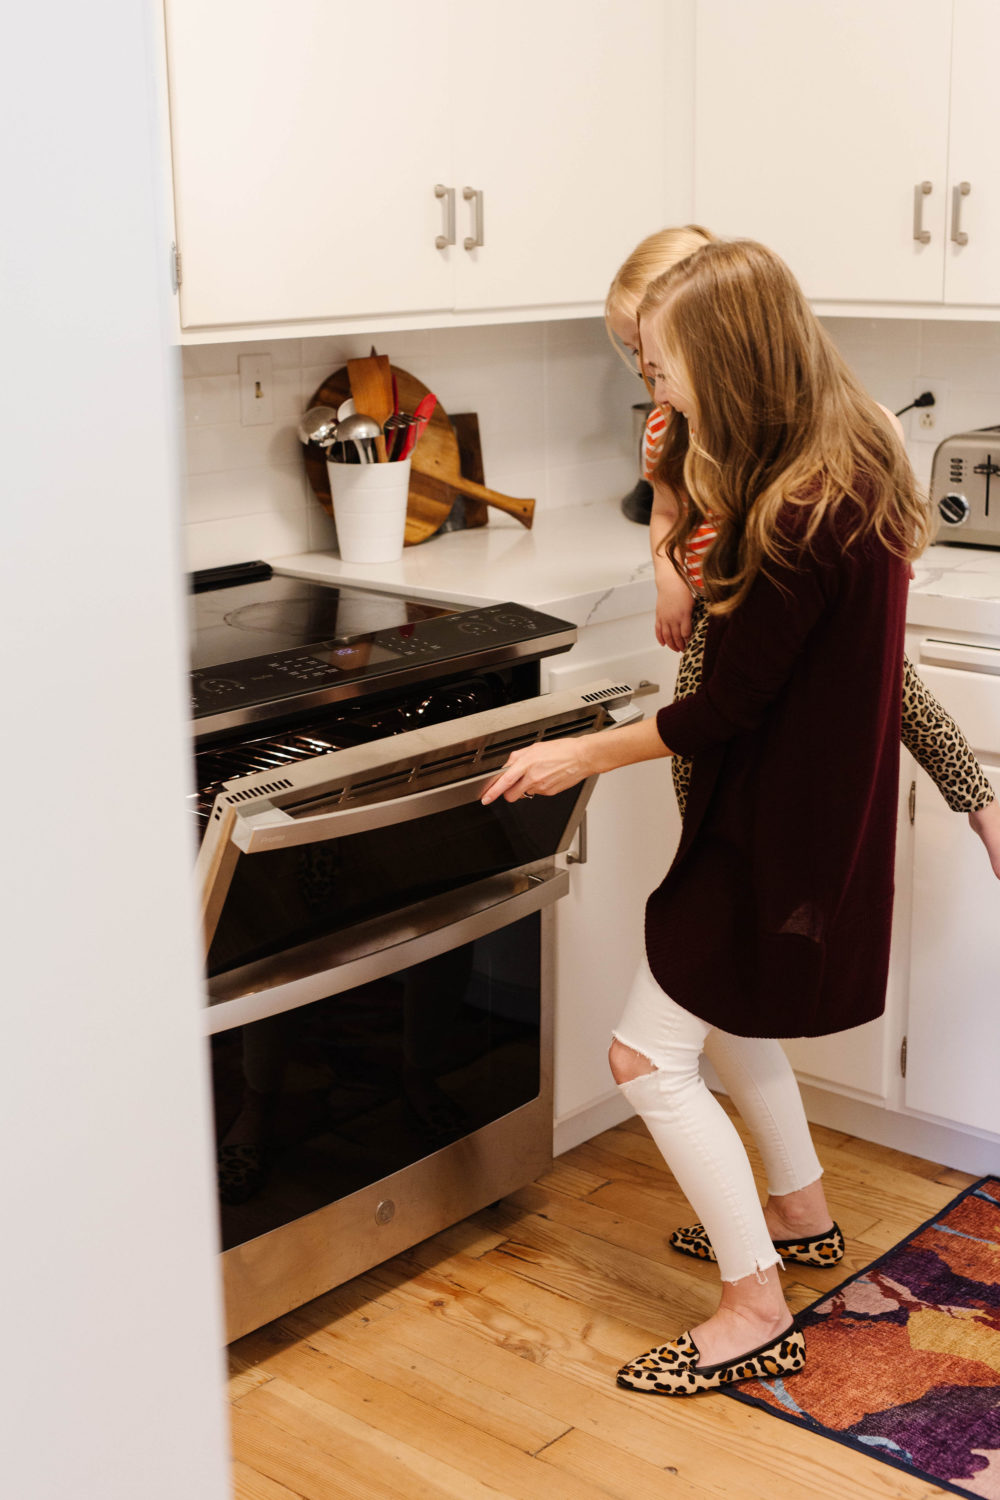
I never liked the original stove – everything fell into the cooking grates and I REALLY missed the double oven from my old house. Plus, I wanted one without a back lip, since it’s a cleaner, more high-end look that more closely mimics the look of a built-in cooktop.
I’ve gotten asked a bunch why we picked an electric cooktop instead of gas and there are a couple of reasons. One, because of the design of our old cabinets with no hood (just a ceiling vent), gas with an open flame wasn’t safe. Two, the kitchen wasn’t plumbed for gas, so it would have been pricey to add it. Three, Bart prefers electric to gas. Four, I have no preference – I’ve used both in our various houses over the years and think they’re both good. And five, I think an electric stove is easier to clean. And I’m not a very tidy cook, so this is a big deal.
I looked at ovens for MONTHS before finally settling on this one and I couldn’t be happier with it.
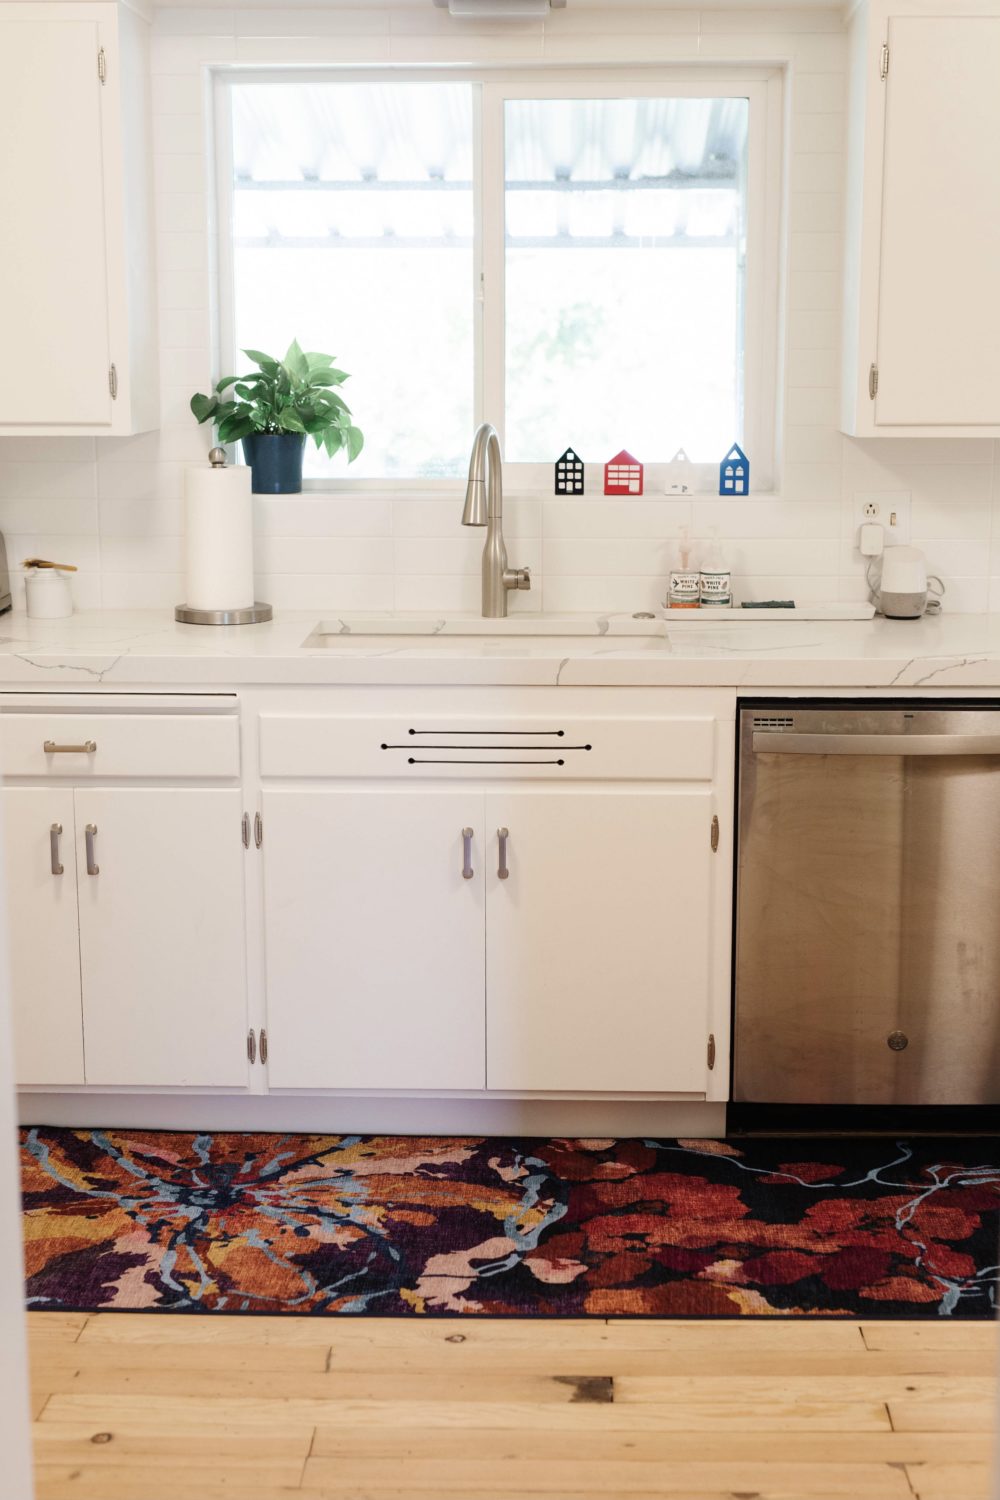
The final steps were a new dishwasher (ours was falling apart so much that you couldn’t run a cycle more than 20 minutes long or it would start dripping all over the floors) and a rug to go in front of the sink (I went with a Ruggable rug so that I could wash it in my washing machine and I’m VERY happy with it).
It’s been a million moving parts, but I couldn’t be happier with how it all turned out.
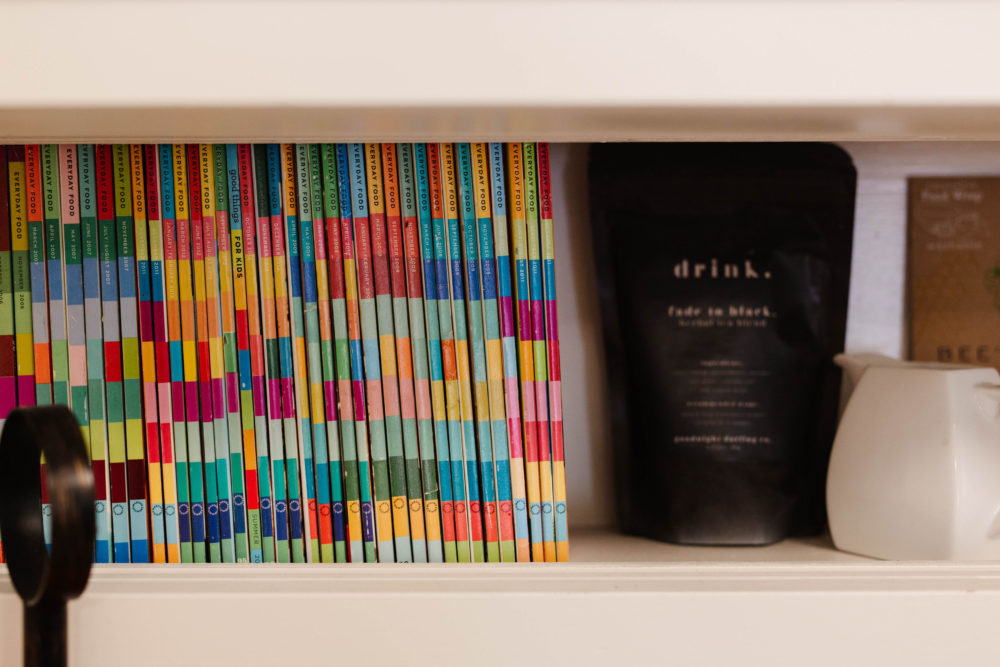
It’s almost unrecognizable from the original kitchen, but I’m so glad we didn’t have to get rid of much of the original cabinetry or lose the details that make this kitchen unique and fun like the little shelf above the oven or the cut-outs in the sink panel.
And now cooking in here is an absolute delight.
It’s been so fun to see it transformed bit by bit, and I’ll never take for granted the ability to store my cereal boxes upright again.
Any questions about our kitchen update? Happy to answer!
Sources:
Wall color: Sherwin-Williams Alabaster
Cabinet color: Sherwin-Williams Alabaster in lacquer
Cabinet hardware: Liberty Mandara
Hinges: Liberty
Countertop: Statuary Classique Quartz from Rocks Top Utah
Backsplash tile: Daltile
Push-button disposal: Moen
Sink: Blanco Granite Sink
Faucet: Similar
Counter-depth refrigerator: Maytag
Oven: GE Profile
Dishwasher: GE
Microwave: GE Profile
Microwave Trim Kit: GE Profile
Ceiling lights: EnviroLite
Rug: Ruggable (2.5 x 7 feet)
Floor color: No stain – three coats of clear seal
If you liked this post about our kitchen update, you might like these posts too:
- The 12 best upgrades we made in our Arizona house
- Why Tally’s room still has linoleum
- My best tips on how to paint a room
Photos by Heather Mildenstein
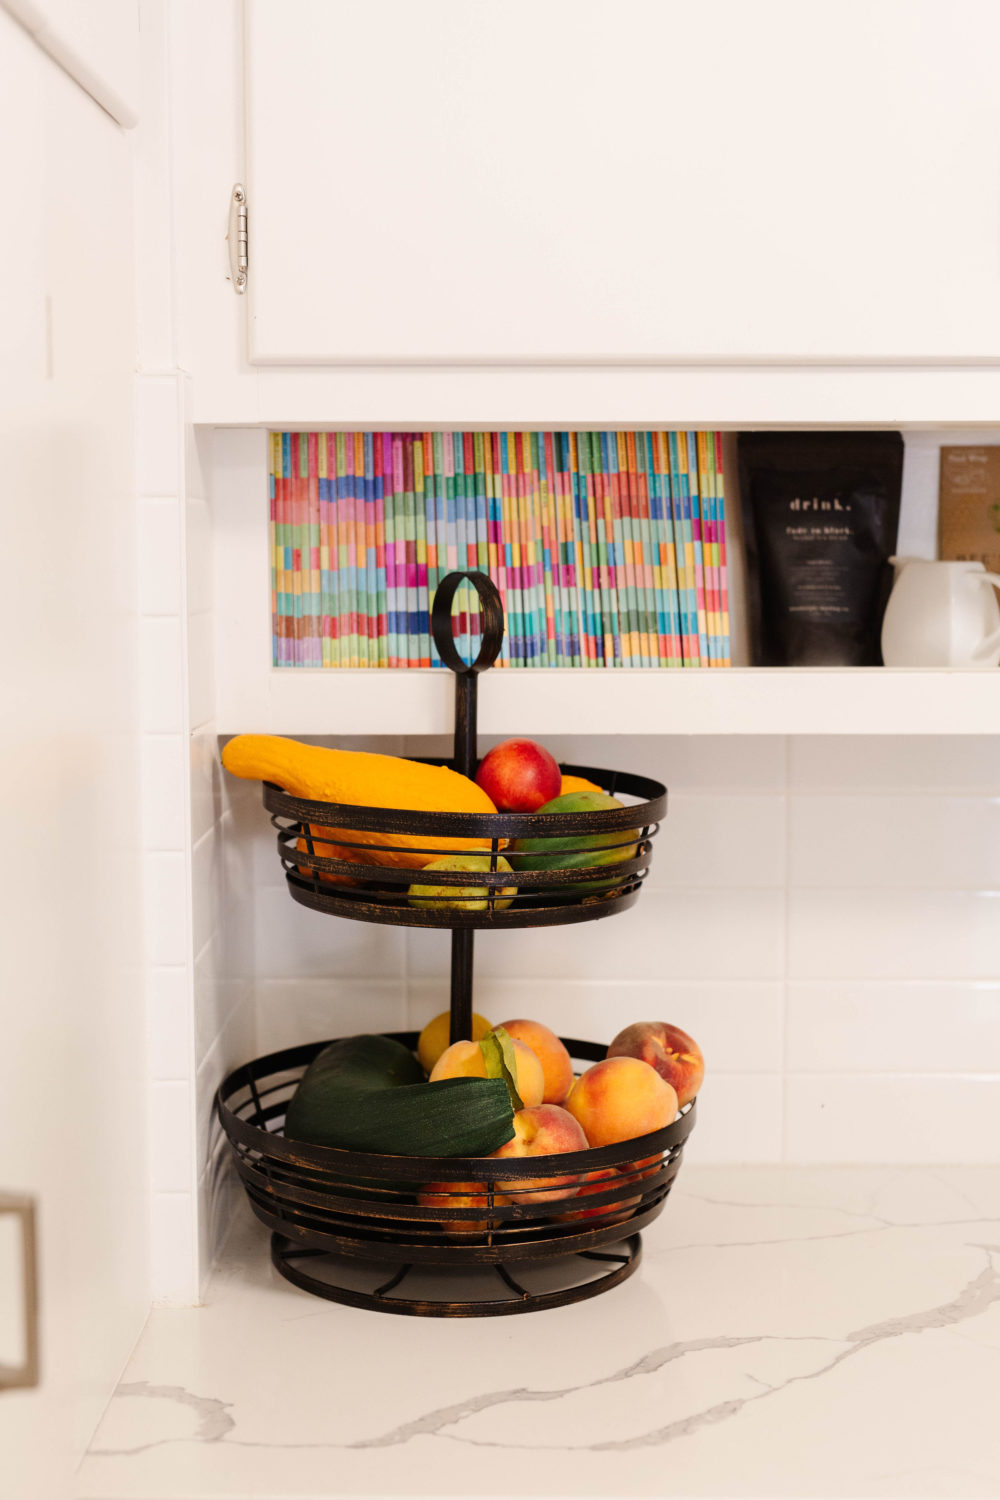
It looks great! It’s so fantastic to see someone restoring an original kitchen rather than ripping out and replacing. So much better for the environment and also more in keeping with your home. And I love the shelf above the oven!
Isn’t that shelf fun? One of my favorite little details about this kitchen (and perfect for my Everyday Food collection!)
Gorgeous kitchen! I love the white – looks so clean and fresh. Thanks for sharing!
What a transformation !! Amazing work !
This is amazing! I love it that you worked with what was there and made it beautiful and functional for you!
Love it! It’s so fun to see different styles, because I would never in a million years go all-white, but this is great!
Wow! What a transformation! This makes me want to pull the trigger on the all-white kitchen too—we’re closing on a 1920’s home at the end of this month, and the kitchen literally has NO WINDOWS, so upgraded lighting and brighter cabinets are a must if I actually want to cook in there for any length of time. Thanks for the inspiration and resources 🙂
White wasn’t my first choice, but I’m SO glad we did it because it was just so dang dark in there.
Can you share who your painter was?
Yes! https://www.facebook.com/AshCamColors/
Where did the fridge end up living? I’m having a hard time picturing it in the layout.
It’s in the corner where the open wall used to be!
This was my grandparents’ home and it has been so fun to see your renovations posted here. (Someone recognized this house and sent your website to a family member who sent it to me.) A cousin of mine and I used to play “how would we renovate this house” so it is a dream come true that we get to see your renovations! I love the hardwood and paint colors. My favorite part of the house was the back patio and the bookcase in the study which I read that you also love! I have so many happy memories in this home- summer family reunions, Christmases, even living there during college. I’m sure my grandma would have loved that a beautiful family moved into their home. She also had a love of reading and education. She used to pick out a unique book for each grandchild, each year for their birthdays. I loved my birthday books from Grandma. Thought you’d enjoy knowing that!
Can all cabinets be painted? Ours our in great condition and about 20 years old. I would love to have them painted.
I think most can – I’d ask a painter to come over and let you know for sure!
I LOVE this- so bright and clean! Only one problem- I’m dying to see more pictures of the pantry!!! What does it look like when you stand in front of it? And on the inside? Thanks so much!
It’s four doors (two on top and two on bottom) and then just shelves inside. Nothing fancy!
Oh it looks SO good! We are wrapping up a kitchen remodel and picked the same paint color as you did. I looooove it so much. I also love that you were able to paint the existing cabinets, I wish we could have done that but ours were 90s-era prefab particleboard that were super crappy and just needed to be ripped out and replaced.
This could literally be my kitchen. We have a 1920 bungalow in Malden, MA (last stop on the orange line on the T) and the kitchen gave us SERIOUS pause when we bought the house. We have possibly the exact same 1950s brown cabinets as you, and a too-small fridge nook and extra space next to the stove AND no cabinets that can fit a tall bottle of olive oil or cereal, so it’s all out on the counter as neat as I can make it look! I’m amazed you feed a family of six with a kitchen that size because mine is impossible with just me, my husband and my 7-year-old daughter. We just don’t have enough room for all the food we cook every week (well, one whole shelf is dedicated to pet food, so that’s one reason). We were supposed to start a huge renovation the first week of April and the COVID shut-down totally torpedoed it. We are trying to decide if we should just move forward with something like what you’ve done here instead, and you’ve definitely inspired me!
You did an amazing job! I think the kitchen looks so much better!
One of the many reasons I love following you is how much you are yourself, and it is clear in your kitchen redesign. It’s a real kitchen update based on a real budget for your lovely family that turned out beautiful. Its so easy falling into home design envy when so many bloggers have these glamorous kitchens/homes, but with that said they are all starting to look the same. I love the pops of color and how you guys made it work! We’re in the midst of a kitchen update and I have that electric stove on my maybe list! Xo Lendy
Wow!! Just Wow! It looks so great.
This looks fantastic! Carrying off a multi step renovation can be so tiring but so worth it! After reading the list of grievances with the original kitchen, I’m thoroughly impressed with your patience, a full gut job would have been a tempting solution. But the pay out in the end with so much character and nods to the original house architecture is just amazing!
That’s so kind of you – thank you!
I love love love how your kitchen turned out! We had our cabinets refinished a few weeks ago and the transformation it created in our kitchen is fantastic! It looks like a brand new kitchen. Amazing what a little paint can do! Thanks for sharing!