How to paint a bulletin board (because, you know, it’s SO hard)
I am that person that, when you come over to visit, I force you to ooh and ahh over my latest project. So if you were coming over today, you’d get to pretend to be really overly thrilled about my bulletin board that I just painted last week with my Handmade Charlotte stencils.
You know how sometimes you have a really great idea for a project and then it’s a total failure?
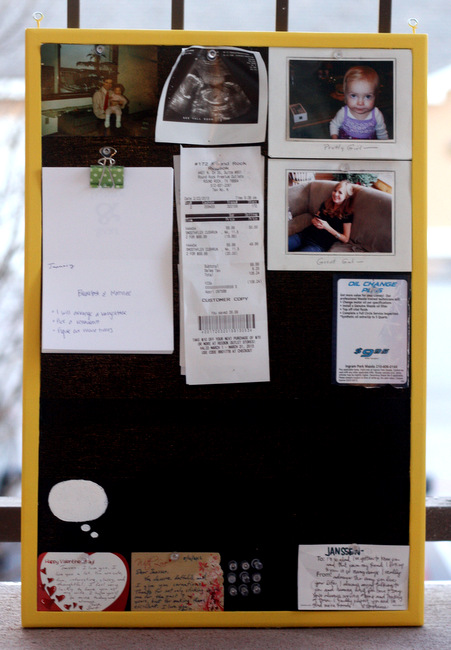
Last summer, I had the great idea to repaint my totally boring and cheap IKEA bulletin board. (Someday I will have the great idea to learn how to spell “bulletin” without the help of Google, but that day is not today).
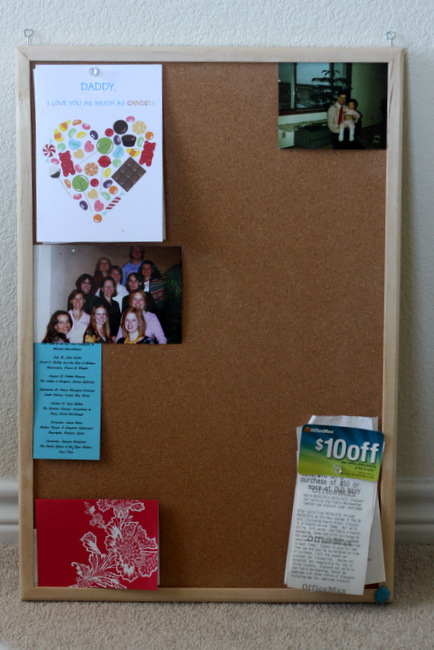
It was not a raging success. It hung on my wall, ugly and annoying.

how to paint a bulletin board
- Acrylic paint in three colors
- Stencils
- Paintbrush
- Painting tape
- Pencil


I love the designs on these Handmade Charlotte stencils but I actually had a miserable time using them. They’re made of cardboard, which means that if you try to paint with them, they’ll get all soft and pretty much unusable. I ended up spraying mine with acrylic sealer before I used them which seemed to help, but they still didn’t lay flat enough to give me a really nice crisp stencil. My only alternative was to use it as an outline, draw the shape with a pencil and then manually paint it in. Not really what I’m looking for in a stencil, although I can see myself using them occasionally for paper crafts (like drawing a shape onto a card, or something).
Worst case scenario, I’ll just let Ella knock herself out using them – that girl’s never met a craft project she didn’t like.
I wrote this post as part of a sponsored campaign with Plaid and The Blueprint Social. All opinions in this post are my own.
Follow Plaid on Pinterest
Plaid on Twitter
Plaid on Facebook


I like your speech bubble stencil!
Dude! Chalkboards are of the devil. Messy. Noisy. Messy. I don't get the trend. Oh ad did I mention messy?!
You are not alone! I HATE this chalkboard phase. It's a dusty mess and it never completely wipes clean. I support you.
Oh I'm so glad you clarified that that's an old ultrasound since that newborn you're holding didn't give it away. SHEESH. 🙂
Also, the word I never spell right the first time is "license." It always takes me twice.
Hahaha!!! I can NOT spell bulletin either!!! I knew we were friends for a reason 😉
I love thought bubbles . . . on anything! Cute!