Wheat Bread, or, How I Have Overcome My Childhood Issues

When I was growing up, my job was to make bread for our family. My dad had this goal to have 12 loaves of bread in the freezer at all times and . . . I just pretty much never could make that happen. So I was always making bread at the last possible moment when there wasn’t a slice of bread in the house. Stress.
Also, we had a bread machine and so the bread didn’t ever fit in a sandwich bag and the bottom half would have that goofy hole in the middle of each slice, and there was no good way to store it – it didn’t fit in ziplock bags or the tupperware bread box we had.
Plus, the bread was all crumbly and so invariably when you went to slice it, it made an enormous mess all over the counter or when you’d try to spread peanut butter on it, the bread would just break into a couple of large pieces. And you had to get out of a knife and cutting board every time you wanted a single solitary slice of bread and then you’d cut it reallllly thin at the top, but the bottom would be about an inch think and your sandwich ended up a lumpy mess. And I didn’t even think it tasted that good.
Whew, who knew my issues were so strong? Anyone know a bread therapist?
Either way, when we got married, I just found some store-bought breads that I liked and we just went with it.
Except, then as I got more into cooking, I figured that I didn’t want to spend the rest of my life hiding from bread making. Also, I was getting tired of all the fake ingredients in the cheap loaves and I didn’t want to spend $3-5 on a single loaf of bread when we were eating sandwiches every single day.
Mel’s Kitchen Cafe to the rescue. Finally a wheat bread that tastes delicious, doesn’t crumble into a thousand pieces, and fits in a bread bag. My life is complete.
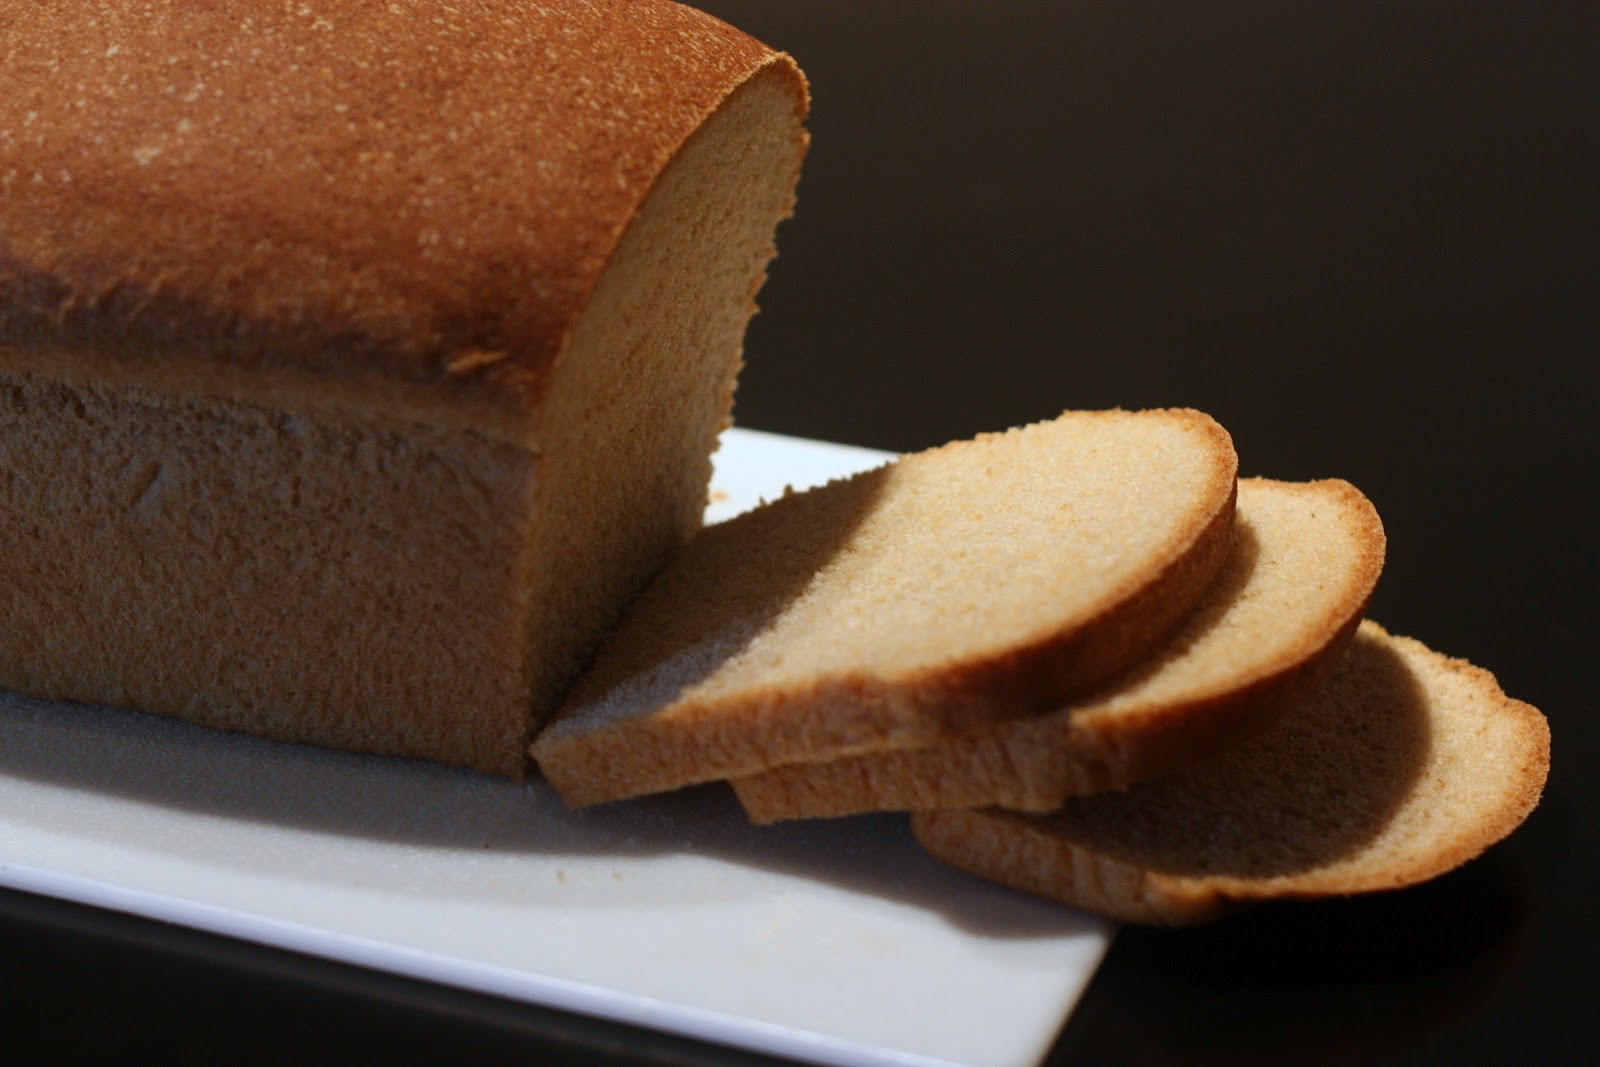
Also, I now refrigerate my bread overnight, then slice the entire loaf at once (refrigerating it makes it easier to cut, but you can also skip the refrigeration if you must), and store it in store-bought bread bag (I saved three or four from when we used to buy bread and then when I eventually lost them or they got thrown away by accident, I scavenged a few from my friends when they finished their bread). I freeze one and store the other in my fridge. And the one in the freezer comes out not even a little soggy.
And I’ve done this recipe with regular wheat flour, but it rises much better if you use white wheat flour. And it tastes better to me too.
I have made this easy wheat bread recipe probably a hundred times and it’s been successful every single time. I love this recipe (in fact, I even sold loaves of it to some neighbors for a while).
Easy Wheat Bread Recipe
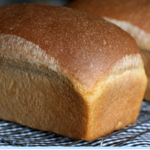
Wheat Bread
After making bread in my childhood, I never wanted to return to it until I saw this easy wheat bread recipe! It's so so easy and turns out every time!
Ingredients
- 2 3/4 cups warm water
- 1/4 cup sugar
- 1/4 cup oil
- 1 T instant yeast
- 1 T salt
- 1 T vital wheat gluten see the brand I buy below
- 1 T nonfat dry milk
- 1/2 cup white flour
- 4 - 6 cups white wheat flour
Instructions
-
Mix the water, sugar, oil, yeast, salt, gluten, dry milk and white flour together in the bowl of a stand mixer fitted with a dough hook. Add two cups of the wheat flour and then continue adding until the dough forms a ball and the sides of the bowl are mostly clean. The dough should be soft but not overly sticky. Knead for 10 minutes.
-
(Alternatively, mix everything together in a bowl, stir with a wooden spoon and then, when it's come together enough, knead by hand for about ten minutes. Homemade bread AND a workout! Bonus).
-
Grease two bread pans. Divide the dough in half (I use a big knife) and shape each half into a loaf. Place the loaves into the bread pans and cover with a dish towel. Let them rise for 60-90 minutes (or until they've filled out the bread pan and have risen about an inch or so over the top of the pan. Carefully place the pans in a cold oven. Turn the oven on to 350 degrees and bake for 38 minutes.
-
Let cool in pans for about 10 minutes then remove from pans and let cool completely on a wire rack. Refrigerate overnight, then slice the entire loaf.
Recipe Notes
(from Mel's Kitchen Cafe)
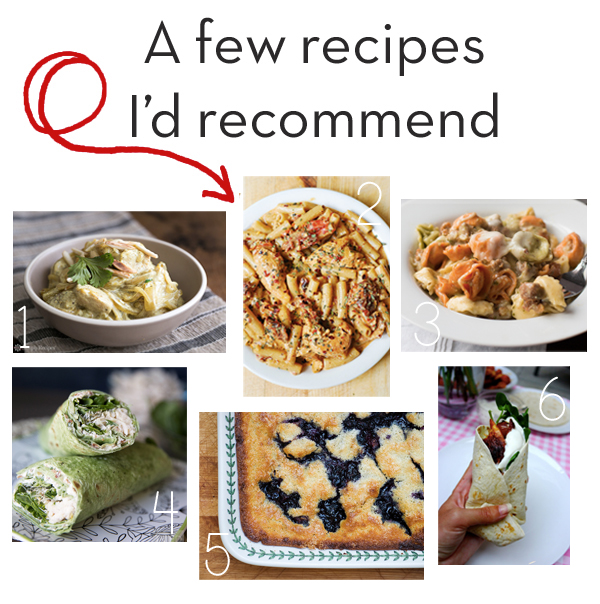
If you liked this easy wheat bread recipe, you might like these other posts:


Hmmm, mine didn't rise as much as I thought it should. Perhaps I should increase yeast or gluten?? suggestions? Actually maybe mine needs to rise longer? I live in FL so hot & humid here.
maybe more flour? I live in Houston and have figured that when Mel talks about making sure you don't over flour your dough its because she lives in a dry climate. Since I live in a hot and humid climate I need to put in more flour than she does. Good luck!
Made this today! It's in the oven right now and looks amazing! Thanks for the recipe and the tips. Hope you guys are doing well…we sure miss you!
My aunt visited me last week and shared with me our family bread recipe. It'll be a new routine for me to bake our own bread. I've just been using and re-using the disposable tins. I can't seem to find the bread tins I need at Target, Wal-mart or any grocery store around me. Doesn't anyone bake bread anymore?? Anyway, can you give me some specs on the tins you use and that I should order from Amazon? It seems there are all sorts of variations (8×4, 9×5, non-stick, light, medium, 1lb, 1.5lbs). Thanks so much for your help!