This post is a paid collaboration with Disney Book Group
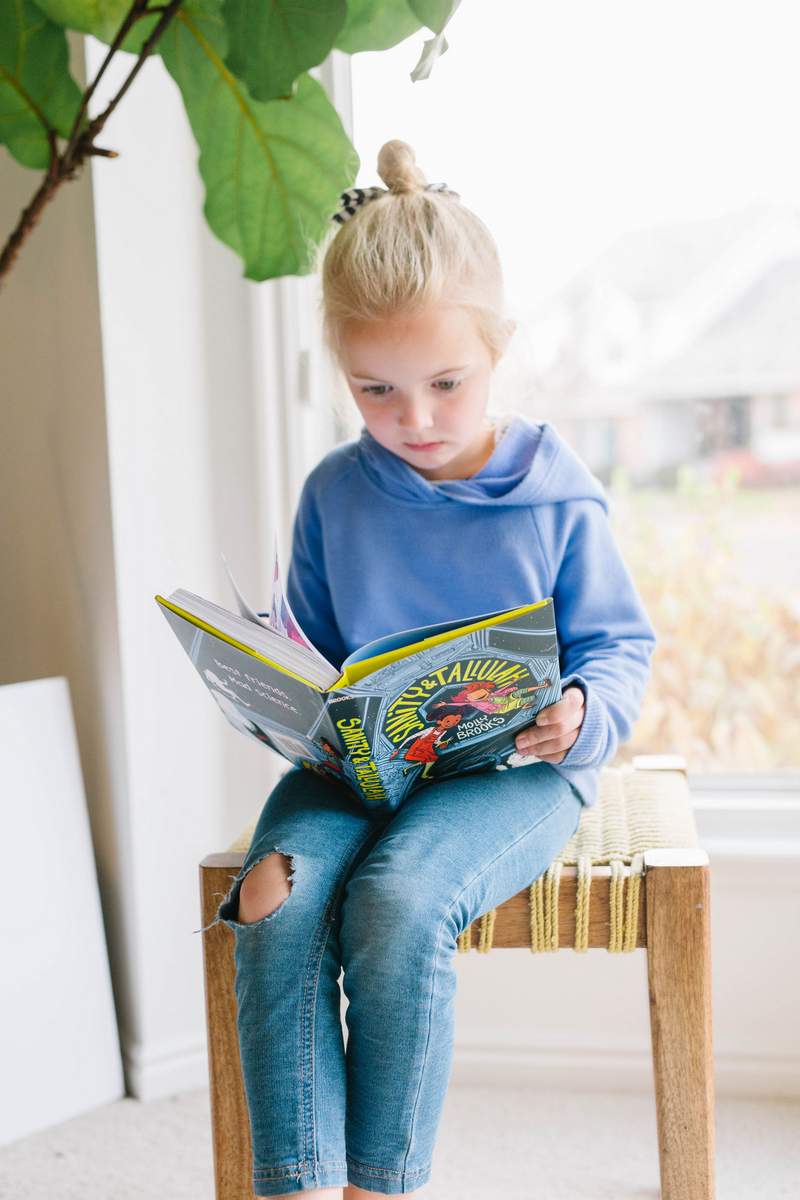
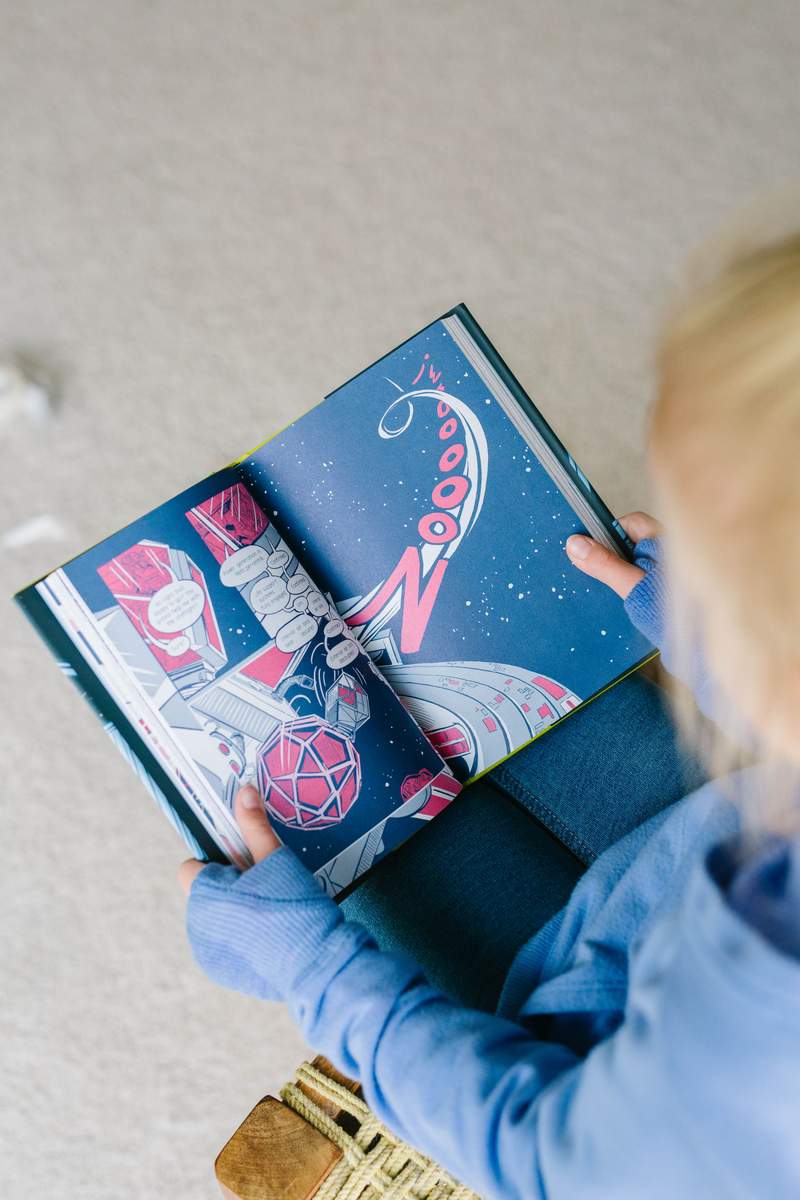
You guys already know that I love a good graphic novel and Ella REALLY loves a good graphic novel (I shared some of our favorites here), so we were both delighted when the first book of the Sanity & Tallulah series was released a few weeks ago.
The main characters are Sanity Jones and Tallulah Vega. They are best friends living on a run-down space station called Wilnick, which exists at the far end of the galaxy.
Sanity is a talented scientist and she puts her skills to work to create a three-headed kitten.
Princess, Sparkle, Destroyer of Worlds is ridiculously darling. She’s totally illegal. And she is 100% a handful.
Naturally, she escapes.
Which means that Sanity and Tallulah are suddenly turning Wilnick upside down trying to find the kitten before she destroys everything.
Ella was immediately hooked and of course I love a book that encourages a love of science and all things STEM. It doesn’t get better than Sanity & Tallulah, especially for moms like me who are trying to raise girls that feel encouraged and excited by math and science. This book is chock-full of references to biology, tech, and engineering, and it has such great examples of problem-solving and experimentation.
Plus, it’s a funny, enjoyable book. It doesn’t get better than that.
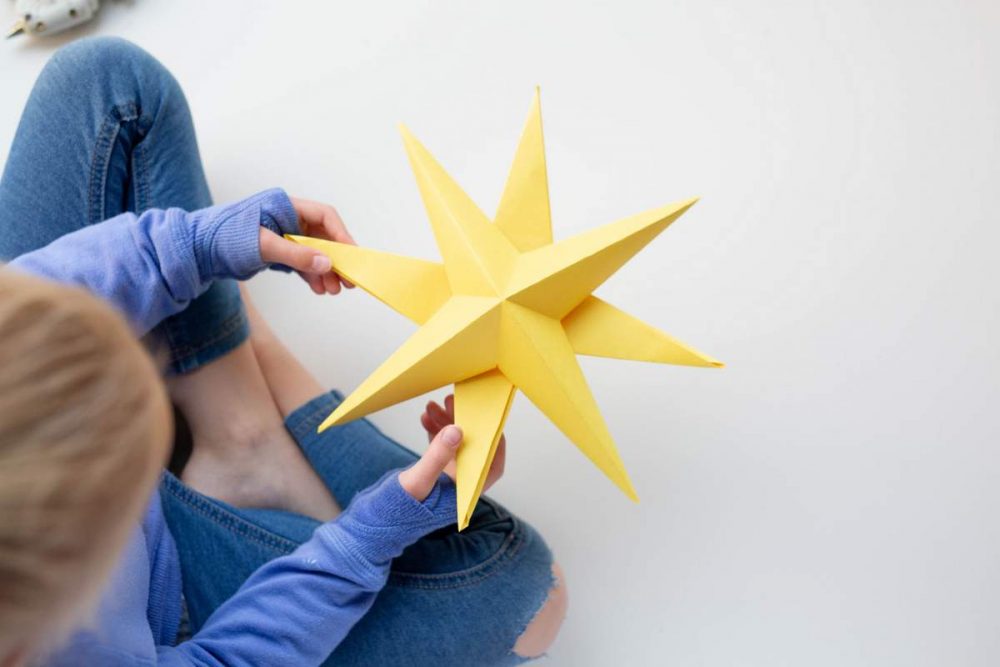
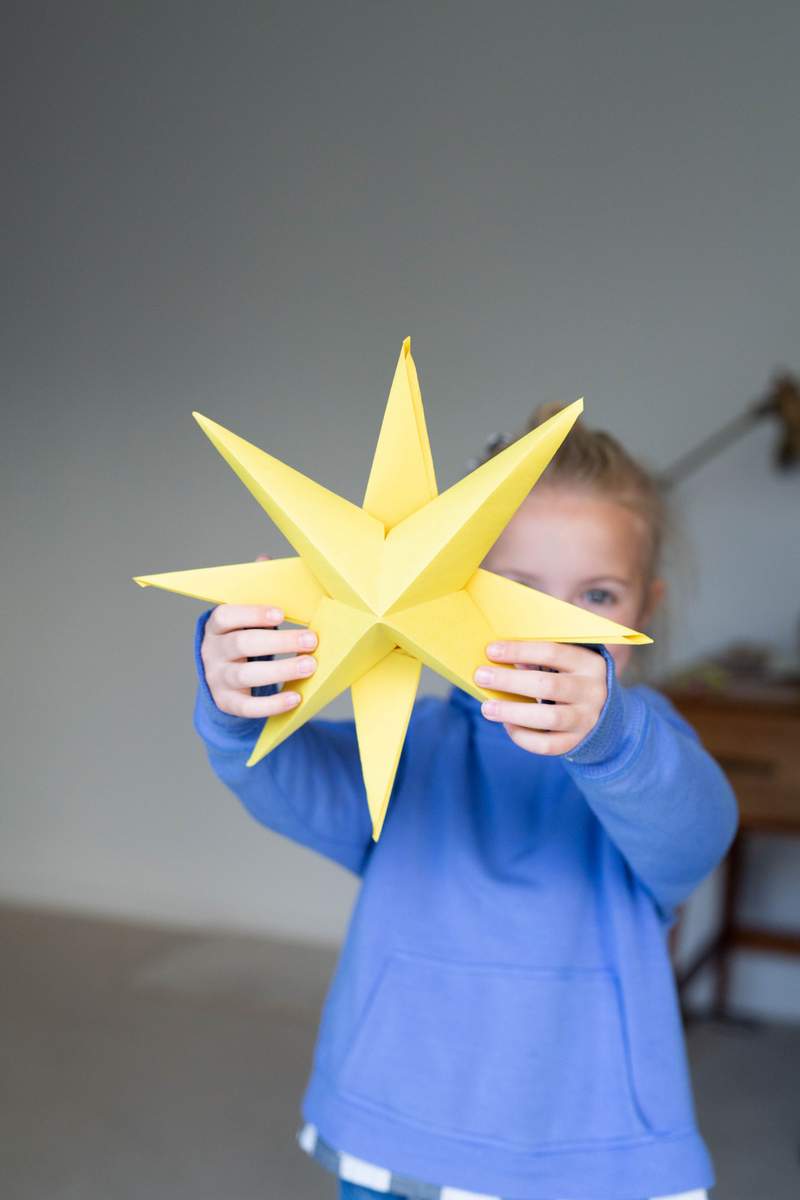
In celebration of the blast-off of this new series by Molly Brooks, Ella and I made some 3D paper stars, which have long been one of my favorite easy projects. I’d never had a child old enough to make them, so it was fun to work on them together (and bonus, they make really fun holiday decorations too!).
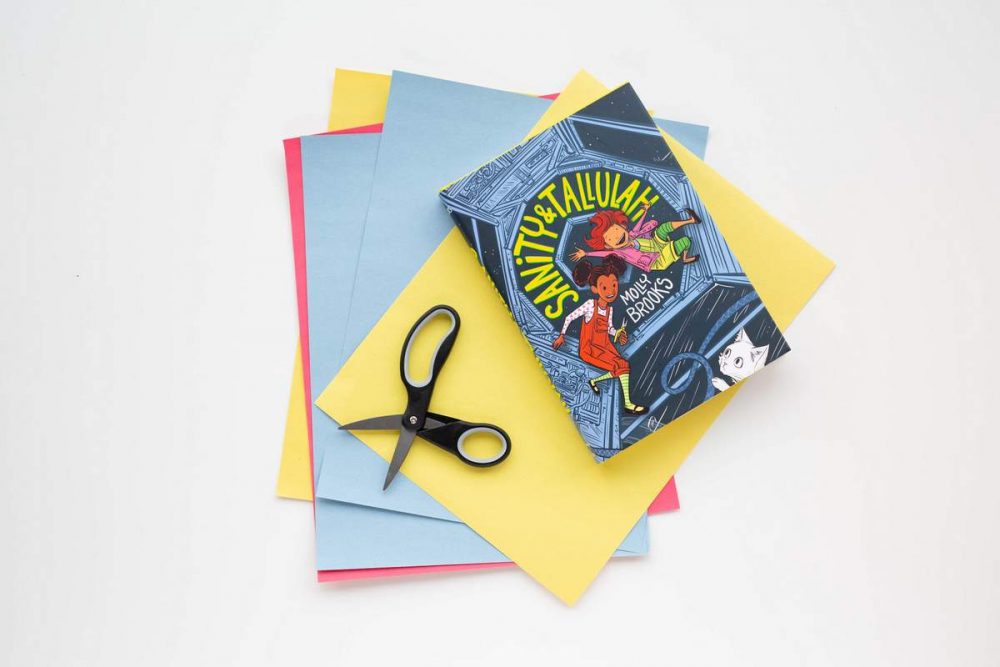
To make your own 3D stars, you’ll need:
- Two pieces of paper (I’ve used cardstock, wrapping paper, printer paper and construction paper and they’ve all worked great)
- Scissors
- A glue gun
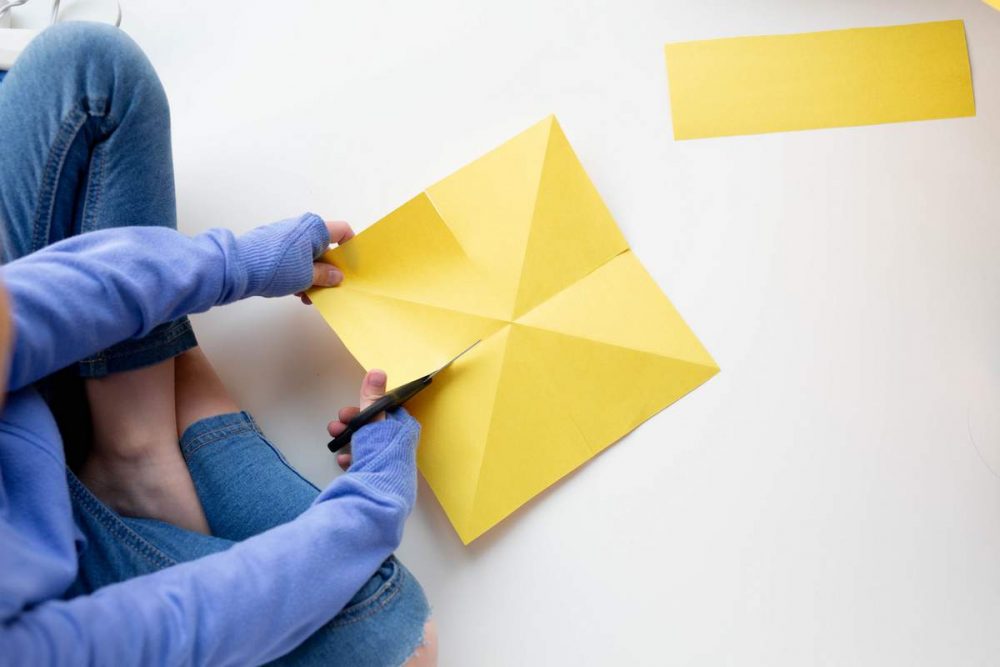
Step 1: Take one piece of paper and fold the paper diagonally (if you’re using a paper with a design on one side, keep that side of the paper on the outside), keeping the bottom edge even. If your paper isn’t square, you’ll have some overhang on one edge. Cut off that overhanging strip, so you now have a perfect square.
Step 2:Fold your paper diagonally the other direction, then unfold it and lay your paper out flat.
Step 3: With the printed side of the paper on the inside, fold your square in half. Repeat in the other direction so you have a fold running down the middle of the paper both horizontally and vertically, intersecting in the middle.
Step 4: Along the straight lines (not the diagonal ones), cut from the edge of the paper until you’re halfway to the center point of the paper. Repeat on the remaining three straight lines.
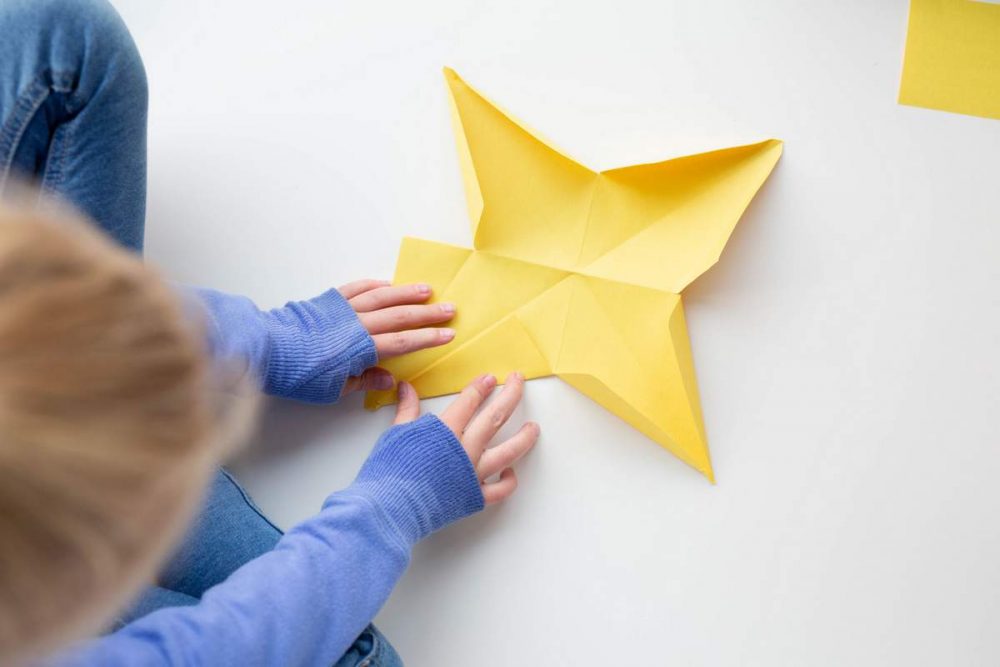
Step 5: Fold in the sides along each of the four cuts so they meet the diagonal line.
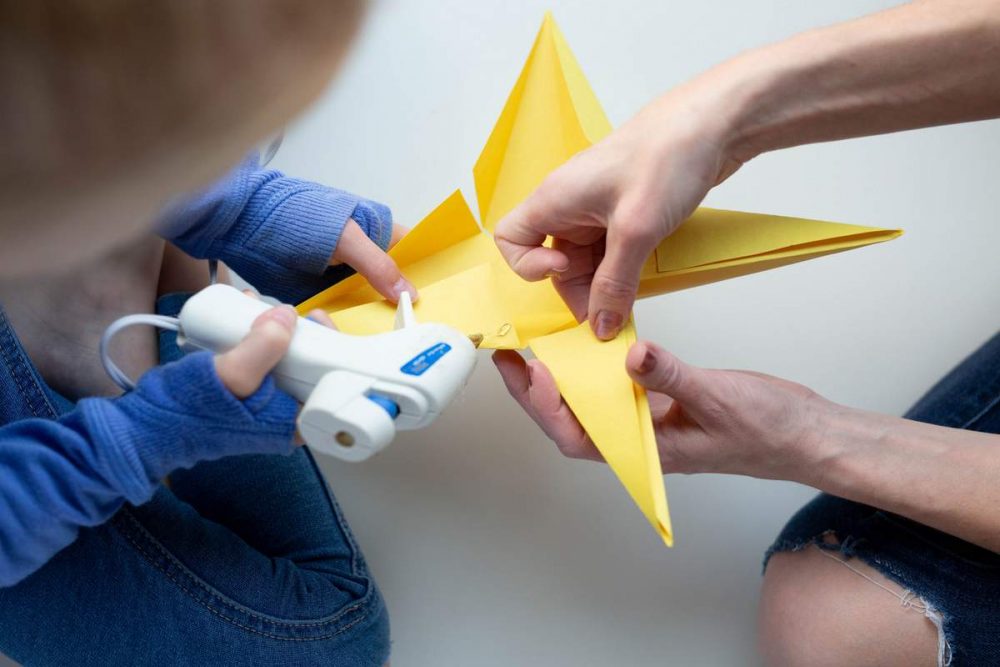
Step 6: Using a glue gun, glue one side of each of the pairs of flaps you just folded and press the unglued side over the glued side.
Step 7: Repeat with the second piece of paper.
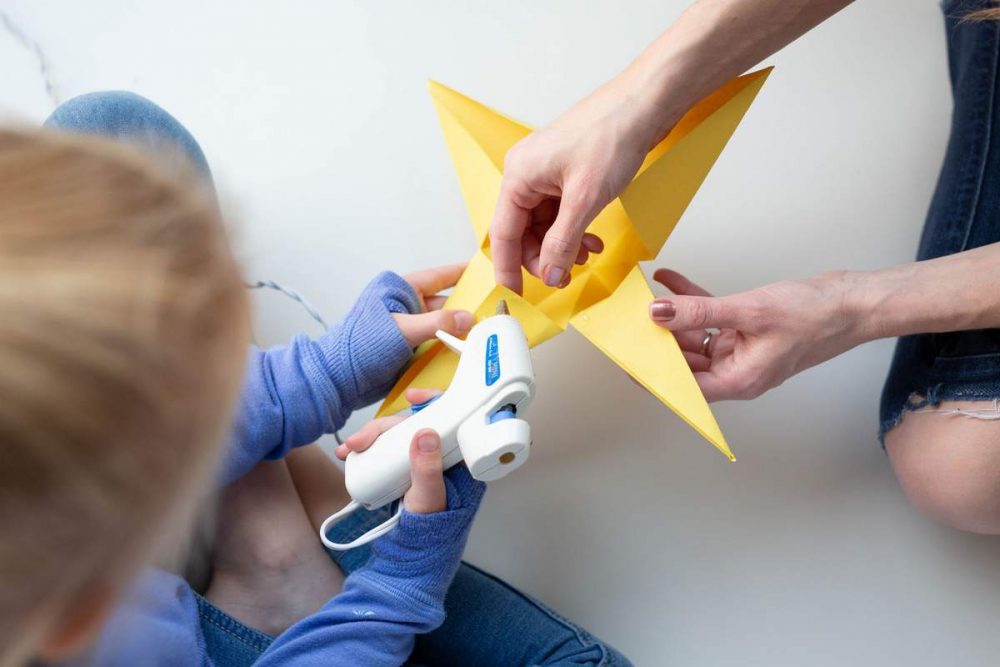
Step 8: Using a hot glue gun, place several dabs of glue around the open center of the back of one of the stars. Press another star half against the glue with the two halves rotated so that your star points are alternating. A star is born!
Photos by Heather Mildenstein
I’m so excited by this recommendation. My 8-almost-9-yr old daughter is also a science-obsessed, voracious reader. I’d love to see more of what Ella is reading because I’m always looking for more high quality chapter books.