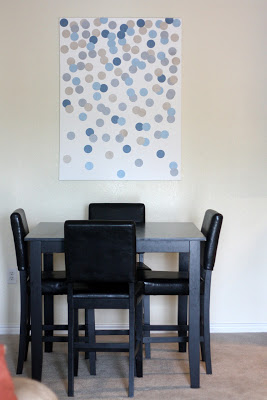
Last March, I wrote about this dot art project I did for above our table.
After about six months, Bart and I got a bit tired of it. Eventually, we decided to replace the Tube Map we’d gotten rid of when we moved from Boston, but when it arrived and we got it framed, it was too small for that space, so we found a home for it on a different wall.
But, by that time, we’d already taken down the canvas and let Ella pull off all the dots. Which meant the canvas went back to sitting against our bedroom wall for many weeks, while I decided what I wanted to do with it instead.
Then, one night, while I was browsing Pinterest, I saw this print from Etsy:
 |
|
| via |
This was a very simple project (seriously, I have no artistic ability whatsoever, so if you have a working arm, you can definitely do this yourself).
Also, it was super inexpensive, especially if you already HAVE a canvas sitting on your bedroom floor.
Here’s what you need, should you wish to do one yourself:
- a canvas (I bought mine from Michael’s for about $20)
- an art marker (I bought it at Michael’s for less than $3)
- painting tape
- a measuring tape or ruler
- an outline of a car (I used this one)
- an audiobook to listen to while you draw (I picked The Age of Miracles) optional
First, drag your two small children to Michael’s to buy an art marker. They will love it.
Next, bring them home and put them both down for naps. You will love it.
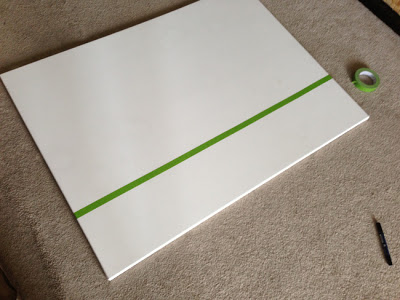
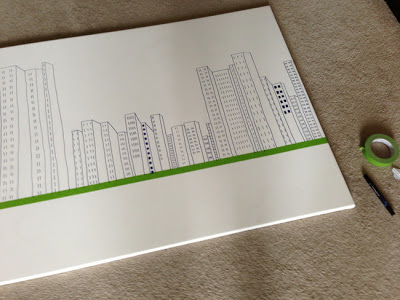
Using your measuring tape to make sure it’s even (I measured about every three inches and made a pencil mark so I could line the tape up), put a line of tape on the bottom half of your canvas. My canvas is 36 inches tall and I taped at 10 inches.
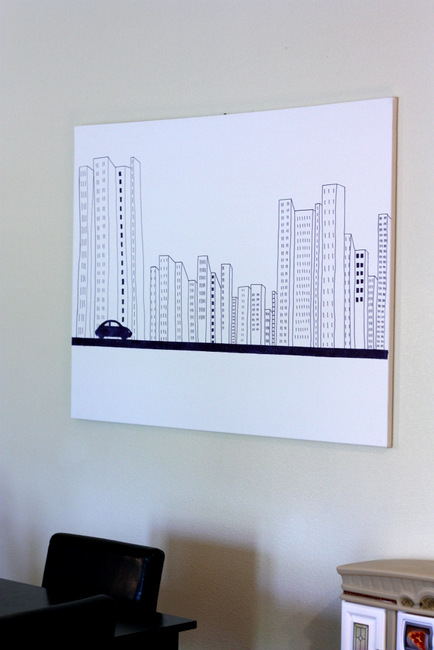
Draw your buildings with the fine tip of the marker (I pulled the Etsy image up on my iPad so I could kind of follow along, although I didn’t copy hers exactly – mine has only about 2/3rds as many buildings and as I went along, I changed up the heights, but her image was a great guide). I drew a couple of practice ones on a piece of paper, which helped a lot, although you can still tell I got better as I went along. Ah well.
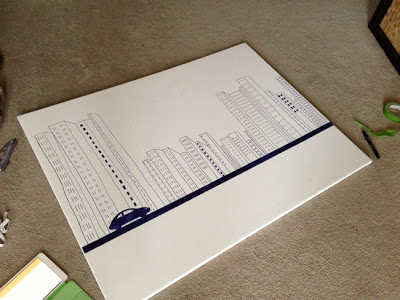
I printed out the car outline, cut it out and traced it onto the board and filled it in with the marker.
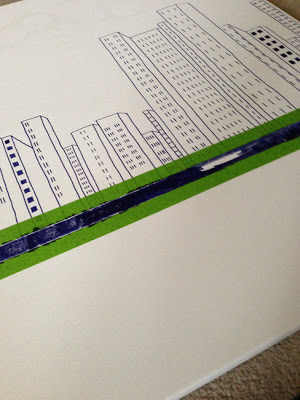
Next, I put another piece of tape directly above the existing piece of tape and then a third piece of tape directly below the existing piece of tape, then peeled off the center (original) piece of tape. I then colored that strip in (it took about three times over to get it completely filled in (and I noticed that going in long horizontal strips worked better than going vertically up and down).
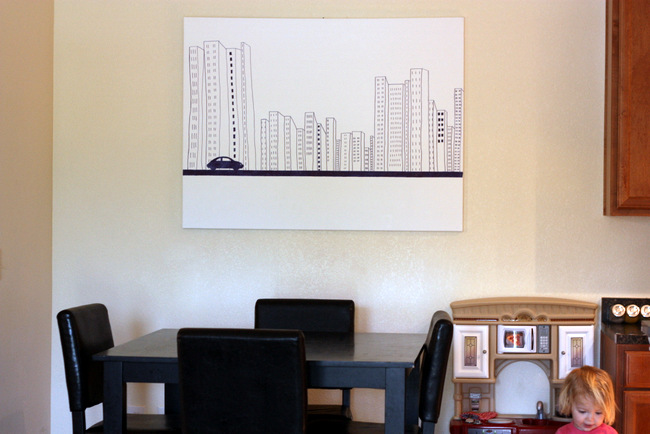
I peeled off the tape and put a hanger on the top back.
I made Bart hang it up for me and, ta-da! Done before either girl woke up from her nap. Also, no more bare, sad wall.
Woah… That looks awesome! I'm glad to hear that you eyeballed it and it turned out so well. When I make stuff for my classroom I try to trace but usually end up just using it as a guide like you did. Although nothing I've made has looked this nice. Love it!
Awesome. I want to quote a terrible Enrique song about heroes but don't want you to end our friendship.
Super impressed
I JUST GASPED! This is incredible! You are not allowed to say that you aren't artistic, at this point it is a lie. Well done!
That is so great! I want to do one. Hmmm, I wonder how I could transform something like that into a mountain landscape instead? Thanks for the inspiration!
This. Is. Awesome.
Also, Ella's face while pushing the stroller is TO DIE FOR. Such awe. She is such a doll!
Holy crap….I love it. Well done. I love it when people aren't afraid to try new things.
Janssen and the black art marker. You're like Harold and the Purple Crayon for grown-ups. WELL.DONE.
Your little bed head is my favorite.
Sheesh! I am impressed, both with your talent and the fact you had that all done during nap time! Looks awesome
Sheesh! I am impressed, both with your talent and the fact you had that all done during nap time! Looks awesome
So great! I recently bought a print of the SLC skyline and have framed and hung it, I am loving having it on my wall.
xox
That is awesome.
Jannsen,
My name is Jen Scott. You had contacted me through my blog to use some pictures from the mustache bash that I threw. I am more than happy to let you do so. I also enjoy reading your blog and your sisters' as well. I have a son named Merrick… and also your sister just moved into the ward I lived in in HB. Wish I hadn't left yet. 🙂 It would have been fun to get to know her. Anyways, thanks for asking and let me know how it turns out.
Jen Scott.
That canvas is amazing! I can't believe you freehanded that!
Beautiful job! I adore homemade art. And you can always feel free to change it up again whenever inspiration strikes.