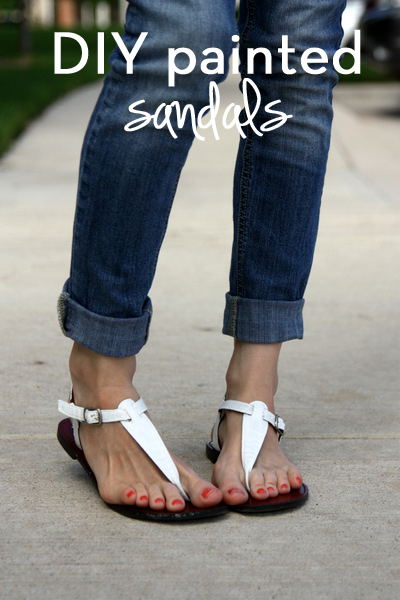
Just before Ella was born, I bought some gold sandals at Old Navy.
I LOVED them. I wore them basically every day that summer and the next.
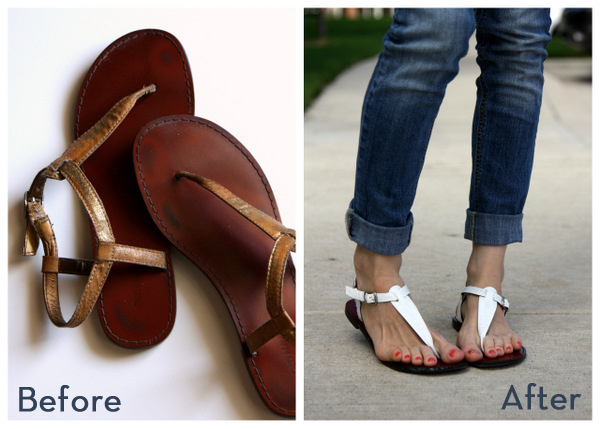
But now, three years later, they were starting to look pretty sad. The gold finish was pretty much worn off the top of the sandal, and it embarrassed me to wear them in public.
The soles, though, were in really great condition, and I hated to get rid of them when they still were perfectly functional.
When I was going through my craft supplies for the move, I happened on the big bottle of fabric paint I had leftover from this freezer stencil shirt and thought, “Hey, I could PAINT my sandals.”
Easiest project ever.
The hardest part was deciding if I was going to do them white or a neon or a metallic color (I own perhaps too much fabric paint for all the projects I consider doing and then never actually do).
- Sandals
- Fabric Paint
- Foam paint brush
I’m not the world’s neatest painter, but I figured I could keep the paint off the sandals, so I didn’t bother taping them or anything.
diy painted sandals
- Unbuckle the sandals. Paint all the fabric parts with a layer of fabric paint and let dry.
- Paint a second layer (and a third, if you need it) and let dry completely (about 3 days).
- (optional) Pat yourself on the back for being awesome.


These are so cute! I think I might go through my shoes now.
I love painted shoes! You are a crafty girl.
Wow! Those look superpretty…but doesn't the paint go off (not sure whether you can say it that way, I'm not a native speaker:-) )?
Greetings from Germany,
Birdy and Bambi
http://lasagnolove.blogspot.de/
You should totally pat yourself on the back – very cute! Hope your move went smoothly.
I think the crisp white was a perfect choice. They look awesome!
Cute idea! I actually have those same sandals that might need a facelift.
genius! i love how the sandals turned out.
They look great! I never would've guessed they were painted after the fact.
Cute. I have a pair that look exactly the same. Last summer I hot glued a strip of fabric to the front vertical piece, it was such a simple change.
I need to keep this post bookmarked because I once bought a pair of gold sandals at Old Navy (they were only $1, I couldn't resist) and they ended up being the most comfortable sandals in the entire world and I wear them ALL the time but they're starting to show their wear. This would be great to give them a second life! But I'm pretty sure the paint would cost more than the sandals themselves 😉
Hey i love this! i featured it on my blog today! check it out: http://www.handmadeintheheartland.com/2013/07/whats-out-there-wednesday_24.html
What a great lesson!! I will be using this!! Thanks 🙂