Goodwill Rescue
As part of my “Live Vibrantly” goal for this year, I’m trying not to dress like such a complete boring person (the downside of this for Kayla is that I seem insistent on sending her lousy phone pictures of practically everything I wear. Count yourself lucky that I do not have your phone number).
I was sorting through my clothes a couple of weeks ago in preparation for an upcoming clothing swap, when I saw something I’d previously tossed in the Goodwill pile – this white t-shirt that Ralphie had passed along to me a year ago. It fit pretty well, but it was rather boring and also it was starting to pill a little bit in the front.

I’ve done a few shirt-saves in the past year

but I hadn’t even considered trying to resurrect this one, until I saw a really darling mom at the library with a shirt I love, love, loved and I thought, “I could make that happen.”
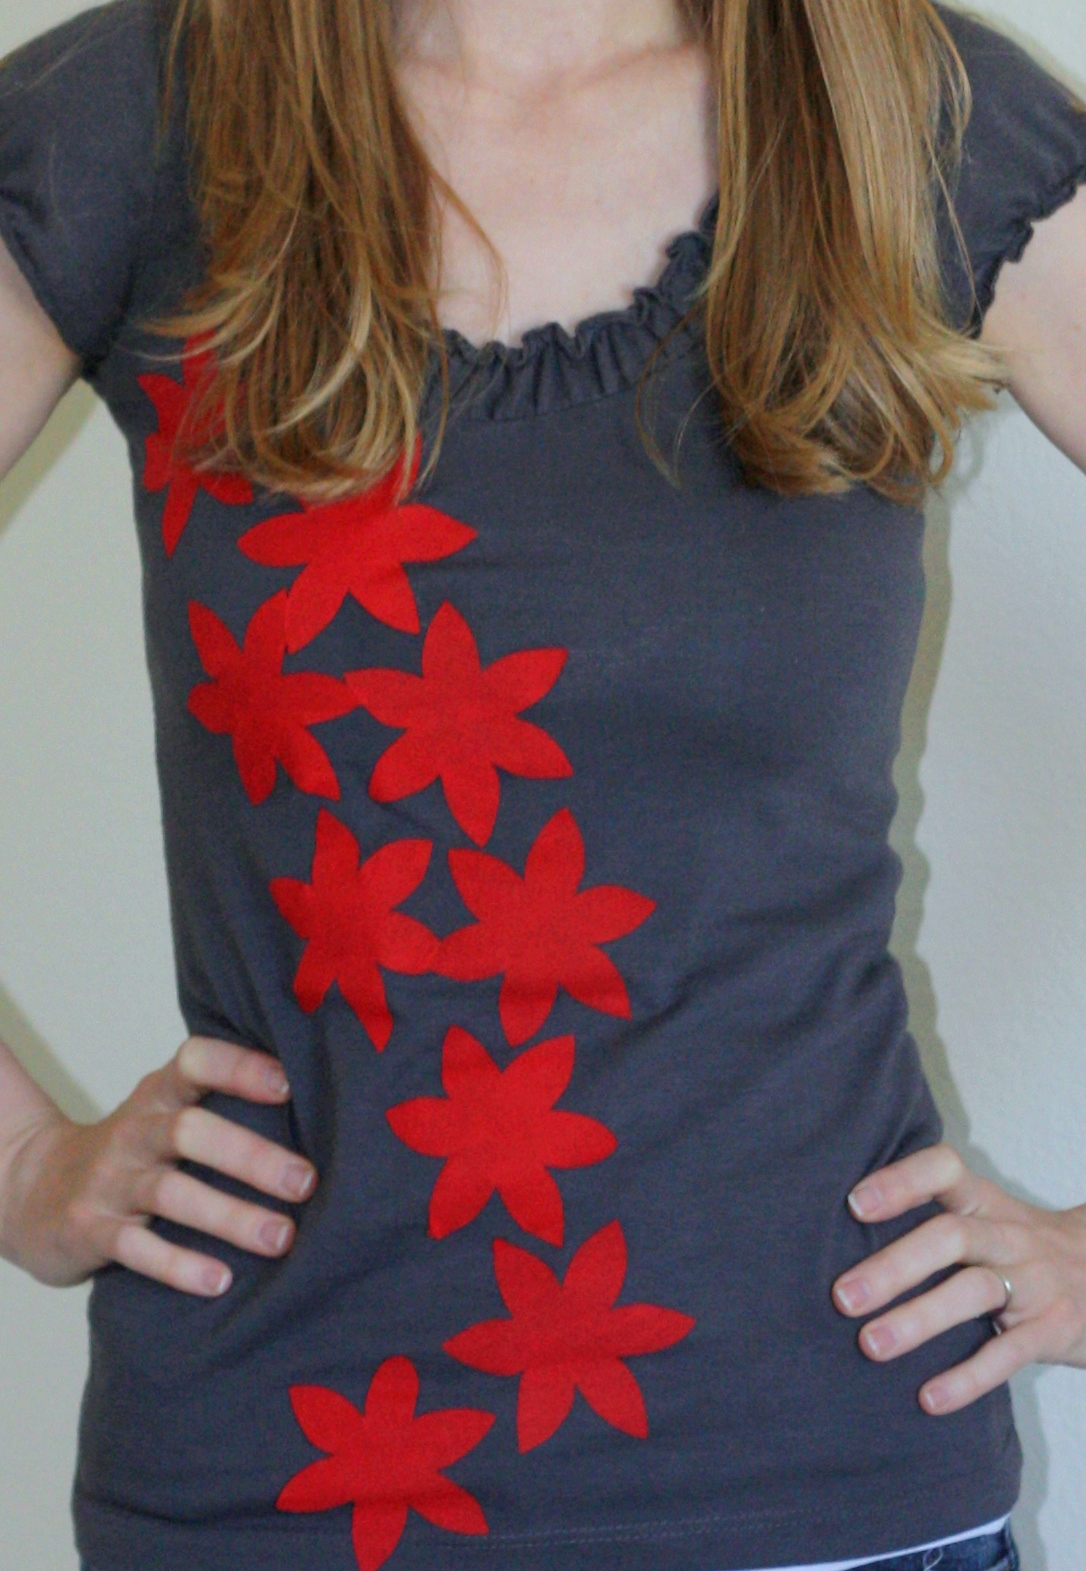
And I did:

This was an incredibly easy little project. I went to Hobby Lobby and bought 2 spools of trim (each one was 6 ft long and $5, but marked 50% off). I chose one with a scalloped edge and one that was straight on each edge, just for a little variety.
This particular shirt is double-layered in the front (the pilling I mentioned earlier was BETWEEN the two layers), so it made it a little trickier to keep both layers completely flat while sewing – this would have been even more easy with a regular single-fabric shirt.
I pinned the trim on (just eyeballing that they were even) and cut them with about an inch or so of extra on each side.

I sewed the strips on by machine, using invisible thread on the top (I bought this at Walmart for a buck a while ago for some other project that is now far from my mind) and white thread on the back. I highly recommend the invisible thread. On the straight trim, I sewed the top and bottom edges. On the scalloped trim, I only sewed along the straight edge. For all of these seams, I used a small zig-zag stitch.
Once I’d sewed all of that, I carefully trimmed the edges to match up as closely as possible with the side seams. And then I sewed them right along the side seam. I did a separate seam for each piece of trim, so that you wouldn’t see stitches on the shirt, but if you don’t care about that, you could simply do one long seam up each side.
And then I snipped off the six bazillion threads leftover. This probably took longer and was more boring than the rest of the project combined.
I used about 11.5 feet of trim for this shirt, so if your shirt is a little bigger or smaller or if you’d like to do more or fewer strips or add some to the sleeves, you’ll want to adjust accordingly. Also, keep in mind that your shirt won’t stretch on the front side much after you add the trim, unless your trim is also stretchy (mine was absolutely not stretchy at all).
Anyway, I’m pretty ridiculously pleased with how it turned out. I am one shirt closer to living less boringly (don’t tell me how far I have to go).


love this!! thanks for the inspiration, i love lacey trim!
This is amazing! I looove how it turned out, and definitely want to try one myself! Thanks for sharing!
Saw you on See Kate Sew- the lace tee is simply darling! Love how you have your Mormon.org profile in your social media buttons– cute cute!
PS: My last name is Jansen. It's a great name 😉
xoxo
I can't wait to "recreate" a lot of cute little shirts that I thought I was going to have to scrap because of little stains or just those with the lovingly worn look to them. This is easy and inexpensive. Thank you!! More importantly, my wallet thanks you!